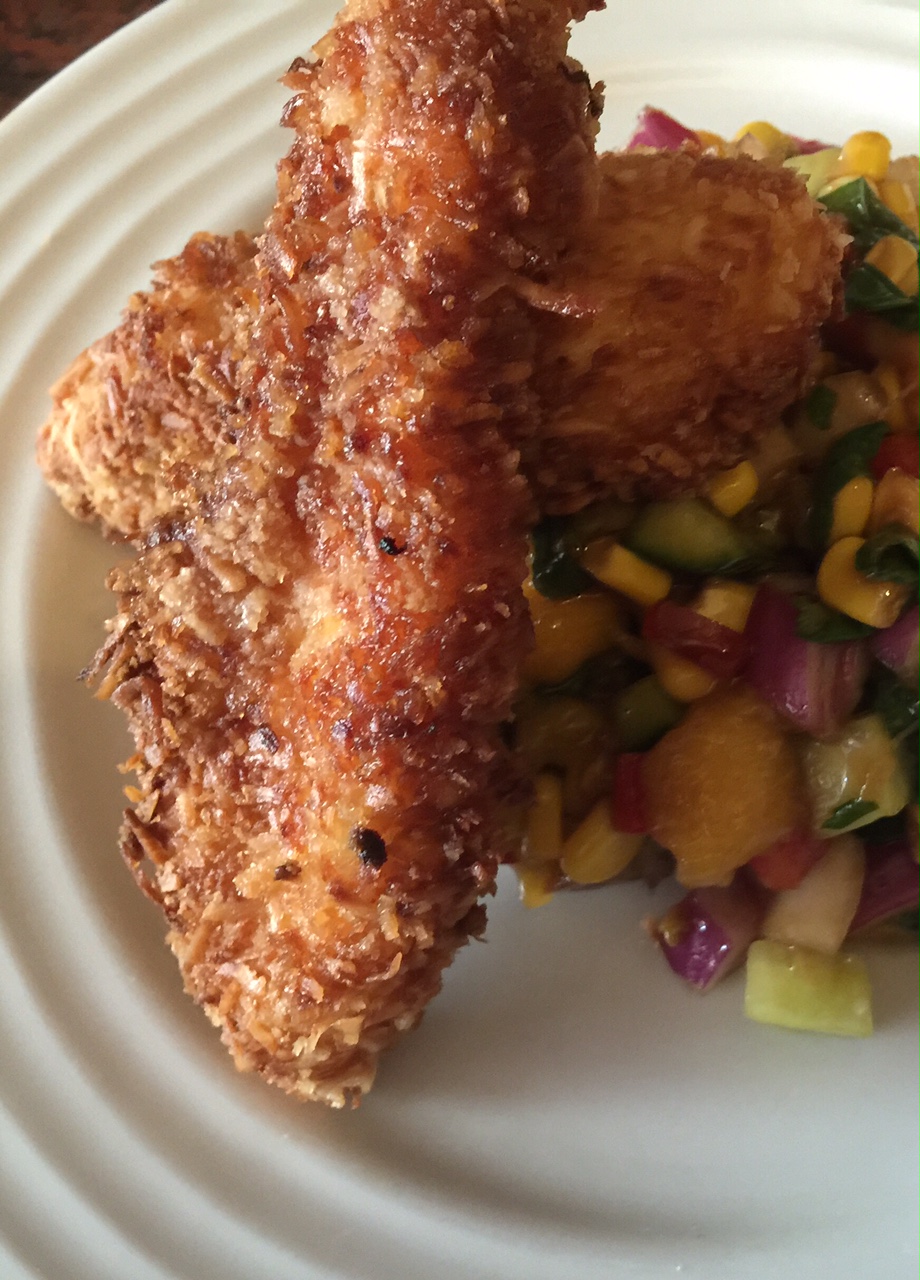
Coconut Crusted Chicken
Coconut Crusted Chicken
Serves: 4
Ingredients:
- 2 chicken breasts
- 1/2 cup plain flour
- 2 eggs, lightly beaten
- 1/4 cup milk or natural yoghurt
- 1 cup shredded coconut
- 3/4 cup panko breadcrumbs
Method:
- Cut your chicken breasts into 4 or 5 chicken tender shapes
- Prepare 3 bowls to facilitate crumbing your chicken
- In bowl 1; add the plain flour and season to taste (1 teaspoon garlic salt used in photo)
- In bowl 2; add in the eggs and milk/yoghurt and whisk lightly to bring together
- In bowl 3; mix together the shredded coconut and panko crumbs until well combined
- For each piece of chicken coat completely in the seasoned flour, then dip into the egg washing until fully coated then finally roll in the coconut crumb mix until very well coated
- Repeat with all pieces of chicken
- Heat 3 tablespoons of rice bran oil in a heavy based frying pan over a medium-high heat and cook the chicken for approximately 4-5 minutes each side or until golden and crispy or until cooked through
- Place on a piece of kitchen paper towel to drain excess oil before serving and while you cook the remaining chicken pieces
- Alternative, spray the chicken pieces with some rice bran oil cooking spray and bake the chicken pieces in a preheated 180 degree Celsius oven for 20-25 minutes until golden and cooked through.
Recipe Notes:
- Store covered in the fridge for a maximum of 2 days
- This recipe is freezer friendly. You can freeze uncooked if made from fresh meat and you can freeze cooked, all to be consumed within 3 months.

Disclaimer: C4K Kitchen does not hold any responsibility for the consumer using this recipe including the storage guidelines and time frames recommended in the recipe notes. The consumer holds all responsibilities to ensure that food hygiene and safety standards are adhered to.