Sweet Crepes


Sweet Crepes

Makes: approximately 8-10

Sweet Crepes

Ingredients:

  • 1 cup plain flour
  • 2 cups milk
  • 3 eggs
  • 1 tablespoon caster sugar
  • Pinch salt


Method:

  • Sift the flour, salt & sugar into a mixing bowl and set aside
  • Whisk together the eggs and milk in a jug then gradually stir into the flour mixture whisking well until combined
  • Cover the mixing bowl with glad wrap and sit for 15 minutes
  • Re-whisk the batter until well combined and smooth
  • Spray a medium non stick frying pan with oil spray and heat over medium heat. Pour 1/4 cup batter into the frying pan and swirl the batter around until the base is completely covered at the batter is even
  • Cook for 2 to 3 minutes or until lightly golden
  • Flip the crepe and cook for 1 to 2 minutes on the other side, transfer to a plate and cover with a clean tea towel to keep warm while you cook the remaining batter in the same manner.


Recipe Notes:

  • Best served fresh, if you do not need the whole batter you can leave the batter in the fridge for 3 days and cook as required
  • This recipe is not freezer friendly
  • Picture shown served with C4K Kitchen’s Orange Marmalade, natural yoghurt with a dash a ground cardamom.


C4K Kitchen Title Bar


Disclaimer: C4K Kitchen does not hold any responsibility for the consumer using this recipe including the storage guidelines and time frames recommended in the recipe notes.  The consumer holds all responsibilities to ensure that food hygiene and safety standards are adhered to.


Steamed Buns


Steamed Buns

Makes: 8

Steamed Buns

Ingredients:

  • 3 cups plain flour
  • 1 cup warm water
  • 2 teaspoons dried yeast
  • 1 tablespoons caster sugar
  • 1 1/2 teaspoon baking powder
  • 1/2 teaspoon salt
  • 300g chicken mince
  • 1 teaspoon minced garlic
  • 1 tablespoon brown sugar
  • 1 teaspoon freshly grated ginger
  • 1 teaspoon Chinese 5 spice
  • 2 tablespoon oyster sauce
  • 1 tablespoon soy sauce
  • 2 teaspoons sesame oil


Method:

  • Place flour in a mixing bowl and make a well in the centre
  • In a small mixing bowl add the warm water, dried yeast, caster sugar, baking powder and salt using a whisk or fork to beat well until combined and becomes foamy from the yeast activating
  • Pour the yeast mix into the well in the middle of the flour and use a wooden spoon to stir until well combined, use your hands to bring the dough together and knead on a lightly floured clean surface for approximately 8 minutes until the dough is silky smooth
  • Place the dough in a clean bowl, cover with glad wrap and set aside in a warm place for 1 hour or until the dough has doubled in size.
  • Heat 1 tablespoon of oil in a heavy based frying pan and brown the chicken mince while ensuring you break it up well with a wooden spoon for about 5 minutes
  • Add the garlic, brown sugar, ginger and Chinese 5 spice and cook for a further minute
  • Add in the oyster sauce, soy sauce and sesame oil and heat through while mixing well to ensure well combined
  • Remove from the heat and set aside for 30 minutes to cool
  • Returning to your dough punch the centre of your dough down to expel any gasses and then turn onto lightly floured surface and knead for another 5 minutes until perfectly smooth then divide into 8 equal portions
  • Roll one portion of the dough to approximately 8cm diameter round circle about 1cm thick and place 1/8th of the chicken mix in the centre and bring the dough together to enclose the filling pinching edges together to seal, turn the bun over so the seal side is down and shape to a perfect round bun shape and place on a clean plate seal side down and scoring the top of the bun with a small cross then cover with a tea towel
  • Repeat with the remaining portions of dough and chicken mix until you have all 8 buns
  • Steam the buns in 2 batches in a bamboo steamer, steaming for approximately 13 minutes from boiling point
  • Transfer to your serving platter and cover with plastic wrap while you steam the second batch.


Recipe Notes:

  • Store in an airtight container in the fridge for a maximum of 2 days
  • This recipe is freezer friendly
  • The chicken mince can be interchanged for any type of mince

C4K Kitchen Title Bar


Disclaimer: C4K Kitchen does not hold any responsibility for the consumer using this recipe including the storage guidelines and time frames recommended in the recipe notes.  The consumer holds all responsibilities to ensure that food hygiene and safety standards are adhered to.


Zucchini Fries


Zucchini Fries

Serves: 4-6

Zucchini Fries

Ingredients:

  • 2 zucchinis
  • 1 egg white
  • 1/4 cup milk
  • 1/2 cup grated parmesan cheese
  • 1/2 cup seasoned breadcrumbs
  • Rice bran oil cooking spray


Method:

  • Preheat oven to 220 degrees Celsius and line a baking tray with baking paper
  • Cut zucchini into fries/chip shaped sticks
  • Whisk an egg white in a small bowl, and add milk
  • Put your grated parmesan into the food processer and whizz until fine like breadcrumbs the mix well with the breadcrumbs in a separate bowl
  • Dip zucchini sticks into egg mixture, and then roll in breadcrumb mixture
  • Place the coated zucchini fried evenly on the baking tray and spray generously with cooking spray
  • Bake for 25–30 minutes or until golden brown.


Recipe Notes:

  • Store covered in the fridge for no longer than 3 days, however best served fresh
  • This recipe is not freezer friendly


C4K Kitchen Title Bar


Disclaimer: C4K Kitchen does not hold any responsibility for the consumer using this recipe including the storage guidelines and time frames recommended in the recipe notes.  The consumer holds all responsibilities to ensure that food hygiene and safety standards are adhered to.


Beef Curry


Beef Curry

Serves: 6

Beef Curry

Ingredients:

  • 800g – 1kg gravy beef or chuck steak
  • 1 large brown onion, diced
  • 2 cloves garlic, finely diced
  • 2cm fresh ginger, finely diced
  • 1 tablespoon curry powder
  • 2 teaspoons paprika
  • 2 teaspoons ground coriander
  • 1 1/2 teaspoon turmeric
  • 1 teaspoon ground cumin
  • 1/2 teaspoon chilli powder
  • 400ml can coconut cream
  • 1/2 cup beef stock


Method:

  • Place the chopped onion evenly over the base of the slow cooker and then place the whole pieces of gravy beef on top of the onion
  • In a small jug combine the coconut cream and stock with all the spices until well mixed
  • Pour the mixture over the meat and then flip the meat to ensure it is well coated in the mixture
  • Cook on LOW in the slow cooker for 6-8 hours, do not cook on HIGH as it will split the coconut cream
  • Use 2 forks or a pair of tongs to gently shred the meat before serving and mix well with the sauce
  • Serve with your choice rice, pasta, mash, vegetables or a garden salad.


Recipe Notes:

  • Store covered in the fridge no longer than 3 days
  • This recipe is freezer friendly
  • Left overs make a delicious pie filling


C4K Kitchen Title Bar


Disclaimer: C4K Kitchen does not hold any responsibility for the consumer using this recipe including the storage guidelines and time frames recommended in the recipe notes.  The consumer holds all responsibilities to ensure that food hygiene and safety standards are adhered to.


C4K Zucchini Slice


C4K Zucchini Slice

Makes: approximately 24 squares

Zucchini Slice

Ingredients:

  • 6 eggs, lightly beaten
  • 1 cup SR flour
  • 1 onion, finely chopped
  • 250g bacon pieces or shredded ham
  • 2 cups grated zucchini
  • 1 cup grated cheese
  • 1/4 cup milk
  • Salt & pepper, to taste


Method:

  • Preheat oven to 180 degrees and lightly grease a lamington/brownie tin or small rectangle Pyrex dish by greasing and lining with baking paper
  • In a large mixing bowl crack all the eggs and gently beat them together
  • Add in the flour and continue to whisk until the mixture is smooth then fold in all other ingredients with a wooden spoon until well combined and all ingredients are coated
  • Pour the mixture evenly into the prepared
  • Bake for 25-30 minutes.


Recipe Notes:

  • For an VEGETARIAN alternative remove the bacon/ham
  • You are able to add up to total of 1 1/2 extra cup of extra grated vegetables, however for each extra 1/2 cup add an egg and tablespoon of milk to the recipe
  • Store covered in the fridge for up to 3 days
  • This recipe is freezer friendly once cooked
  • A great freezer friendly option to freeze in single serves to place in lunchbox frozen in the morning.

C4K Kitchen Title Bar


Disclaimer: C4K Kitchen does not hold any responsibility for the consumer using this recipe including the storage guidelines and time frames recommended in the recipe notes.  The consumer holds all responsibilities to ensure that food hygiene and safety standards are adhered to.


Veggie Muffins


Veggie Muffins

Makes: 12-15

Veggie Muffins

Ingredients:

  • 1 cup SR flour
  • 1 cup wholemeal SR flour
  • 1/2 teaspoon baking powder
  • 3 cups mixed vegetables and fresh herbs (see recipe notes)
  • 1 cup grated cheese
  • 3 eggs
  • 50g butter, melted


Method:

  • Preheat oven to 180 degrees Celsius and either grease your muffin tray or line with muffin cups
  • Mix the flours, baking powder, vegetable mix and cheese and stir well in a large mixing bowl
  • Whisk in another bowl the 3 eggs with the cooled melted butter and fold through the flour veggies mix until well combined
  • Divide the mixture evenly between the prepared muffin trays
  • Bake for 25-30 minutes until golden on top and a cake skewer comes out clean.


Recipe Notes:

  • The 3 cups of vegetables and fresh herbs can be any combination that you desired either finely diced, grated or shredded as appropriate
  • Picture shown has; grated carrot, pumpkin, parsnip, apple and cauliflower stem with finely diced red onion, celery, red capsicum and tomato with finely shredded baby spinach, flat leaf parsley and basil
  • Store in an airtight container below 27 degrees for no longer than 5 days
  • This recipe is freezer friendly
  • Wrap in single serve as delicious and healthy lunchbox filler.


C4K Kitchen Title Bar


Disclaimer: C4K Kitchen does not hold any responsibility for the consumer using this recipe including the storage guidelines and time frames recommended in the recipe notes.  The consumer holds all responsibilities to ensure that food hygiene and safety standards are adhered to.


Spinach & Ricotta Filo Wheels


Spinach & Ricotta Filo Wheels

Makes: 6

Spinach & Feta Filo Wheels

Ingredients:

  • 250g frozen spinach, defrosted
  • 250g ricotta cheese
  • 1 cup mashed potato
  • 1 tablespoon minced garlic
  • 3/4 cup grated cheese
  • 1 teaspoon onion salt
  • 12 sheets filo pastry


Method:

  • Preheat the oven to 180 degrees Celsius and line a baking tray with baking paper
  • Place all ingredients, except the filo pastry into a bowl and combine very well, separate into 6 even portions
  • Lay 2 sheets of filo pastry out flat on a clean bench, about 4cm in from the long edge of the pastry spread one portion of the mixture in a sausage shape the entire length, fold the 4cm over the log and then roll the entire length to form a long sausage. Stop just before you get to the end and brush with some melted butter then continue to seal the long sausage.
  • Starting one end of the sausage roll the sausage to create the wheel , place the wheel on the baking tray and repeat for the 5 other wheels, use a pastry brush with melted butter where the wheel stops.
  • Brush the tops with melted butter and then bake in the oven for 30-35 minutes until golden brown.


Recipes:

  • Store in air tight container for a maximum of 2 days
  • This recipe is freezer friendly

C4K Kitchen Title Bar


Disclaimer: C4K Kitchen does not hold any responsibility for the consumer using this recipe including the storage guidelines and time frames recommended in the recipe notes.  The consumer holds all responsibilities to ensure that food hygiene and safety standards are adhered to.


Spinach & Ricotta Cannelloni with Beefy MMS


Spinach & Ricotta Cannelloni with Beefy MMS

Serves: 6

Spinach & Ricotta Cannelloni

Ingredients:

  • 250g box dried cannelloni shells
  • 2 tablespoons minced garlic
  • 250g box frozen spinach, defrosted
  • 500g fresh ricotta cheese
  • 1 portion of C4K Kitchen’s Mumma’s Magic Sauce (approximately 700-800ml)
  • 500g beef mince
  • 1 tablespoons rice bran oil
  • 1 cup grated cheese


Method:

  • Preheat oven to 180 degrees Celsius
  • Add the oil and 1 tablespoon of mince garlic into a hot frying pan, add in the mince and brown off breaking up the mince with your wooden spoon.
  • Once the mince is all sealed, pour over the serving of MMS and reduce the heat to a very low simmer while you prepare the cannelloni
  • Put in a mixing bowl 1 tablespoon of the minced garlic, defrosted spinach and the ricotta cheese, add seasoning and mix until well combined
  • Transfer the mix into a zip lock bag, expel all extra air and seal the bag
  • Using the first of the cannelloni tubes to determine how much you snip off the corner off the zip lock bag so you can squeeze the mixture directly into the tubes
  • Repeat filling the tubes and laying them in a lasagne dish until you have used all of your mixture
  • Pour the mince and MMS mixture over the top and place in the oven for 15 minutes
  • Sprinkle the cheese over the top of the mixture and place back in the oven for a further 5 minutes (if your oven has a grill setting change to this for the last 5 minutes to get the cheese golden and bubbly.


Recipe Notes:

  • Store covered in the fridge no longer than 3 days
  • This recipe is freezer friendly either before or after cooking
  • For a vegetarian alternative top with straight MMS and cook as detailed in the method


C4K Kitchen Title Bar


Disclaimer: C4K Kitchen does not hold any responsibility for the consumer using this recipe including the storage guidelines and time frames recommended in the recipe notes.  The consumer holds all responsibilities to ensure that food hygiene and safety standards are adhered to.


MISSION FOODS: Product Review

This post has been brought to you by Nuffnang and Mission Foods  Please click here for further information


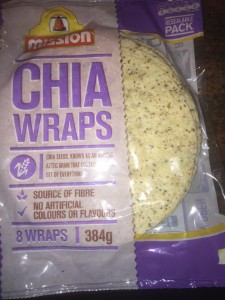
I have been selected to trial and provide my review on the Mission Foods Red Quinoa Wraps and Chia Wraps.  This couldn’t have come at a more perfect time for me for two reasons. Firstly the #membermonday requests of late have predominately been featuring quinoa and/or chia to be used as the challenge ingredient. Secondly because they fit perfectly into my new #healthymumma lifestyle with all the additional goodness that both quinoa and chia seeds bring to food.

Because I am doing a review that will have the C4K Kitchen name on it, it was important for me before discussing  quinoa and chia seeds that I not understand their origin but also the benefits that they can provide, so below is an overview of my findings.


QUINOA:

Origin: Quinoa originates from the Andean region (Peru, Bolivia, Ecuador & Colombia) where it has been used for human consumption for thousands of years.  While it is similar to cereals it is in fact a pseudocereal similar to buckwheat.

Benefits: Quinoa has been dubbed as a superfood due to the fact that they have a high protein content with a low gluten content.  Quinoa is also a rich source of the B vitamins; thiamine, riboflavin, vitamin B6 and folate and a rich source in dietary minerals; iron, magnesium, phosphorus and zinc.  It also provides a modest source of calcium as well as numerous other appropriate levels of vitamins and minerals to provide a great balance of the what is needed for everyday nutrition.

CHIA SEEDS:

Origin: Chia Seeds are known as an ancient Aztec grain that contains a little bit of everything.

Benefits: Chia Seeds are a rich source of protein, omega-3 fats, calcium and Vitamin B; thiamine and niacin, a good source of Vitamin B; riboflavin and folate.  They also contain dietary minerals; calcium, iron, magnesium, phosphorus and zinc.


Having completed my research and also discovering that the Mission Food wrap do not contain any artificial flavours or colours I was satisfied that these products that I am going to be testing are actually going to be providing a high level of nutrition to my body as opposed to the standard white wheat wraps I have bought in the past.


To start with I tried the Mission Food Quinoa Wraps.

Chia Wraps
Firstly I had a milk poached chicken and salad wrap

Chia Wrap with Milk Poached Chicken

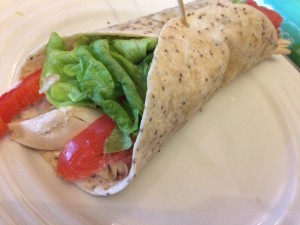
All I can say is yum yum yum, the texture of the wrap is so palatable, they are very soft and tender to bite without that wrap chewiness you can get from wheat based wraps.  After having this wrap I was so impressed with the flavour that I made myself the same thing to have for lunch the next day with my work colleagues drooling over my delicious looking wrap.

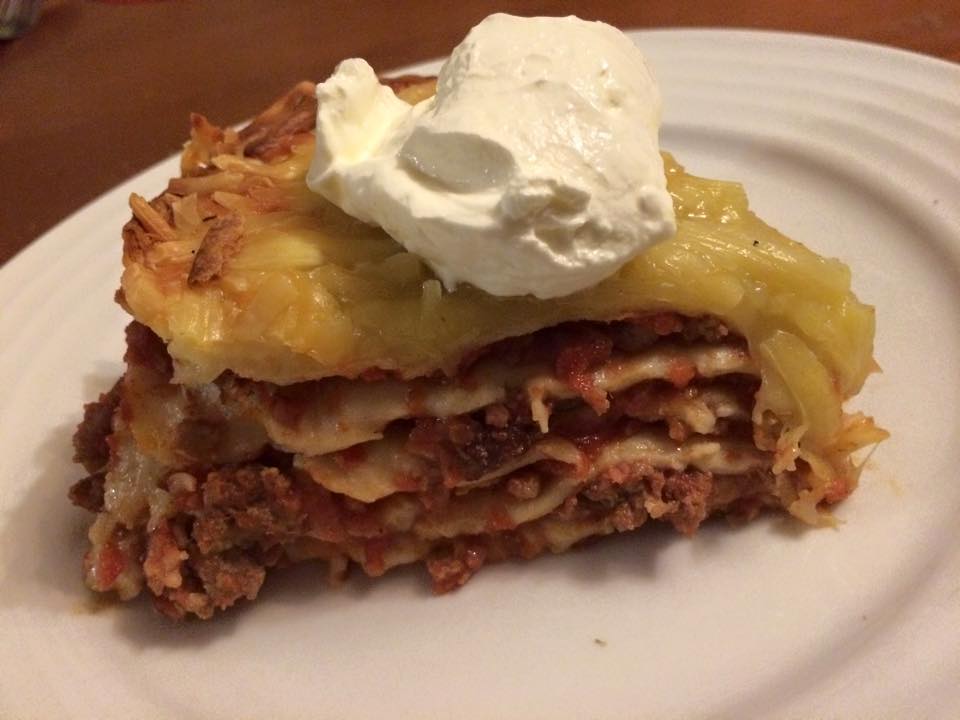
I then used the remainder of the packet to make a Mexican Tortilla Stack and this is something that my entire family thoroughly enjoyed with Master 3 having 2 serves declaring it “licious mummy”.

Chia Wrap Mexican Tortilla Stack

I was sad to have finished the packet as I was so impressed with these wraps as they were delicious with a great texture however ready to start my testing on the Red Quinoa wraps.

Red Quinoa Wraps

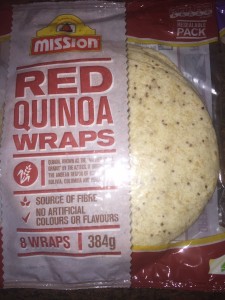
I was a little more cautious about trying these given I know the consistency of quinoa and that is doesn’t dissipate like chia seeds have the ability to but trialled at the same.

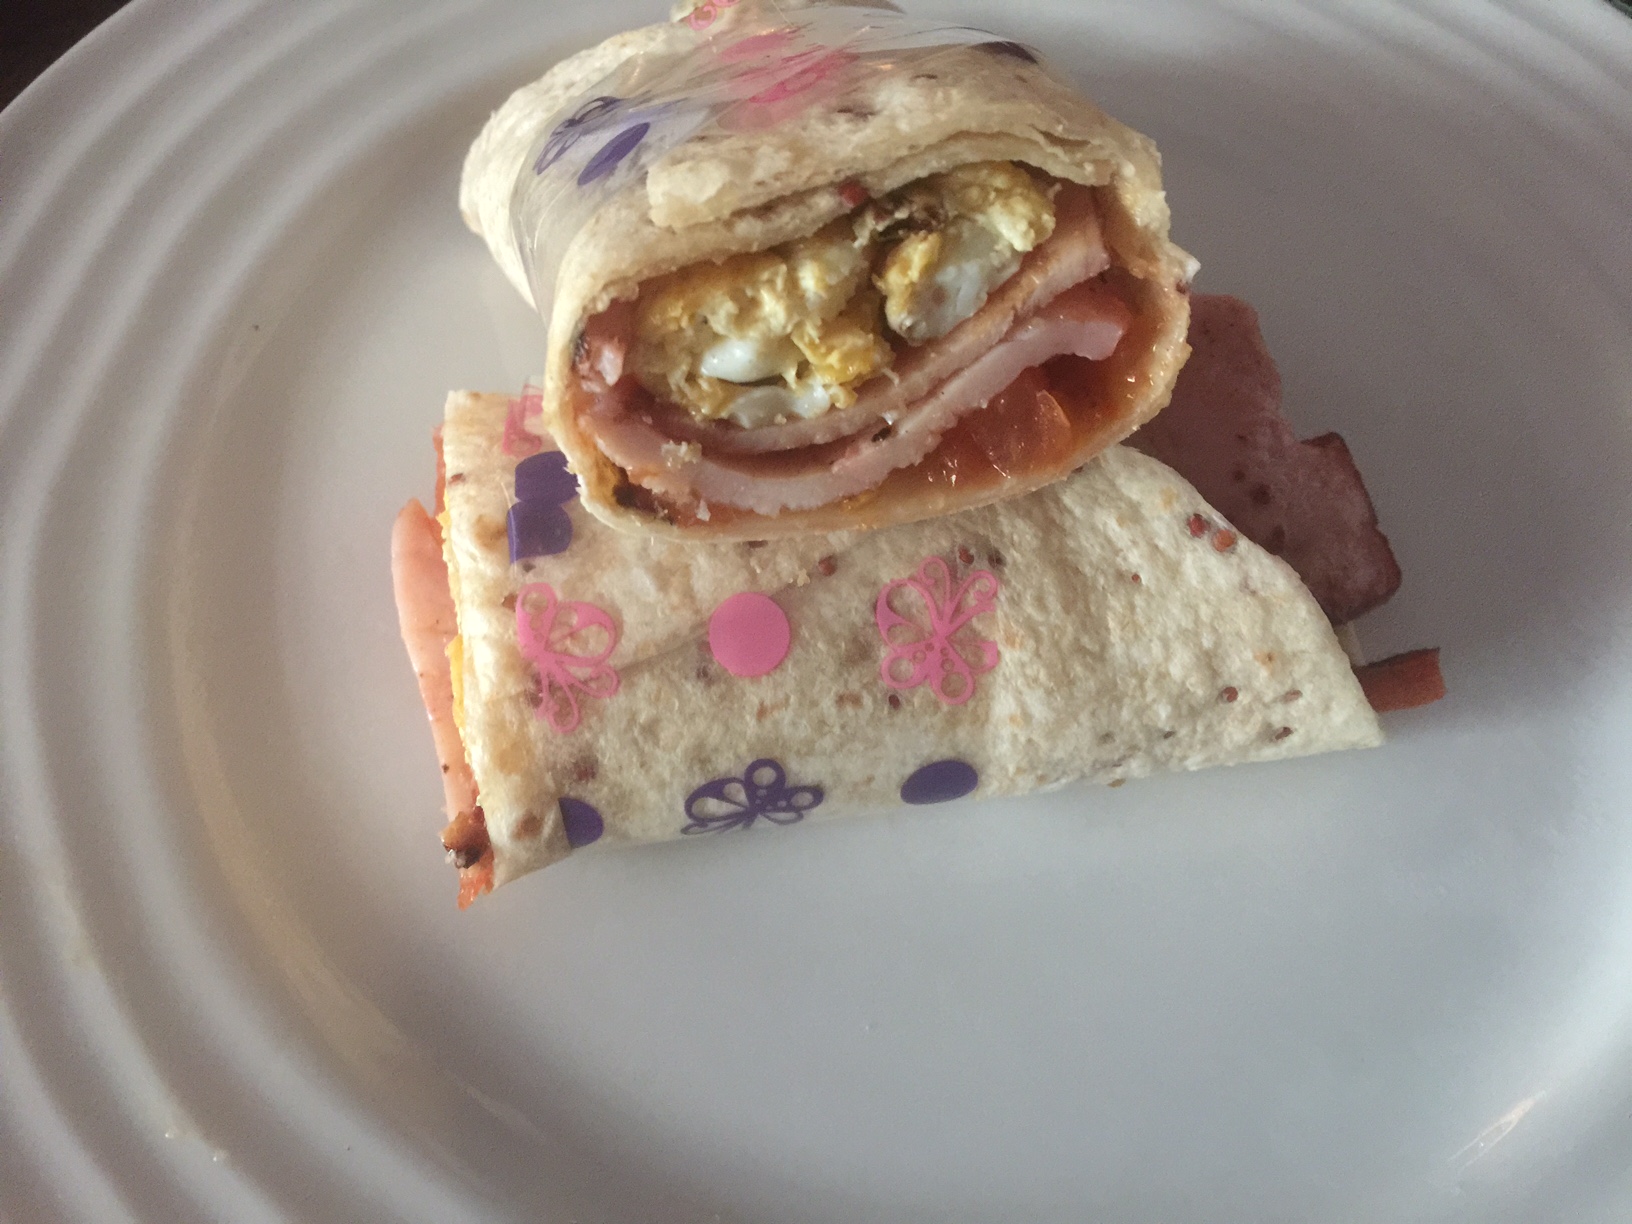
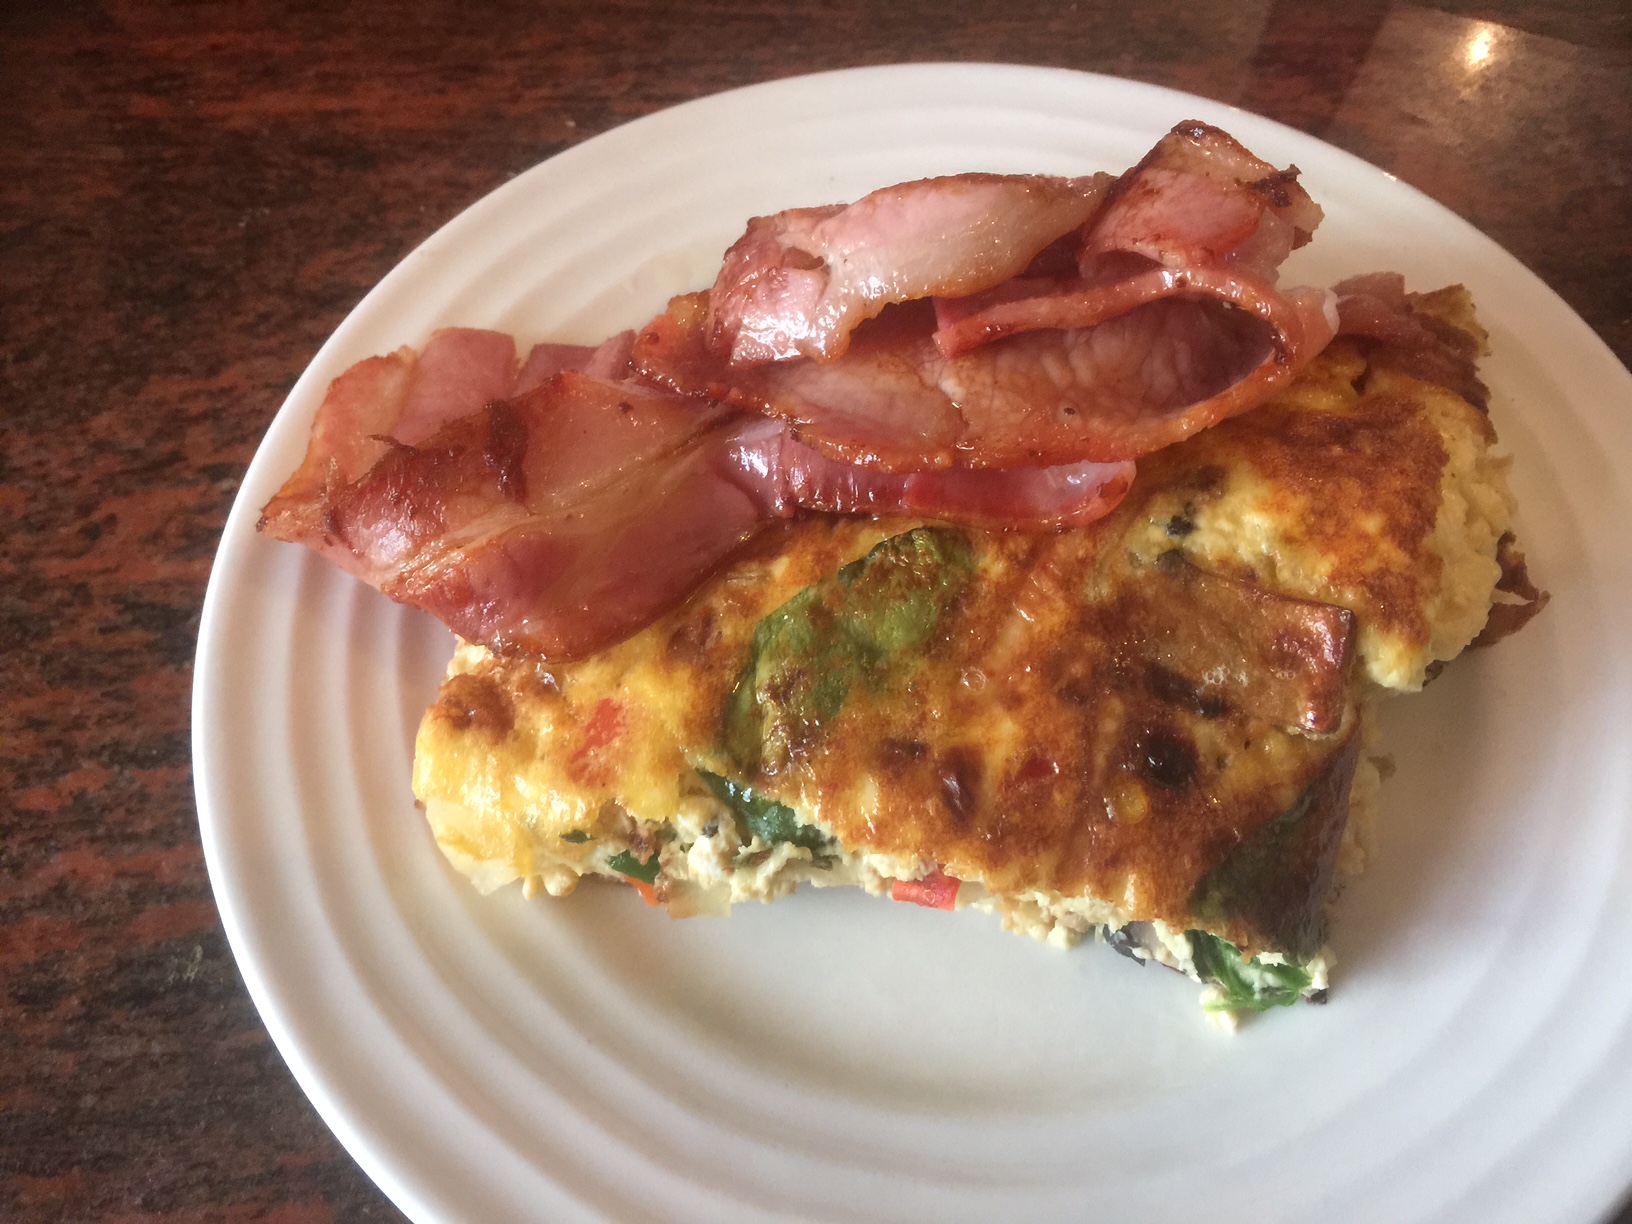
I started my day with a grilled tomato, bacon and scrambled egg wrap and lets just say wow wow wow, of the 3 bites that I got it was so delicious.

Red Quinoa Breakfast Wrap

Why did I only have 3 bites of it? Mr 3 decided every time I went to have a bite that it was his turn instead. The wrap had the same amazing texture as the chia wraps but with a slight undertone of that yummy nuttiness that quinoa has.

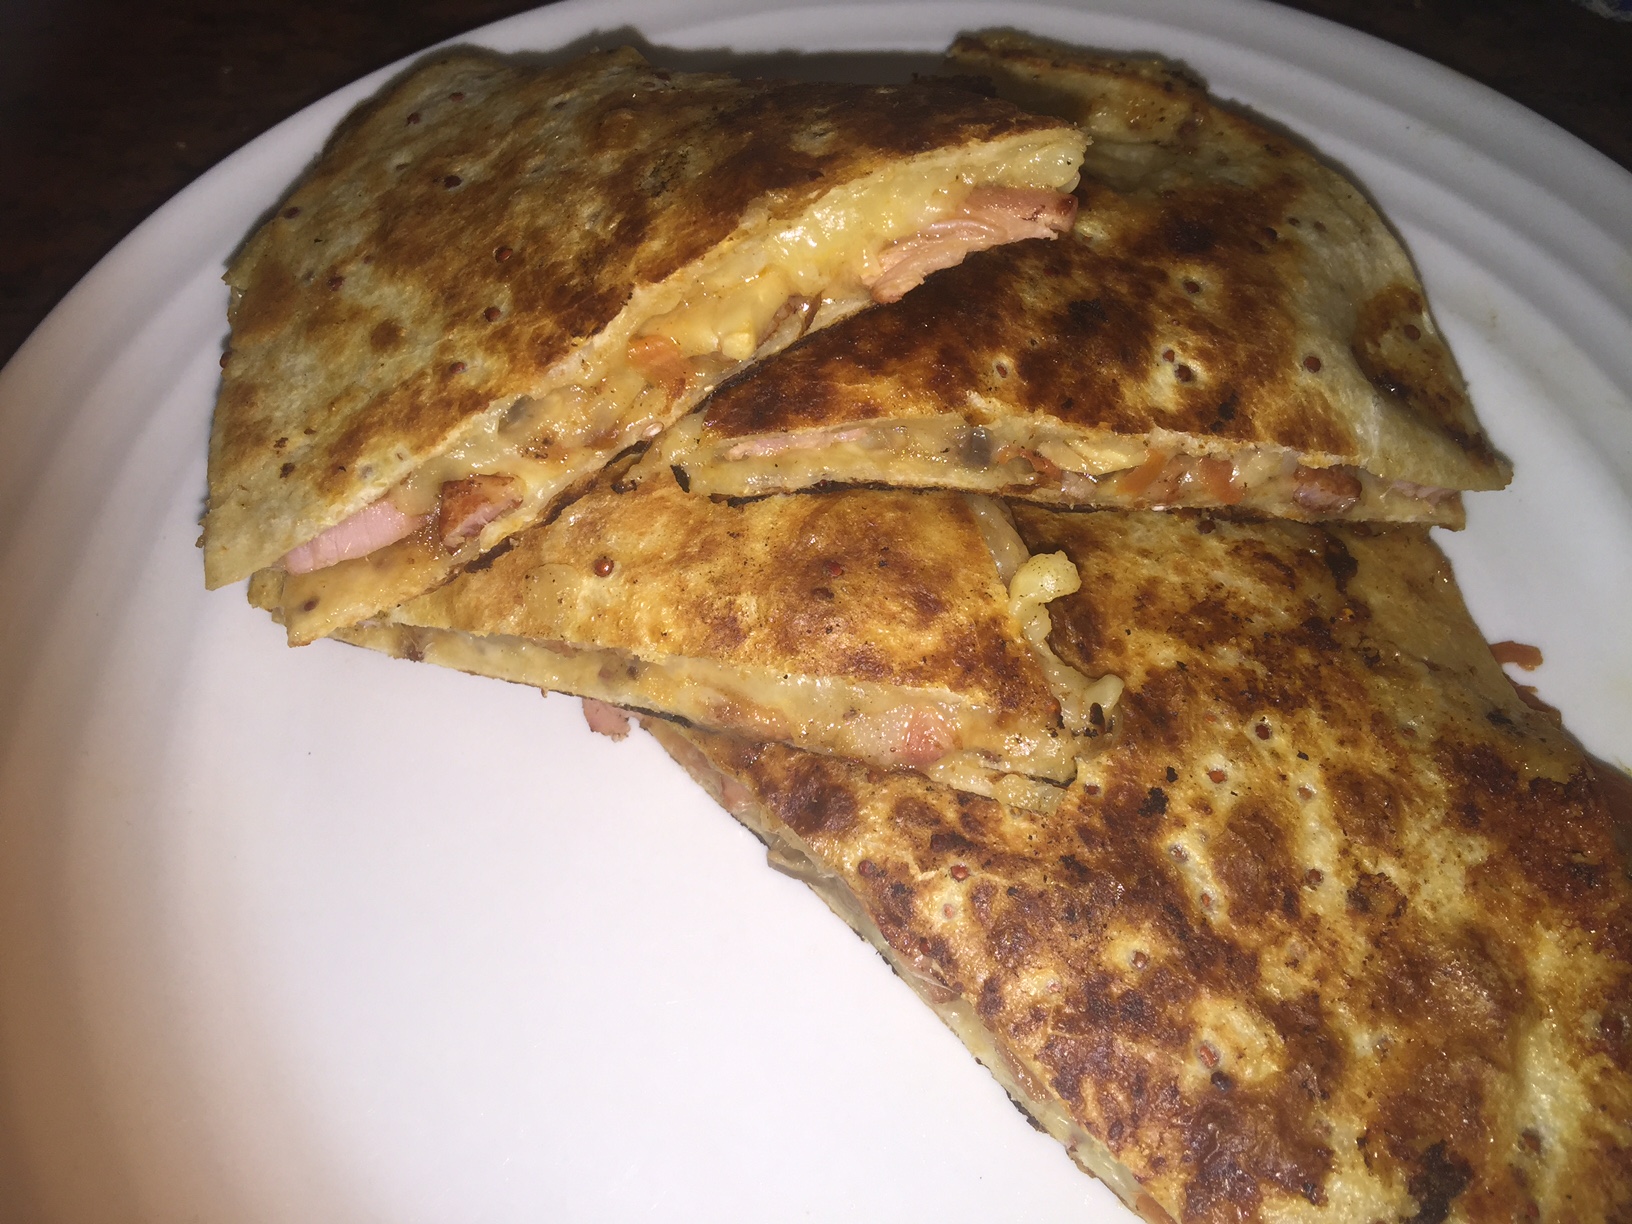
Given that my son has textural aversions when it comes to food and he was quite happy to “have a turn at my breakfast” I decided that I would try my luck making a quesadilla for lunch for him. Nothing fancy, just a simple cheese, mushroom, bacon & tomato quesadilla.

Red Quinoa Quesadilla

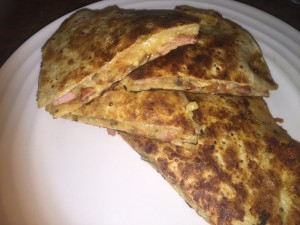
One again this was another surprise hit with Master 3.

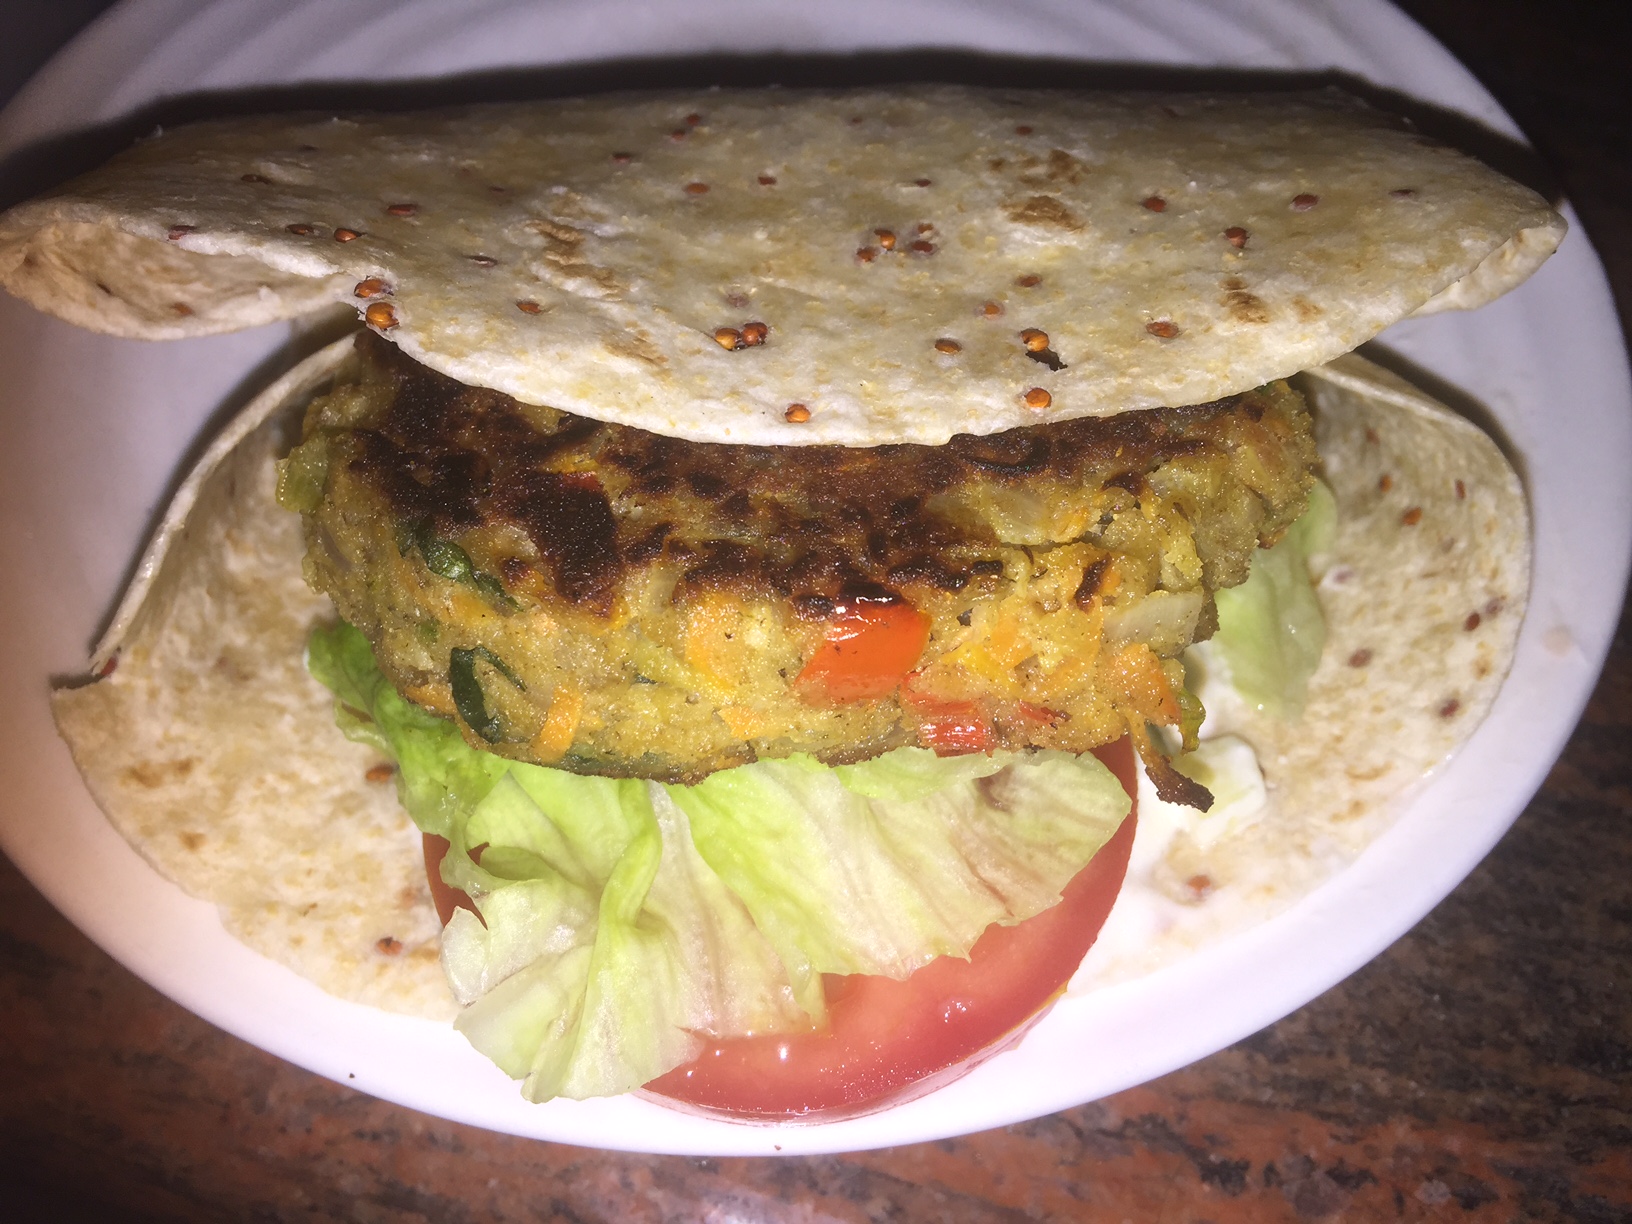
The following night I decided it was burger night, not only did I get away with meat free burgers with the C4K Kitchen’s The All Veggie Burger, but also got away with not using the standard white hamburger rolls I would buy and instead used the Red Quinoa wraps pinching the sides in to have a perfect shaped Burger Wrap pocket.

Red Quinoa Wrapped Veggies Burger

This was my delicious burger, master 3 had the same and my partner had two of the same with bacon & cheese added also.


All in all I am so very impressed with both the Mission Foods Chia Wraps and Red Quinoa Wraps. They were delicious with great flavour, packed full of nutrition for my family and completely versatile.  They will be regulars in our family diet now.


The Mission Food’s Chia Wraps and Red Quinoa Wraps are now available at Woolworths and selected independent supermarkets with a RRP $4.79

For more information about Mission Food’s and their range available pleas click here


C4K Kitchen Disclaimer: While this product review is brought to you by Nuffnang and Mission Foods, all photos and the opinions expressed in this post are the property and opinions of the C4K Kitchen.

**Note: The original and benefits information for both quinoa and chia seed above is paraphrased from the relevant Wikipedia websites.


Frying Pan Frittata


Frying Pan Frittata

Serves: 4

Frying Pan Frittata

Ingredients:

  • 1 small onion, finely diced
  • 1 celery stalk, finely diced
  • 2 cloves garlic, finely diced
  • 1/2 long red chilli, finely diced
  • 1/4 red capsicum, finely diced
  • 4 mushrooms, thinly sliced
  • 1/2 cup baby spinach
  • 1/4 cup ricotta cheese
  • 6 eggs, lightly beaten


Method:

  • Heat one tablespoon of rice bran oil in a heavy based skillet over a medium heat and sauté the onion, celery and garlic for 2-3 minutes until it has softened
  • Add in the capsicum, chilli and mushrooms for another 1-2 minutes until the mushrooms start to soften
  • In a mixing bowl lightly beat the eggs and stir through the ricotta cheese until well combined
  • Add in the contents of the skillet and the baby spinach and stir until well mixed
  • Pour the mixture into the skillet and turn to medium heat and cooked for about 5 minutes until golden on the bottom
  • Remove the skillet from the stove and place under your griller at a medium-high heat and grill the top for about 3-5 minutes until the eggs are cooked through and it is golden on top.


Recipe Notes:

  • Picture shows served with some grilled bacon eyes
  • Store covered in the fridge to use within 2 days
  • This is not a freezer friendly recipe
  • Other vegetables that may be considered to add are; diced tomato, corn kernels, shredded kale/silverbeet, leek, grated carrot, grated sweet potato, cauliflower, broccoli.
  • You could also add shredded ham or chicken or diced bacon to the mixture also
  • If you prefer your frittata cheesy add in up to 1 cup of grated cheese into the mixture.
C4K Kitchen Title Bar  

Disclaimer: C4K Kitchen does not hold any responsibility for the consumer using this recipe including the storage guidelines and time frames recommended in the recipe notes.  The consumer holds all responsibilities to ensure that food hygiene and safety standards are adhered to.