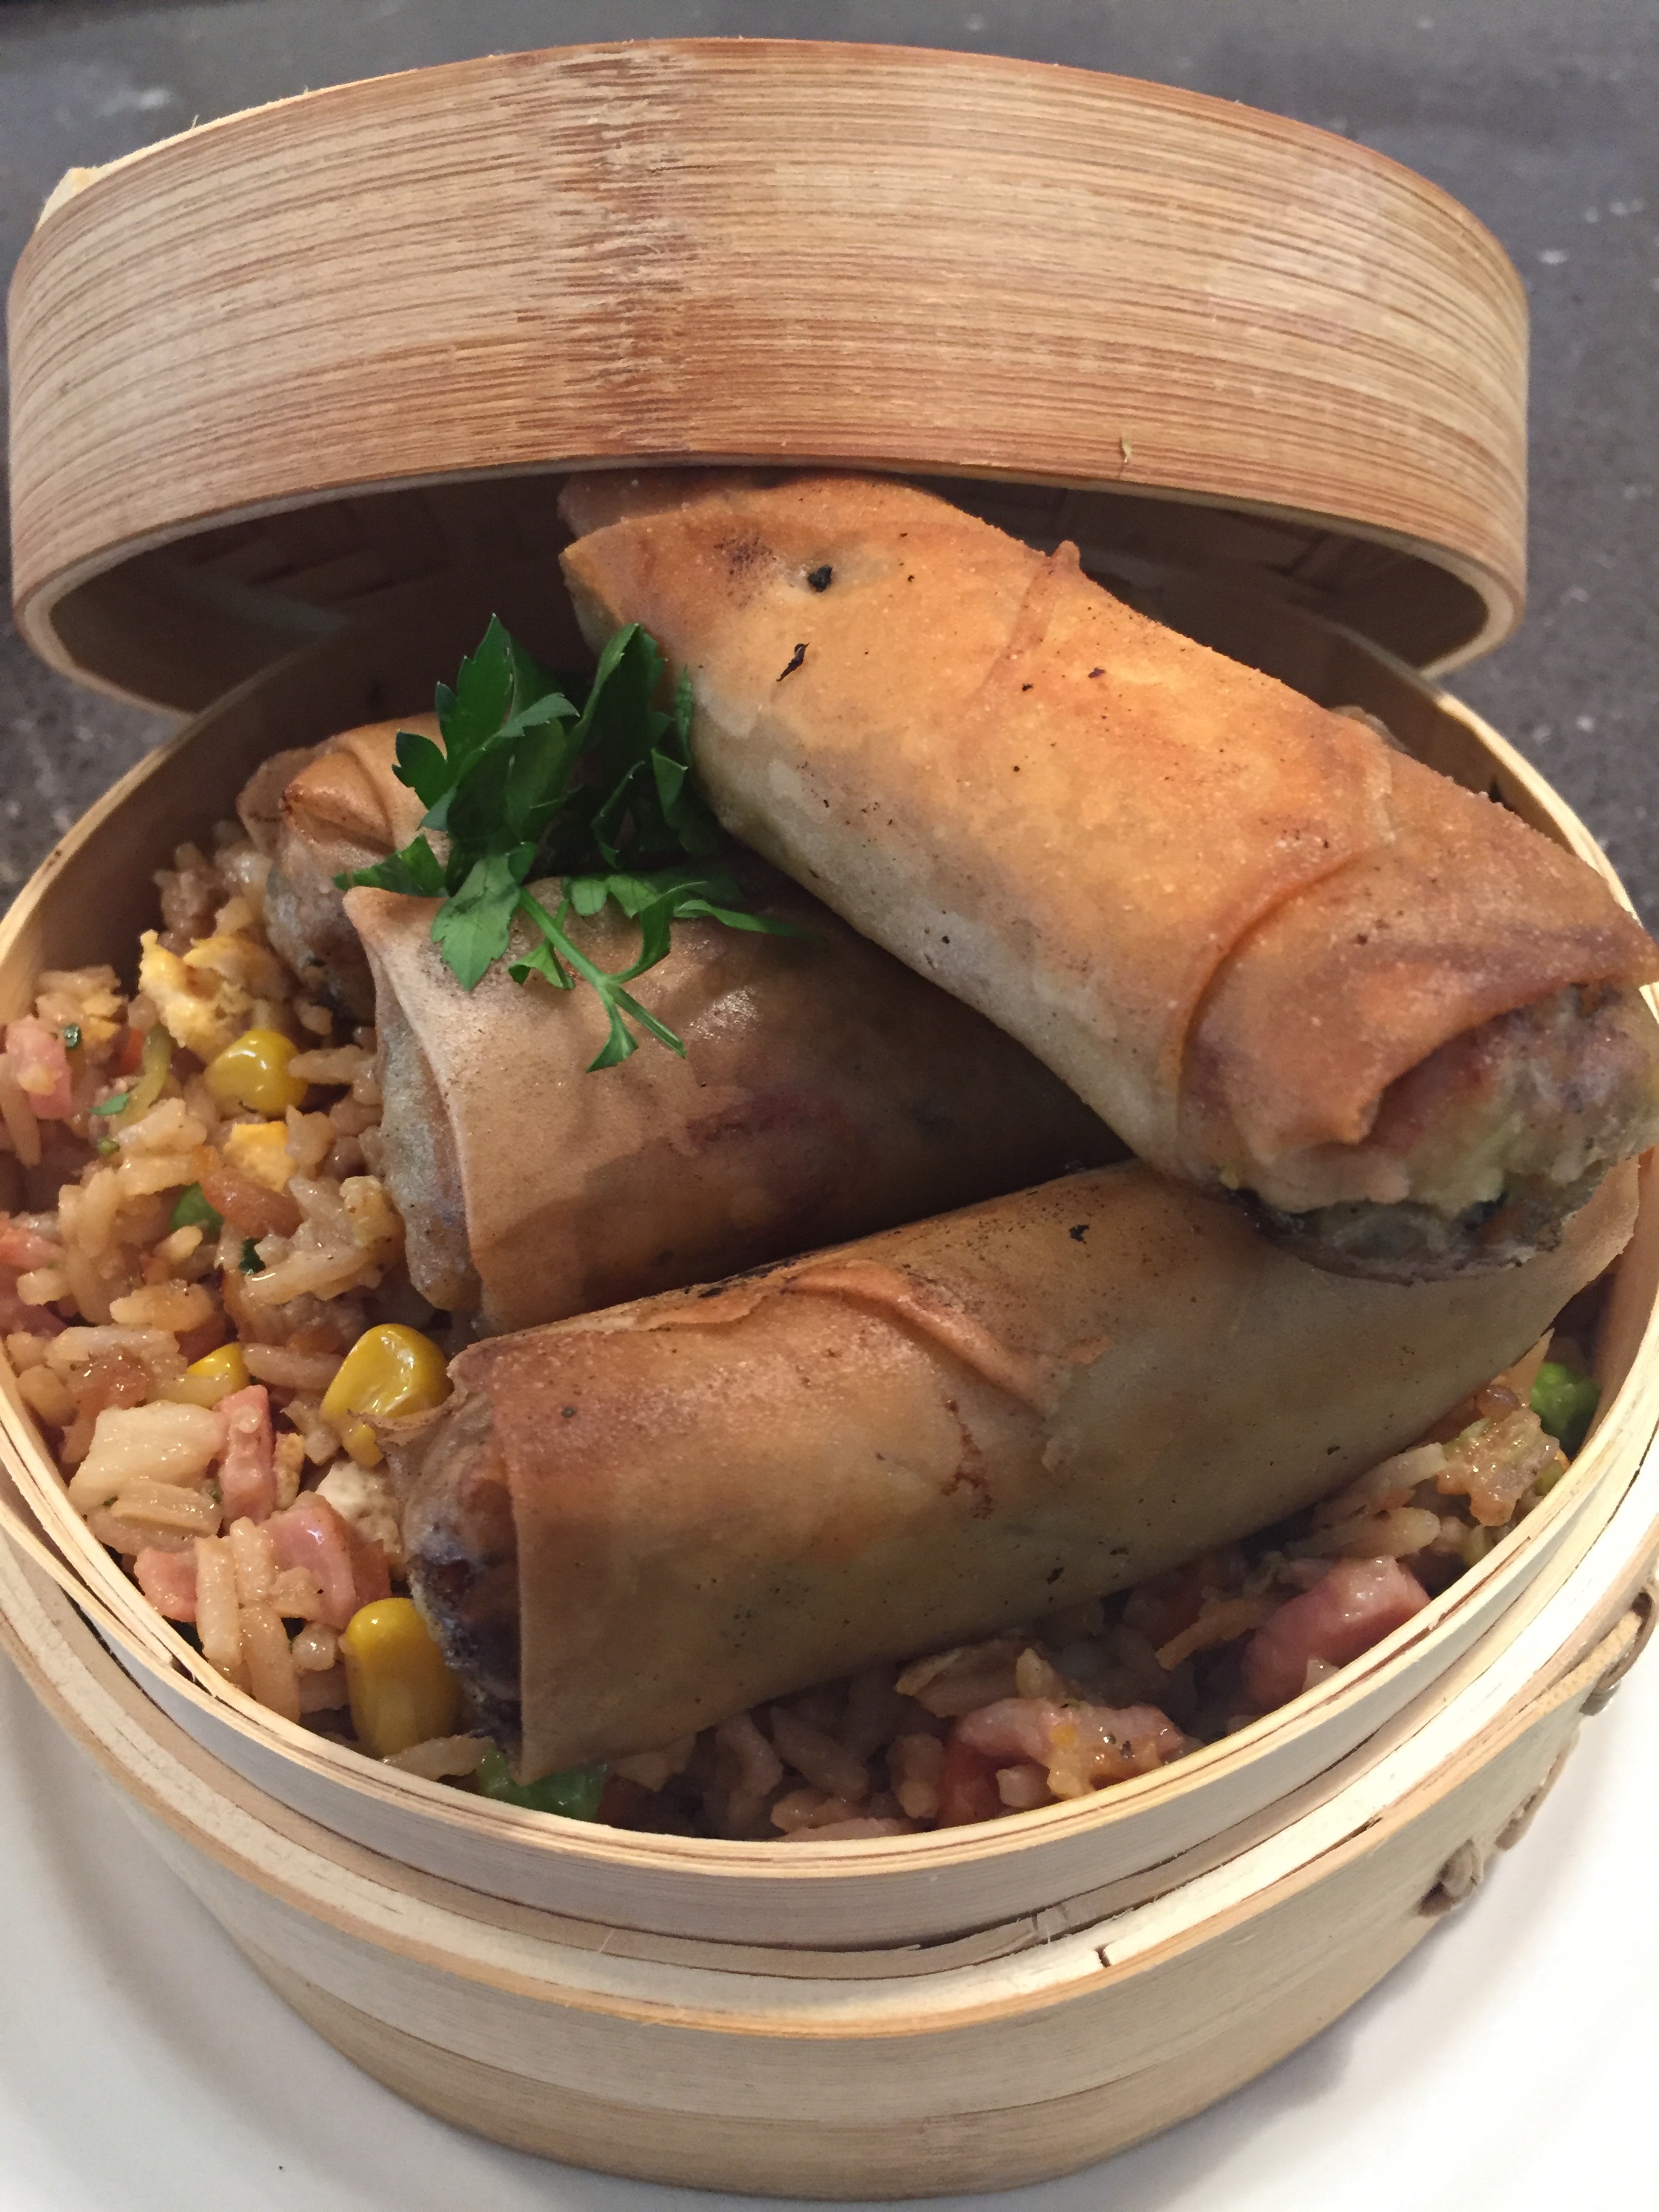
Pork & Vegetable Spring Rolls
Pork & Vegetable Spring Rolls
Makes: approximately 24
Ingredients:
- 1 packet frozen spring roll wrappers, defrosted
- 2 teaspoons sesame oil
- 500g pork mince
- 1 tablespoon rice bran oil
- 4 cloves garlic, finely grated
- 2cm fresh ginger, finely grated
- 1 carrot, grated
- 1 zucchini, grated with excess juices squeezed out
- 1/4 head broccoli (including stem), grated
- 1/8 head cauliflower (including stem), grated
- 1/2 bunch spring onion, finely sliced
- 4 mushrooms, grated
- 1 cup finely shredded wombok
- 1 cup bean sprouts
- 2 tablespoons oyster sauce
- 1 tablespoon soy sauce
- 1 tablespoon fish sauce
- 1 teaspoon corn flour
Method:
- Heat the sesame oil in a heavy based frying pan or wok over a medium heat
- Brown the mince ensuring you break up into fine pieces during the cooking process
- Pour the mince into a plate lined with paper towel so all the excess juices and fat is absorbed out if the meat
- Heat the rice bean oil in the same frying pan/wok
- Add in all the vegetables except the wombok and bean sprouts and sauté until the vegetables have wilted
- Add in the wombok, bean sprouts and the three sauces and sauté until the cabbage has wilted and the mixture comes together
- Remove from the heat, then stir through the mince to the vegetable mix until well combined
- If there appears to be any excess liquid in this mixture,drain it off
- Allow to cool slightly
- In a small mixing bowl combine the corn flour with 1 tablespoon water to create a paste and set aside
- Lay your first spring roll wrapper in a diamond shape in front of you on a clean and dry surface area
- Place 2 tablespoons of mixture about 2cm up from the point closest to you and evenly spread to approximately 8-10cm in length, try to limit the movement of the mixture to minimise tears in the wrappers
- Fold the point closest to you over the filling and then fold the two side points over the filling so that the edges are either even or smaller than the filling
- Very gently roll the partially covered filling into the final spring roll shape, ensuring you apply an even but gentle pressure so the wrapper doesn’t tear
- To seal your spring roll use your fingers to dampen the closing tip of the wrapper with the corn flour paste
- Repeat until all the mixture is used
- To cook your spring rolls either deep fry or shallow fry until your spring roll is golden and crispy.
Recipe Notes:
- Best serve freshly cooked but can be stored in the fridge covered up to 3 days
- Prepared but uncooked spring rolls are freezer friendly to be consumed within 3 months
- Picture shown has the spring rolls served with C4K Fried Ruce with the excess spring roll filling stirred through.

Disclaimer: C4K Kitchen does not hold any responsibility for the consumer using this recipe including the storage guidelines and time frames recommended in the recipe notes. The consumer holds all responsibilities to ensure that food hygiene and safety standards are adhered to.