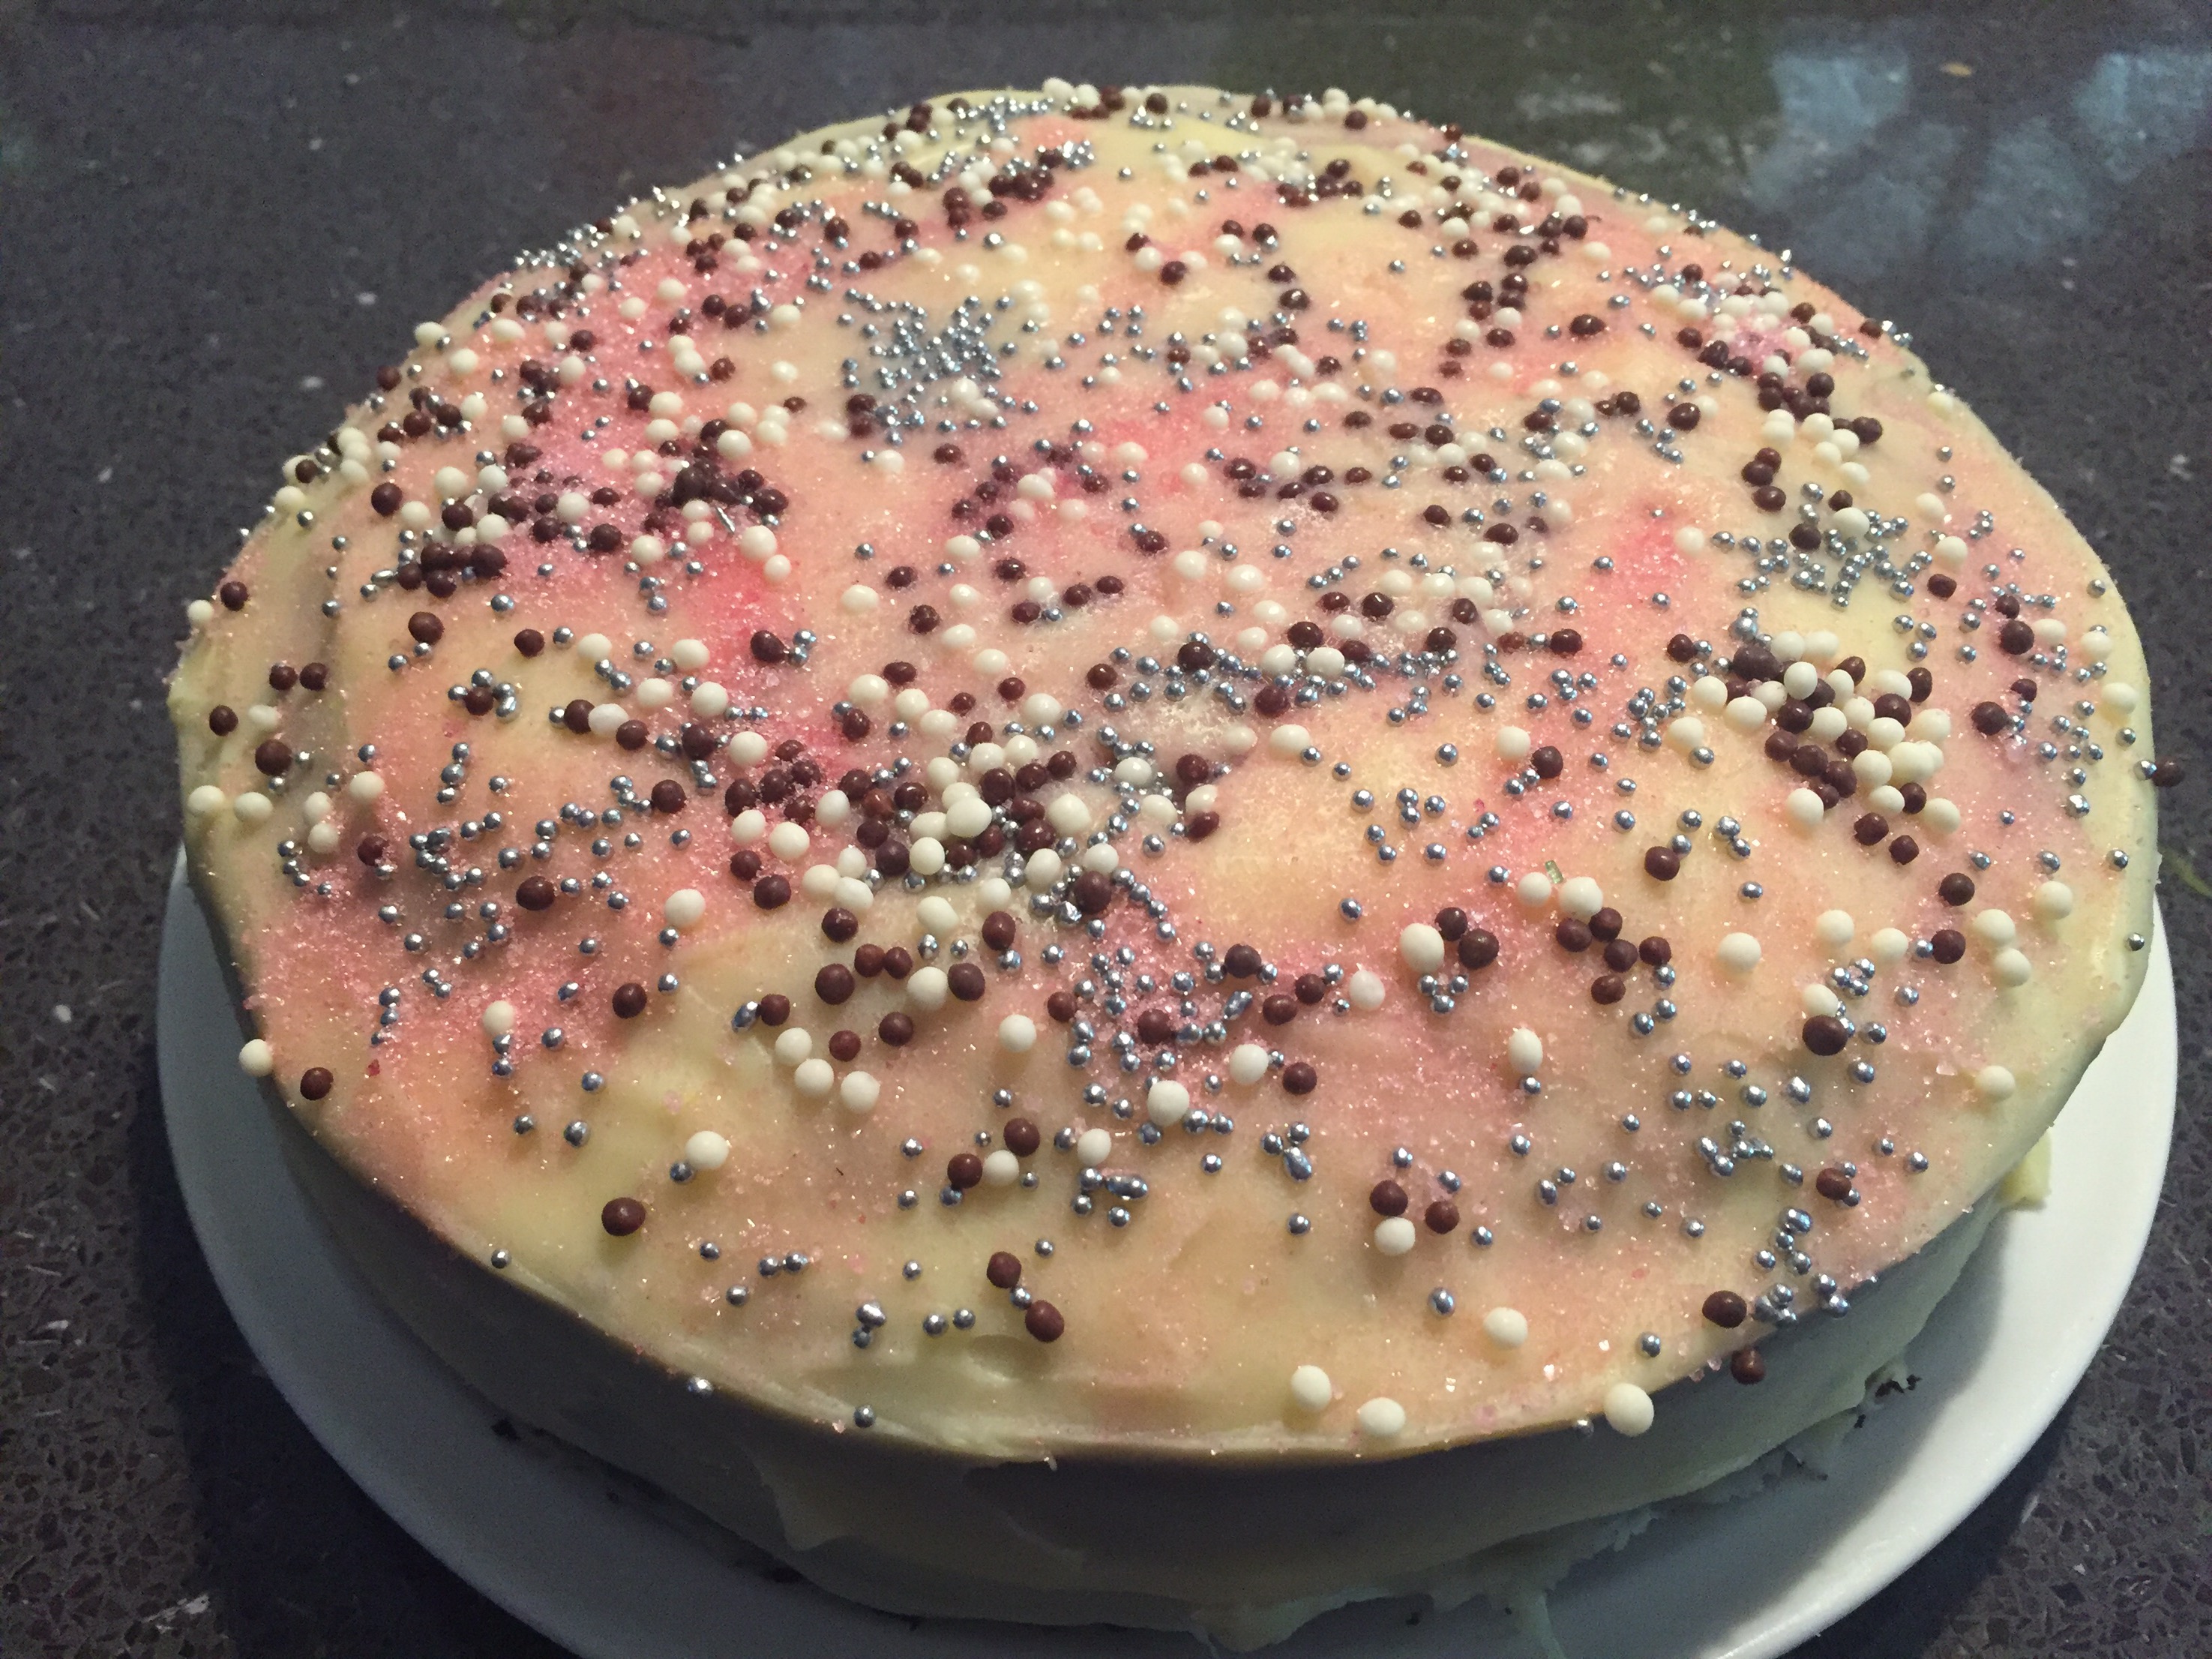
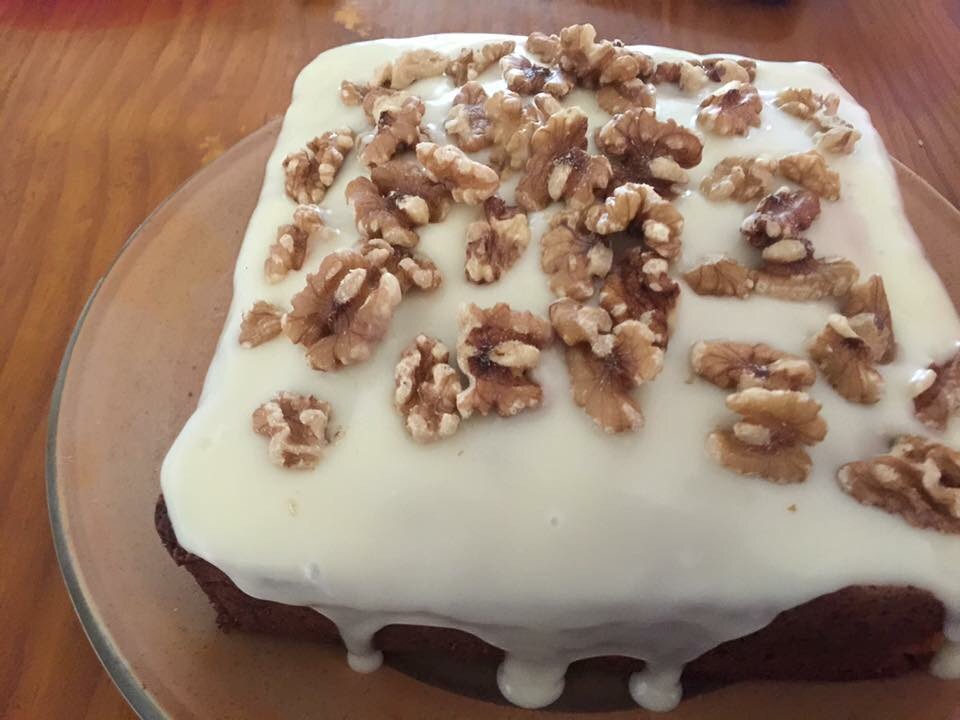
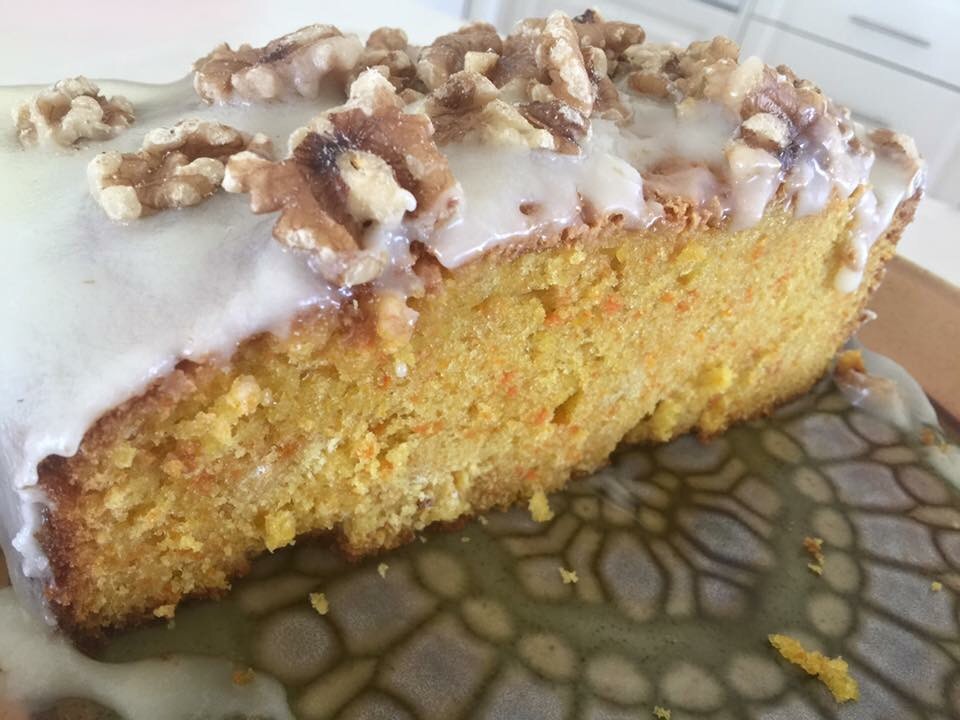
Blended Carrot Cake with Cream Cheese Glaze
Blended Carrot Cake with Cream Cheese Glaze
Makes: 1 X 20cm round or square cake
Cake Ingredients:
- 1 cup oil
- 1 cup caster sugar
- 4 eggs
- 4 carrots, roughly chopped
- 2 1/4 cups plain flour
- 2 teaspoons baking powder
Glaze Ingredients:
- 150g spreadable cream cheese
- 1 cup icing sugar
- 1 teaspoon lemon juice
- 3/4 cup chopped walnuts
Method:
- Preheat oven to 180 degrees Celsius and prepare a 20cm square or round cake tin by greasing well
- Place the oil, sugar, eggs and carrots in a food processor and blend until smooth
- THERMO COOKING [Speed 6, 20 seconds]
- Pour the mixture into a mixing bowl and add in the remaining cake ingredients and fold through using a spatula until well combined
- Pour the batter into the prepared cake tin and bake for 40-50 minutes or until a cake skewer comes out clean
- Remove the cake from the oven and allow to cool in the tin for at least 10 minutes before transferring to a wire cake rack.
- To make the glaze, blend the ingredients together and pour over the cooled cake
- Top with the chopped walnuts
- Place the cake in the fridge for about an hour for the glaze to set
Recipe Notes:
- Store in an airtight container for a maximum of 5 days
- The cake without the glaze is freezer friendly to be consumed within 3 months

Disclaimer: C4K Kitchen does not hold any responsibility for the consumer using this recipe including the storage guidelines and time frames recommended in the recipe notes. The consumer holds all responsibilities to ensure that food hygiene and safety standards are adhered to.