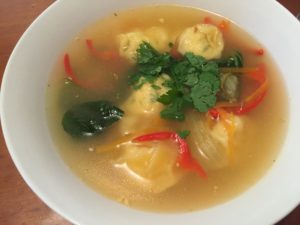
Chicken Wonton Soup

Chicken Wonton Soup

Serves: 4


Wonton Ingredients:

  • 1 packet prepared wonton wrappers
  • 500g chicken mince
  • 1/2 cup shredded fresh coriander
  • 2 cloves, finely grated
  • 1 tablespoon fresh ginger finely grated
  • 1 teaspoon sesame oil
  • 1 egg

Soup Ingredients:

  • 2 litres water
  • 3 chicken stock cubes
  • 2 chicken breasts
  • 4 cloves garlic, finely diced
  • 2cm fresh ginger, finely diced
  • 3 heads Asian greens
  • 1 red capsicum, julienne
  • 1 carrot, julienne
  • 2 tablespoons light soy sauce

Wonton Method:

  • Combine all ingredients except the wonton wrappers and mix until very well combined
  • Place a teaspoon of the mixture onto one half of the wonton wrapper
  • Use your finger tip to slightly wet 2 sides of the wrapper in an L shape
  • Fold the wonton wrapper over into a triangle shape aligning one damp side with a dry side and use your fingertips to press along the join so it seals well
  • Repeat on the other side so you have a well sealed samosa shape
  • Wrap one of the long points across the front of the wonton
  • Dampen the remaining extended point and wrap that across the front of the wonton pressing where damp to seal well, this well resemble a classic tortellini shape
  • Place the wonton on a piece of paper towel and repeat the process until you have used all the filling
  • This will make approximately 40 wontons which is enough for 2 batches of soup
  • Store in the fridge on a piece of paper towel covered in glad wrap for up to 2 days or until ready to use;or
  • Store in the freeze in a ziplock bag lined with paper towel, remove from the freezer before commencing to cook the soup.

Soup Method:

  • Place the water, stock cubes, garlic and ginger in a soup pot and bring to the boil
  • Once boiling add in the 2 chicken breasts, add the lid and reduce the heat to a medium simmer and poach for 10-12 minutes, depending on the size of the breast
  • Remove the chicken breasts and set aside to use for another recipe
  • While the chicken is poaching prepare the vegetables by cutting the bases off the Asian greens and cutting in half between the tops and bases and julienne both the carrot and red capsicum
  • Once the chicken has been removed add in the bases of the greens, capsicum and carrot and simmer for minutes
  • Finally add in the tops and the wontons (either fresh or partially defrosted) and add in the soy sauce
  • Replace the lid on the saucepan and simmer until the wontons rise and float to the top. For fresh this is about 5-7 minutes and for frozen it is about 10-12 minutes.
  • Serve topped with fresh coriander.

Recipe Notes:

  • Store covered in the fridge for a maximum of 2 days, however best served fresh
  • The wontons are freezer friendly however the constructed soup is not suitable for the freezer
  • To make the soup more filling you can add pre-soaked vermicelli rice noodles in the base of each each bowl before adding the soup to the bowl.


Disclaimer: C4K Kitchen does not hold any responsibility for the consumer using this recipe including the storage guidelines and time frames recommended in the recipe notes. The consumer holds all responsibilities to ensure that food hygiene and safety standards are adhered to.
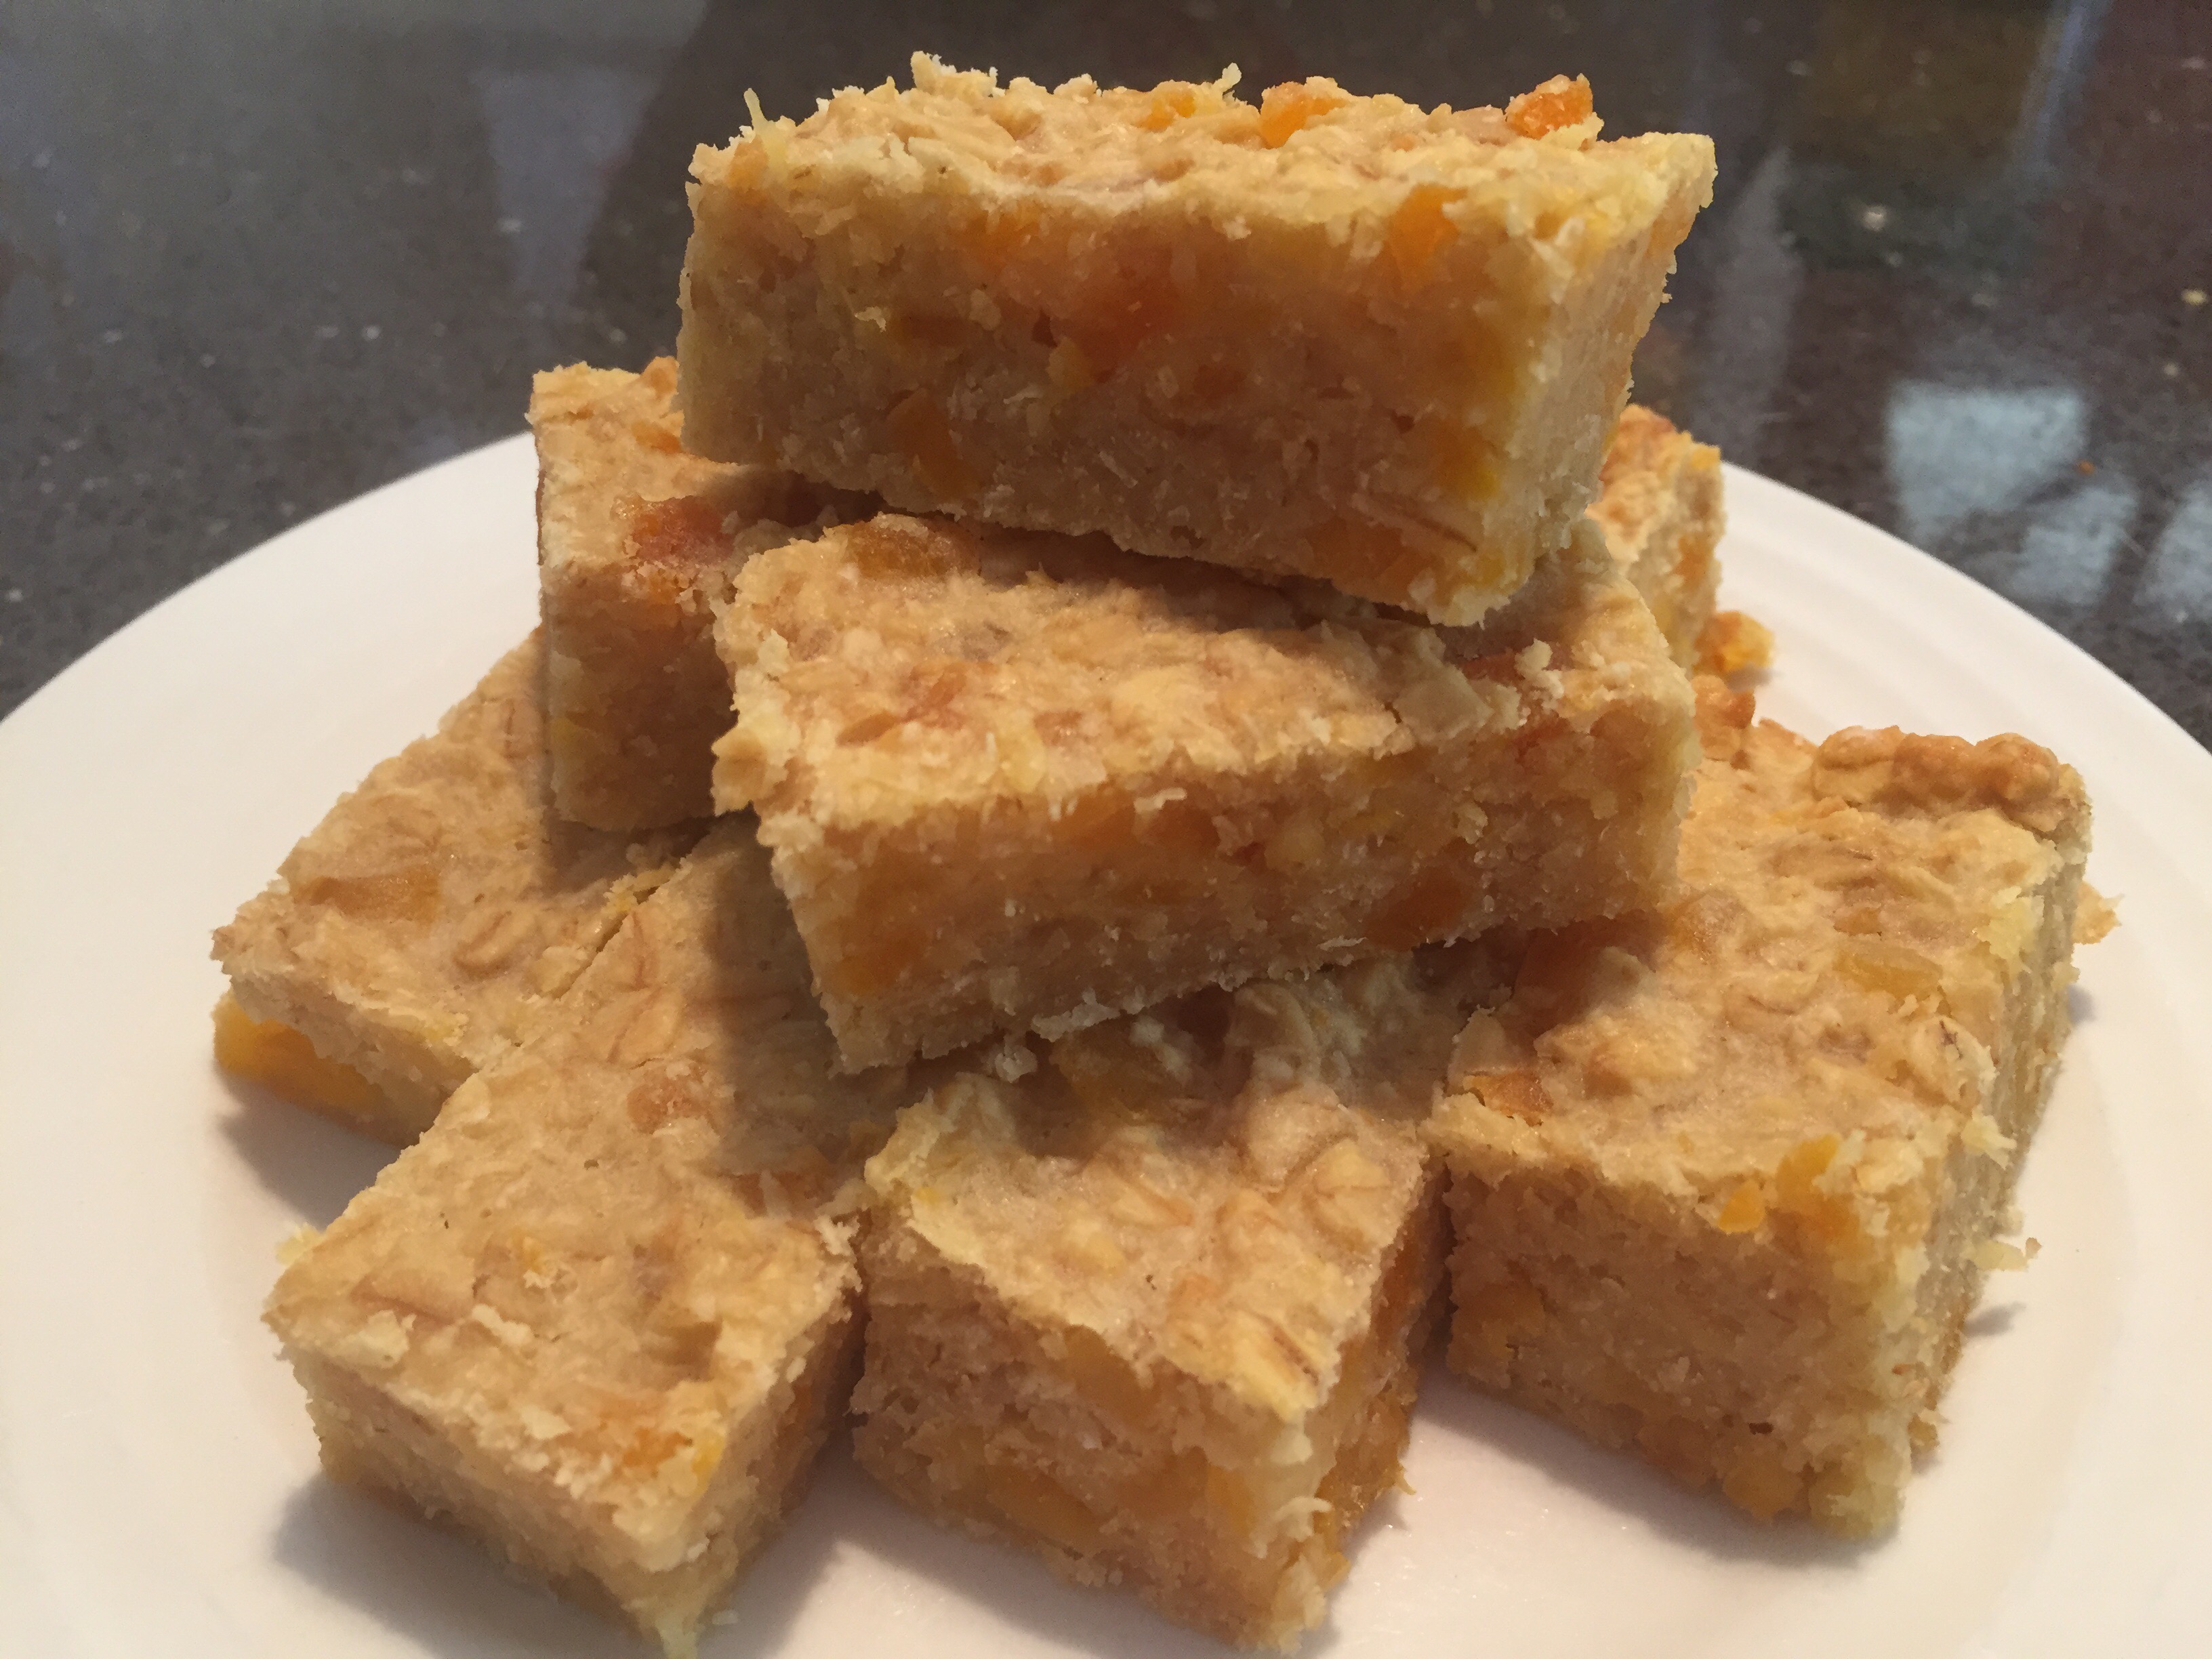

Apricot Oat Bars

Apricot Oat Bars

Makes: 27 bars or 54 bites


Ingredients: 

  • 200g chopped dried apricots
  • 250ml apricot nectar or apple juice
  • 2 tablespoons butter
  • 2 cups rolled oats
  • 1/2 cup desicated coconut 
  • 1 cup plain flour
  • 1 egg, lightly beaten
  • 1 cup milk

Method:

  • Preheat oven to 180 degrees Celsius and prepare a brownie tin by greasing and lining with baking paper 
  • Place the dried apricots, juice and butter in a microwave proof container and microwave on high for 2 minutes and mix well
  • Combine the oats, coconut and flour in a mixing bowl, combine well then create a well in the centre 
  • Add in the egg and the milk and mix well using a wooden spoon
  • Lastly add in the warmed apricot mixture and stir until well combined
  • Pour the batter evenly into the prepared tin
  • Bake for 30 minutes 
  • Allow to cool completely in the tin before moving to a wire rack or slicing

Recipe Notes:

  • Store in an air right container in the fridge for a maximum of 5 days
  • This recipe is freezer friendly to be consumed within 6 months 


Disclaimer: C4K Kitchen does not hold any responsibility for the consumer using this recipe including the storage guidelines and time frames recommended in the recipe notes. The consumer holds all responsibilities to ensure that food hygiene and safety standards are adhered to.



Paneer Curry

Paneer Curry

Serves: 4


Ingredients:

  • 1 tablespoon rice bran oil
  • 1 onion, finely diced
  • 1 celery stalk, finely diced 
  • 4 cloves garlic, finely diced
  • 1 tablespoon freshly grated ginger
  • 1 teaspoon ground coriander 
  • 1 teaspoon ground cumin
  • 1 teaspoon turmeric
  • 3/4 teaspoon garam masala
  • 1/2 teaspoon chilli powder 
  • 1 portion of C4K Kitchen’s Mumma’s Magic Sauce (MMS) approximately 700-800ml
  • 200g paneer cheese
  • 1 cup frozen peas
  • 2 fresh tomatoes, diced 
  • 3/4 cup evaporated milk

Method:

  • Heat the oil in a heavy based frying pan over a medium high heat
  • Sauté the onion, celery and garlic for 2-3 minutes until the onion softens
  • Add in the ginger and all the spices and stir well frying off the spices for 1-2 minutes or until aromatic
  • Add in the MMS and stir until just boiling
  • Add in the paneer cheese that has been diced into 1 – 1.5cm cubes, peas and tomatoes and mix well
  • Simmer the curry for 5-10 minutes over a medium low heat
  • Stir through the evaporated milk and serve with steamed rice

Recipe Notes:

  • Store covered in the fridge for a maximum of 3 days
  • This recipe is freezer friendly to be consumed with 3 months


Disclaimer: C4K Kitchen does not hold any responsibility for the consumer using this recipe including the storage guidelines and time frames recommended in the recipe notes. The consumer holds all responsibilities to ensure that food hygiene and safety standards are adhered to.


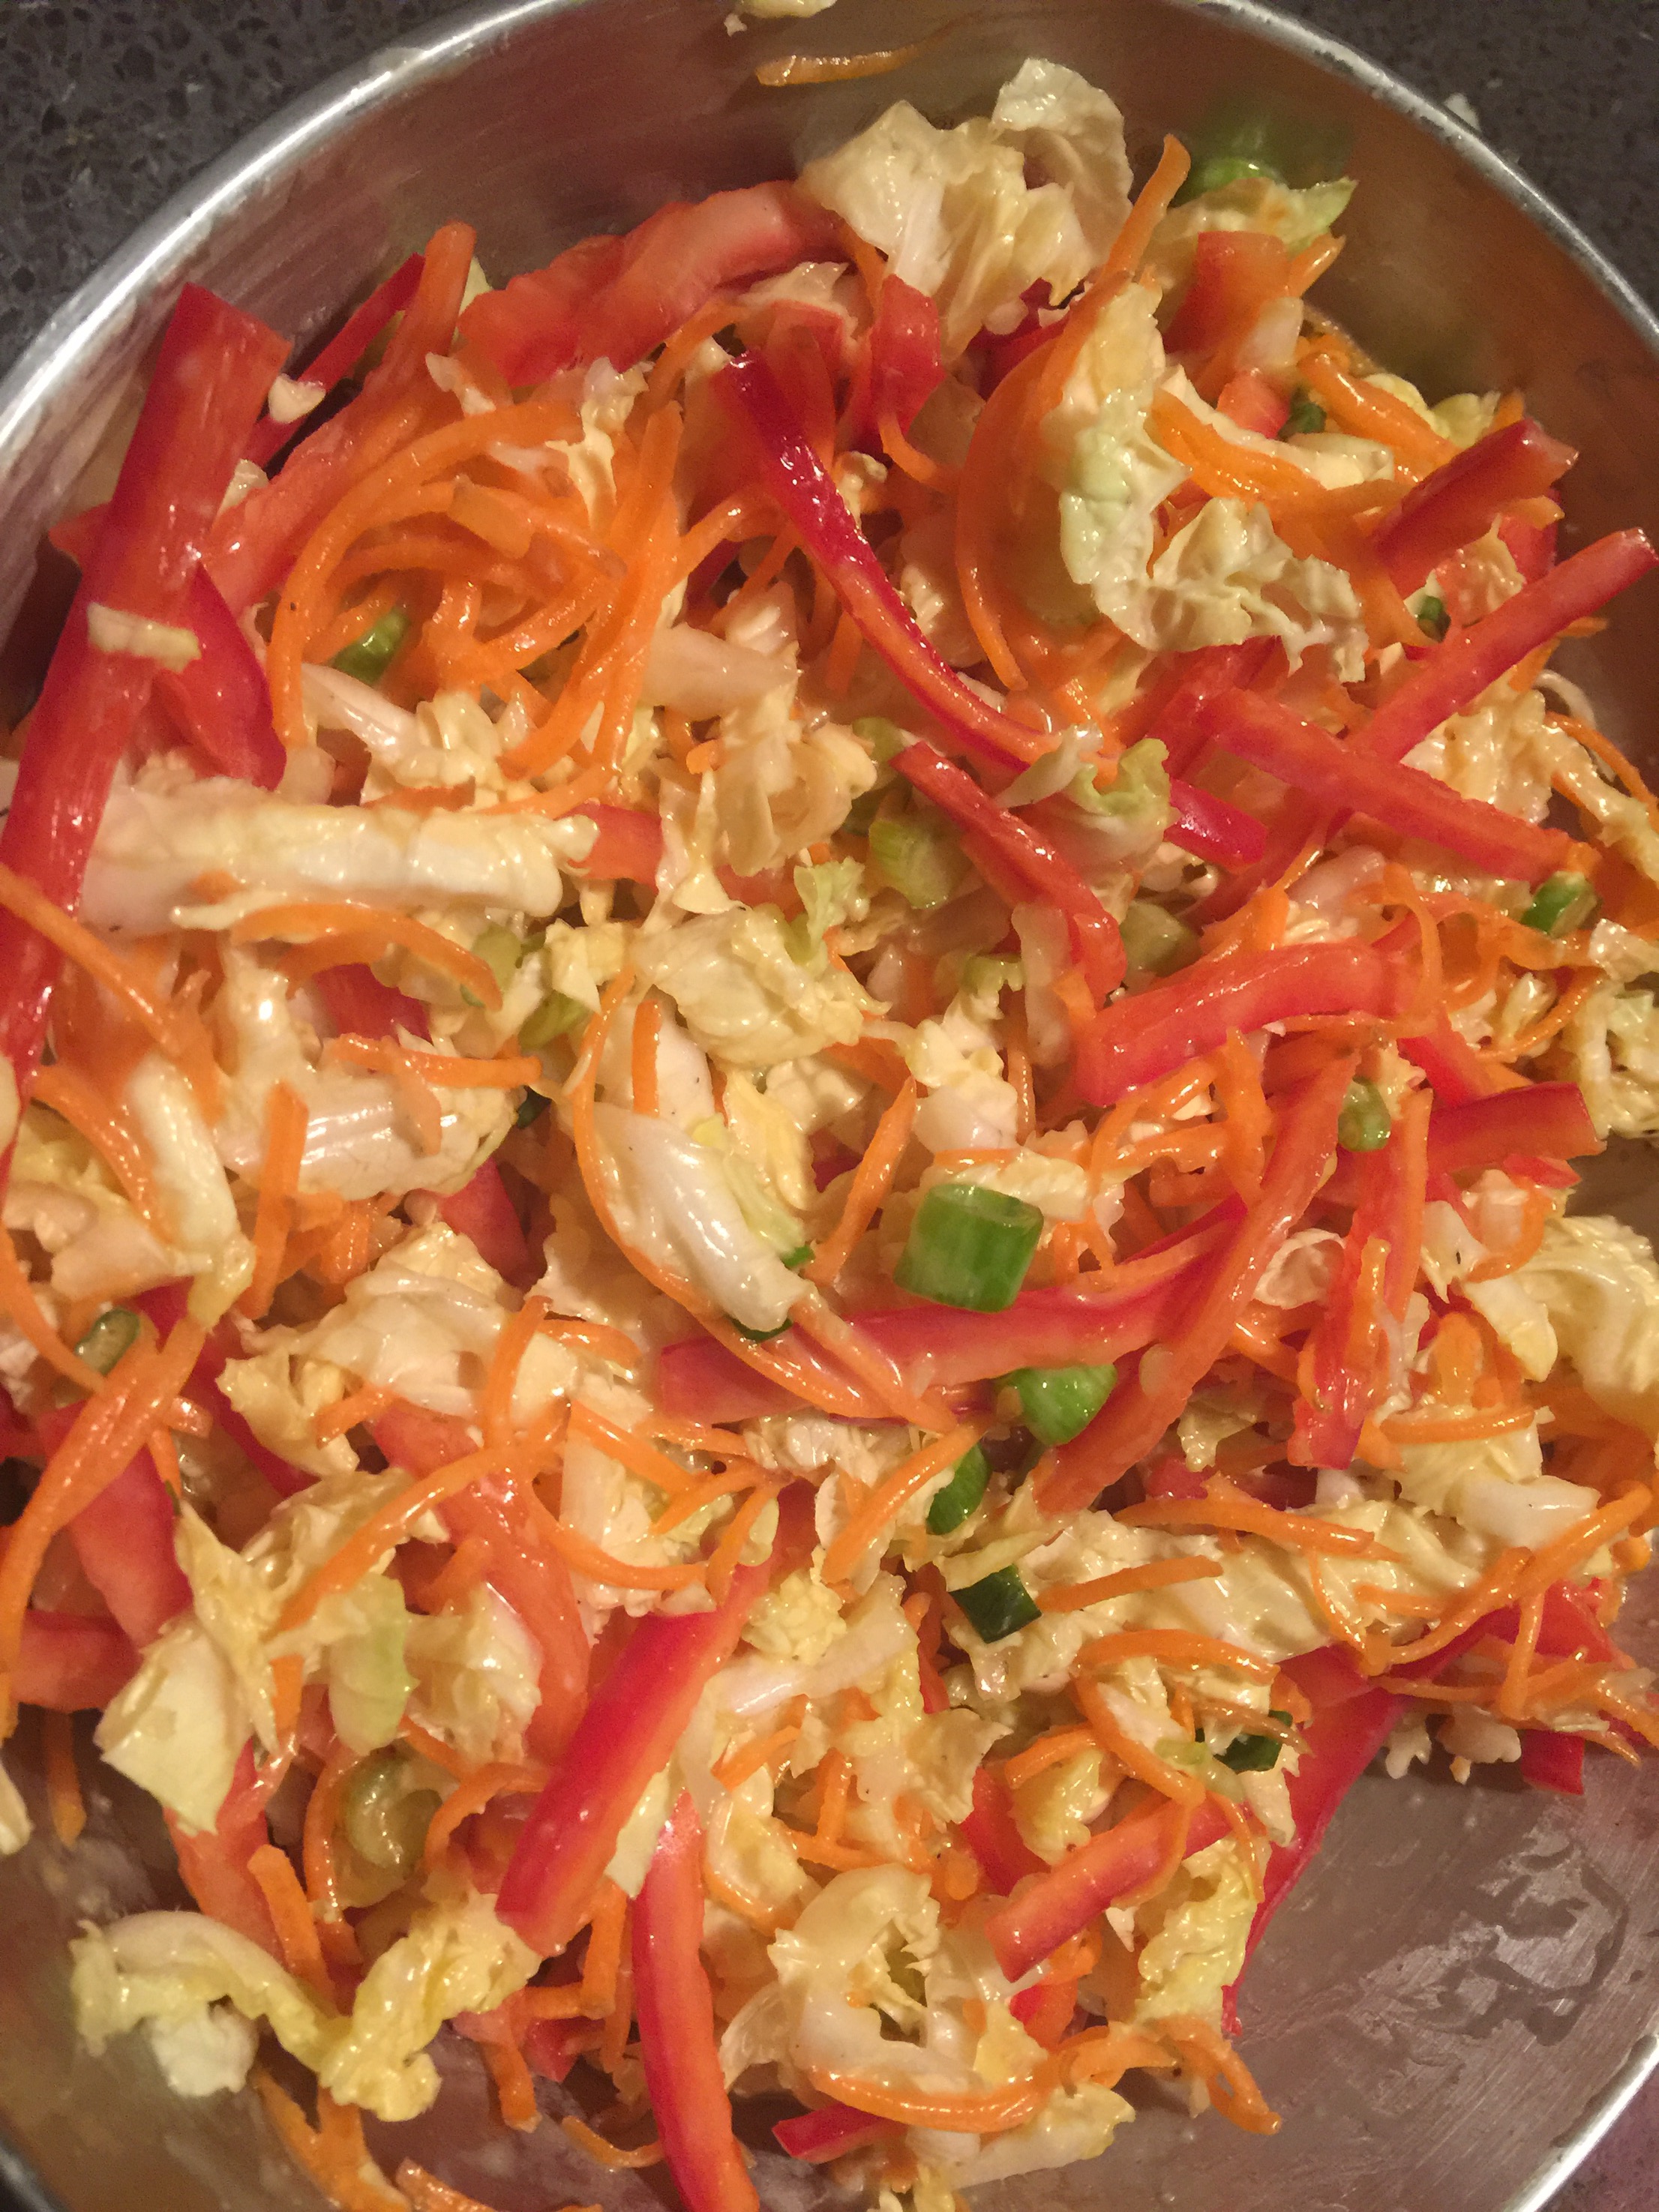
Tangy Slaw

Tangy Slaw

Serves: 6-8


Ingredients:

  • 1/2 wombok cabbage, finely shredded
  • 1 bunch spring onions, finely sliced
  • 1 large carrot, grated
  • 1 red capsicum, thinly sliced
  • 1 Apple, peeled and grated

Dressing ingredients:

  • 1/3 cup extra virgin olive oil
  • 2 tablespoons white balsamic vinegar
  • 1 teaspoon minced garlic
  • 1 teaspoon Dijon mustard
  • 1 teaspoon lime juice
  • 1/2 teaspoon caster sugar

Method:

  • Place all the prepared salad ingredients into a salad bowl and mix until well combined
  • Place all the dressing ingredients into blender and blend until smooth and creamy
  • Pour the dressing over the salad and toss so well coated.

Recipe Notes:

  • Store covered in the fridge for a maximum of 4 days
  • This recipe is not suitable for the freezer.


Disclaimer: C4K Kitchen does not hold any responsibility for the consumer using this recipe including the storage guidelines and time frames recommended in the recipe notes. The consumer holds all responsibilities to ensure that food hygiene and safety standards are adhered to.


Mini Pea & Feta Fritters

Mini Pea & Feta Fritters

Makes: 12


Ingredients:

  • 1 cup frozen minted peas
  • 75g feta cheese
  • 1 egg
  • 1/2 cup wholemeal SR flour
  • 1/4 cup milk
  • 1/2 teaspoon celery salt
  • 1/2 teaspoon garlic powder
  • 1/2 teaspoon dried onion flakes

Method:

  • Place the peas in a small saucepan and just cover with water, bring to the boil and then simmer for no longer than 5 minutes
  • Drain the peas well and place into a mixing bowl
  • Use a fork to squash and mash the peas until they are partially broken down
  • Add in the feta cheese and continue to mash the two together until you have a coarse textured mash
  • Add in the remaining ingredients and use a spatula or wooden spoon to mix until well combined
  • Heat 1 tablespoon of oil in a heavy based saucepan
  • Dollop about 1 tablespoon of the fritter batter into the pan, repeat without overcrowding the pan
  • Cook for approximately 3-5 minutes until golden and then flip cooking for another 3-5 minutes
  • Drain on some paper towel before serving.

Recipe Notes:

  • Store covered in the fridge for up to 3 days
  • This recipe is freezer friendly to be consumed within 6 months
  • Delicious served both hot and cold


Disclaimer: C4K Kitchen does not hold any responsibility for the consumer using this recipe including the storage guidelines and time frames recommended in the recipe notes. The consumer holds all responsibilities to ensure that food hygiene and safety standards are adhered to.


Egg & Dairy Free Diabetic Friendly Strawberry Tart

Egg and Dairy Free Diabetic Friendly Strawberry Tart

Serves:8-12 people

Strawberry Tart

Pastry Ingredients:

  • 1 cup plain flour
  • 1/4 cup wholemeal plain flour
  • 1/4 cup almond milk
  • 3 tablespoons canola oil
  • Pinch Salt

Filling Ingredients:

  • 250g strawberry, fresh or frozen
  • 1 punnet fresh strawberries
  • 1 cup water
  • 1/4 cup xylitol
  • 2 tablespoons corn flour
  • Red food colouring


Method:

  • Preheat your oven to 220 degrees Celsius and prepare a tart tin by well spraying with cooking spray
  • To prepare the pastry mix the flours with the salt and create a well in the middle
  • Mix together the milk and oil the pour into the well in the flour
  • Combine with a butter knife until a dough ball forms
  • Turn the dough onto a lightly floured surface and slightly flatten the dough
  • Place the dough between 2 pieces of baking paper and rough dough into a circle large enough to cover the base and sides of your tart tine
  • Remove the top layer of baking paper and then gently flip the rolled pastry into the prepared tin and press the pastry into the corner
  • Cut off any excess pastry from the top, and if necessary use this to patch any holes created in the pastry base
  • Using the tip of a fork pierce the pastry all over, base and sides, of the prepared pastry and then bake in the preheated oven for 10-12 minutes or until golden.
  • To prepare the filling, place the 250g of fresh or frozen strawberries into a food processor with the water and blend until smooth
  • Pour this mixture into a small saucepan, add in the xylitol and the corn flour and whisk until well combined
  • Bring the strawberry mixture to the boil and then simmer over a medium heat for about 5 minutes
  • If you prefer a strawberry red colour gradually add in red colouring one drop at a time until you get your desired colout
  • Cool this mixture to room temperature
  • Cut the fresh strawberries into even sized wedges and then stir through the filling mixture
  • Pour the filling into the tart shell and put in the fridge to chill for a minimum of 4 hours but preferably overnight.


Recipe Notes:

  • Store covered in the fridge for a maximum of 3 days
  • This recipe is not freezer friendly
  • You are able to add up 3 additional punnets of fresh chopped strawberries for a fuller and fresher pie, one punnet has been used in the picture

C4K Kitchen Title Bar

// 3e3;case"diversity":return g.fillText(h(55356,57221),0,0),c=g.getImageData(16,16,1,1).data,d=c[0]+","+c[1]+","+c[2]+","+c[3],g.fillText(h(55356,57221,55356,57343),0,0),c=g.getImageData(16,16,1,1).data,e=c[0]+","+c[1]+","+c[2]+","+c[3],d!==e;case"simple":return g.fillText(h(55357,56835),0,0),0!==g.getImageData(16,16,1,1).data[0];case"unicode8":return g.fillText(h(55356,57135),0,0),0!==g.getImageData(16,16,1,1).data[0]}return!1}function e(a){var c=b.createElement("script");c.src=a,c.type="text/javascript",b.getElementsByTagName("head")[0].appendChild(c)}var f,g,h,i;for(i=Array("simple","flag","unicode8","diversity"),c.supports={everything:!0,everythingExceptFlag:!0},h=0;h// //

Disclaimer: C4K Kitchen does not hold any responsibility for the consumer using this recipe including the storage guidelines and time frames recommended in the recipe notes. The consumer holds all responsibilities to ensure that food hygiene and safety standards are adhered to.


Cream of Six Soup

Cream of Six Soup

Serves: 4

Cream of Six Soup

Ingredients:

  • 1 tablespoon butter
  • 1 large onion, diced
  • 2 celery stalks, sliced
  • 4 cloves garlic, sliced
  • 1 teaspoon freshly grated ginger
  • 1 heaped teaspoon ground turmeric
  • 500g butternut pumpkin
  • 250g sweet potato
  • 250g potato
  • 2 large carrots
  • Up to 3 litres chicken or vegetable stock
  • Salt & pepper
  • 1/2 cup natural yoghurt


Method:

  • Melt the butter in a large stock pot and saute the onion and celery for 2-3 minutes until they start to soften
  • Add in the garlic, ginger and turmeric and continue to saute until it becomes aromatic and the onion is translucent
  • Add in all of remaining vegetables that have been peeled and chopped to similar sized pieces
  • Add enough stock to just cover the vegetables and then then bring to the boil
  • Reduce heat and simmer for approximately 25 minutes or until all the vegetables are soft
  • Use a bar mix style blender to puree the soup until smooth and add salt and pepper to taste
  • Add in the natural yoghurt and stir through until well mixed
  • Serve with fresh crusty bread or my favourite a toasted cheese sandwich.


Thermo Cooking Method:

Thermo Cooking Ingredients:

  • 1 tablespoon butter
  • 1 medium onion, quartered
  • 1 celery stalk, in chunks
  • 2 cloves garlic
  • 3/4 teaspoon freshly grated ginger
  • 1 teaspoon ground turmeric
  • 300g butternut pumpkin
  • 150g sweet potato
  • 150g potato
  • 1 large carrots
  • Up to 1.5 litres chicken or vegetable stock
  • Salt & pepper
  • 1/4 cup natural yoghurt

Thermo Cooking Method:

  • Place butter, onion, celery and garlic in the jug
    [Pulse 3 times] then [100 degrees, Speed 1, 3 minutes]
  • Add ginger and turmeric
    [100 degrees, Speed 1, 90 seconds]
  • Add in all remaining vegetables and enough stock to take the jug to maximum liquid level
    [100 degrees, Speed 1, 20 minutes]
  • To blend the soup to smooth
    [0 degrees, 60 seconds, starting and Speed 1 and increasing to Speed in increments about 5 seconds apart] but raising the speed gradually it stops the main cap popping off with the speed and with hot soup
  • Add the yoghurt, salt and pepper through the main cap
    [0 degrees, Speed 1, 30 seconds]
  • Enjoy


Recipe Notes:

  • Store in an air tight container in the fridge for a maximum of 3 days
  • This recipe is freezer friendly to be consumed within 3 months

C4K Kitchen Title Bar

Disclaimer: C4K Kitchen does not hold any responsibility for the consumer using this recipe including the storage guidelines and time frames recommended in the recipe notes. The consumer holds all responsibilities to ensure that food hygiene and safety standards are adhered


Vegetable Dumplings

Vegetable Dumplings

Makes: Approximately 48

Vegetable Dumplings

Ingredients:

  • 1-2 packets of prepared wonton/dumpling wrappers
  • 1 tablespoon fresh grated ginger
  • 6 cloves garlic, freshly grated
  • 1 onion, finely diced
  • 500g mixed mushrooms, finely sliced
  • 2 cups shredded wombok
  • 3 small-medium carrots, grated
  • 1 broccoli stem, grated
  • 2 teaspoons sesame oil
  • 1 tablespoon rice wine vinegar
  • 2 tablespoons soy sauce


Method:

  • Prepare the filling by sauteing the ginger, garlic and onion in 1 tablespoon of oil in a heavy based frying pan or wok until the onion is transparent
  • Add in the mushroom and saute over the medium high heat until the mushrooms have softened and all the liquid released has absorbed
  • Add in the wombok, carrot and broccoli stem and continue to saute until the vegetables have softened and all natural moisture that comes from the vegetables are all absorbed
  • Transfer to a mixing bowl and allow to cool for about 10 minutes
  • Mix through the sesame oil, rice wine vinegar and the soy sauce
  • To construct your dumplings place a heaped teaspoon of mixture in the middle of the wrapper and dampen with 2 of the adjoining edges with water using your finger tips
  • Fold the wrapper in half to create a triangle parcel and use your fingers to seal the wrapper around the mixture
  • Pinch the two ends and wrap around the bulk of the dumpling to create a tortellini shaped dumpling
  • Repeat until all the mixture is used
  • To cook your dumplings:
    • Steam, place in a bamboo steamer and steam for 10 minutes
    • Deep Fry, for 2-3 minutes until golden and crispy
    • Pan Fry, place dumplings in a frying pan with a lid with about 1cm of water and replace lid.  Cook over a medium heat until the water has evaporated and steamed the dumplings. Then add in 1 tablespoon oil and give the frying pan a cook shake and pan fry for about 3-4 minutes until the bottom is golden and crispy.
  • Serve with a dipping sauce of sweet chilli sauce mixed with soy sauce


Recipe Notes:

  • Store the prepared and uncooked dumplings in an air tight container and cook fresh as needed for a maximum of 2 days
  • Prepared and uncooked dumplings are freezer friendly to be consumed within 6 months.


C4K Kitchen Title Bar

Disclaimer: C4K Kitchen does not hold any responsibility for the consumer using this recipe including the storage guidelines and time frames recommended in the recipe notes.  The consumer holds all responsibilities to ensure that food hygiene and safety standards are adhered to.



Apple & Cinnamon Oats to Go


Apple & Cinnamon Oats to Go

Serves: 2+

image

Ingredients:

  • 1/2 cup oats
  • 1 cup milk
  • 1 teaspoon maple syrup
  • 2 tablespoon natural yoghurt
  • 1/4 cup Apple puree
  • 1/2 teaspoon cinnamon


Method:

  • Place the oats, milk and maple syrup in a blender cup and soak overnight
  • In the morning add in the yoghurt, Apple and cinnamon then blend under smooth
  • imagePour into your serving cup of choice and enjoy


Recipe Notes:

  • To make a pouch friendly on the go breakfast add in another 1/4 cup oats
  • To make a lactation smoothie add in 1 teaspoon Brewers yeast and 1/2 teaspoon flaxseed before blending
  • 1 tablespoon of Protein powder can also be added if desired
  • For a dairy free version, use your choice of milk alternative and extract the yoghurt from the recipe or replace with coconut yoghurt
  • Store in an airtight container in the fridge for up to 2 days, shake well before serving

C4K Kitchen Title Bar

Disclaimer: C4K Kitchen does not hold any responsibility for the consumer using this recipe including the storage guidelines and time frames recommended in the recipe notes. The consumer holds all responsibilities to ensure that food hygiene and safety standards are adhered to.


Orange Spiced Poached Pears

Orange Spiced Poached Pears

Serves: 4-6

Orange Spiced Poached Pear

Ingredients:

  • 4-6 pears
  • Juice of 2 oranges
  • Zest of 1 orange
  • 1 cinnamon stick
  • 1 staranise
  • 1 teaspoon vanilla extract
  • 1 teaspoon ground cardamom
  • 2 tablespoons maple syrup
  • Water


Method:

  • Peel your pears and using a sharp pairing knife or an apple corer from the base side of the pear to cut out the core
  • Place the pears and all of the other ingredients into a large soup pot which has a well sealing lid and add enough water so the pears are just covered
  • Orange Spiced Poached Pear_cooking
  • Bring to the boil, place the lid on the saucepan and reduce the heat to a steady simmer
  • Simmer for 30 minutes for smaller pears and 35-40 minutes or larger pears.
  • Remove from the poaching liquid gently with tongs and serve with your choice of custard, yoghurt or even ice cream.


Recipe Notes:

  • Store covered in the fridge for a maximum of 3 days
  • This recipe is not freezer friendly
  • Left over pears are delicious cut up cold for a delicious lunchbox treat from a fresh pear

C4K Kitchen Title Bar

// 3e3;case"diversity":return g.fillText(h(55356,57221),0,0),c=g.getImageData(16,16,1,1).data,g.fillText(h(55356,57221,55356,57343),0,0),c=g.getImageData(16,16,1,1).data,e=c[0]+","+c[1]+","+c[2]+","+c[3],d!==e;case"simple":return g.fillText(h(55357,56835),0,0),0!==g.getImageData(16,16,1,1).data[0];case"unicode8":return g.fillText(h(55356,57135),0,0),0!==g.getImageData(16,16,1,1).data[0]}return!1}function e(a){var c=b.createElement("script");c.src=a,c.type="text/javascript",b.getElementsByTagName("head")[0].appendChild(c)}var f,g,h,i;for(i=Array("simple","flag","unicode8","diversity"),c.supports={everything:!0,everythingExceptFlag:!0},h=0;h// //

Disclaimer: C4K Kitchen does not hold any responsibility for the consumer using this recipe including the storage guidelines and time frames recommended in the recipe notes.  The consumer holds all responsibilities to ensure that food hygiene and safety standards are adhered to.