Month 1, mid month measurements 

With the Isagenix program you do your measurements at day one, day 11 and day 30.

Well day 11 was yesterday so this morning I have woken to do my first month mid measurements. I honestly was not expecting big numbers (if any) as I haven’t noticed or felt any changes in my body but have noticed the difference in how I have been feeling! I’ll come back to that shortly

Month 1, mid month measurements are in…..18.5cm across the 14 measurepoints.

Yup I’m happy with that ☺️

Coming back to what I mentioned before about what changes I have noticed…….The biggest change I have noticed is my sleep. I’m renowned for being a terrible sleeping waking in the middle of the night and not being able to get back to sleep for anywhere between 1-3 hours. I now say goodbye to my middle of the night insomnia as I’m now sleeping through the night or if I do wake up for a ‘pit stop’ I’m straight back to sleep. The flow in effect from a decent nights sleep is beyond belief! I have more energy, I wake up in the morning ready to start my day not looking for the snooze button (yes I’m writing this at 5.45am), I’m also able to concentrate longer at work and my patience for the little button pusher and the big one too lol is remarkably much better.

While I haven’t noticed any visible changes to my body I have noticed that my skin is clearing up after going a bit blotchy while I was off the wagon.  My hair is looking a lot healthier and shinier and I haven’t broken a fingernail in a week which was nearly a daily occurance before that. Hello from my early morning no make up selfies….


Rightio, time to go get me morning shakes ready and kick of day 12.


The Perfect Poached Egg


The Perfect Poached Egg

Serves:1

Perfect Poached Egg

Ingredients:

  • 1 fresh egg
  • Approximately 2 cups water
  • 1 tablespoon white vinegar
  • Pinch salt


Method:

  • Place the water into a saucepan that has a secure matching lid, it should be no less than 2cm deep and no more than 4cm deep
  • Add the vinegar and the salt into the saucepan and bring to the boil and reduce to a medium high heat
  • Break the egg very gently and pour the egg into the water as close to the water surface as possible
  • As soon as the water returns to the boil place the lid on the saucepan and reduce to a medium heat and cook the egg for exactly 2 minutes
  • Remove from the water using an egg slide with holes so you can drain off the poaching liquid and serve immediately.


Recipe Notes:

  • This recipe is not suitable for storage or freezing, it is best served fresh

C4K Kitchen Title Bar

Disclaimer: C4K Kitchen does not hold any responsibility for the consumer using this recipe including the storage guidelines and time frames recommended in the recipe notes.  The consumer holds all responsibilities to ensure that food hygiene and safety standards are adhered to.


Malaysian Chicken Soup


Malaysian Chicken Soup

Serves: 2 or 6 Bariatric portions


Ingredients:

  • 2 teaspoons rice bran oil
  • 1 small onion, finely diced
  • 1 celery stalk, finely diced
  • 2 garlic cloves, finely sliced
  • 2cm ginger, finely sliced
  • 250g chicken breast, finely sliced
  • 1 cup chicken stock
  • 2 large tomatoes, diced
  • 1 tablespoon tomato paste
  • 1 cup shredded cabbage
  • 1/2 long red chilli, finely sliced
  • 400ml can light coconut milk

Method:

  • Place the oil in the bottom of a soup pot and heat the oil
  • Sauté the onion, celery, garlic and ginger for 2 minutes until softened
  • Add in the chicken and sauté until just sealed
  • Add in the chicken stock, tomatoes, tomato paste, cabbage, red chilli and coconut and bring the pot to a boil
  • Place a lid on the saucepan and simmer for 20 minutes
  • One simmered serve as is or topped with some freshly chopped coriander

Nutritional Value per portion (6):

  • Calories: 164
  • Total fat: 9.6g
  • Total carbohydrates: 4.2g
  • Sugars: 2g
  • Protein: 13.2g

Recipe Notes:

  • Soup to be stored covered in the fridge and to be consumed within 2 days
  • Recipe is freezer friendly to be consumed within 3 months
  • For a vegetarian alternative substitute the chicken for tofu

C4K Kitchen Title Bar


Disclaimer: C4K Kitchen does not hold any responsibility for the consumer using this recipe including the storage guidelines and time frames recommended in the recipe notes.  The consumer holds all responsibilities to ensure that food hygiene and safety standards are adhered to.


Lemon & Garlic Chicken Mini Wraps


Lemon & Garlic Chicken Mini Wraps

Serves: 2

Lemon & Garlic Chicken Mini Wraps

Ingredients:

  • 2 chicken thigh fillets
  • 4 mini corn tortillas
  • 1/2 cup baby spinach
  • 1 spring onion
  • 1 small tomato
  • 1/2 small red capsicum
  • 2 tablespoons extra light cream cheese

Marinade Ingredients:

  • 2 tablespoons olive oil
  • 2 cloves garlic, very finely diced
  • 1 tablespoons, finely chopped fresh parsley
  • 2 tablespoons fresh lemon juice
  • Pinch ground black pepper


Method:

  • Place all the marinade ingredients into a small container with a lid and shake very well to combine
  • Use a meat tenderise to flatten out the chicken thigh to a more even cut of meat
  • Place the chicken and the marinade in zip lock bag and put in the fridge for a minimum of 4 hours but preferably overnight.
  • Heat a grill plate and then grill the chicken about 3-4 minutes each side until golden and cooked through.
  • Prepare the salad by placing the baby spinach in a mixing bowl adding in a finely sliced spring onion, diced tomato and diced red capsicum and combine tell
  • Heat the tortilla in a sandwich for 60 seconds, spread 1/2 tablespoon of cream cheese across each of the tortillas
  • Place 1/4 quarter of the salad on each of the tortillas and top with 1/4 of the sliced chicken
  • Either wrap or fold over and enjoy.


Recipe Notes:

  • Store covered in the fridge to use within 2 days
  • The chicken portion of this recipe is freezer friendly to be consumed within 3 months

C4K Kitchen Title Bar

Disclaimer: C4K Kitchen does not hold any responsibility for the consumer using this recipe including the storage guidelines and time frames recommended in the recipe notes.  The consumer holds all responsibilities to ensure that food hygiene and safety standards are adhered to.


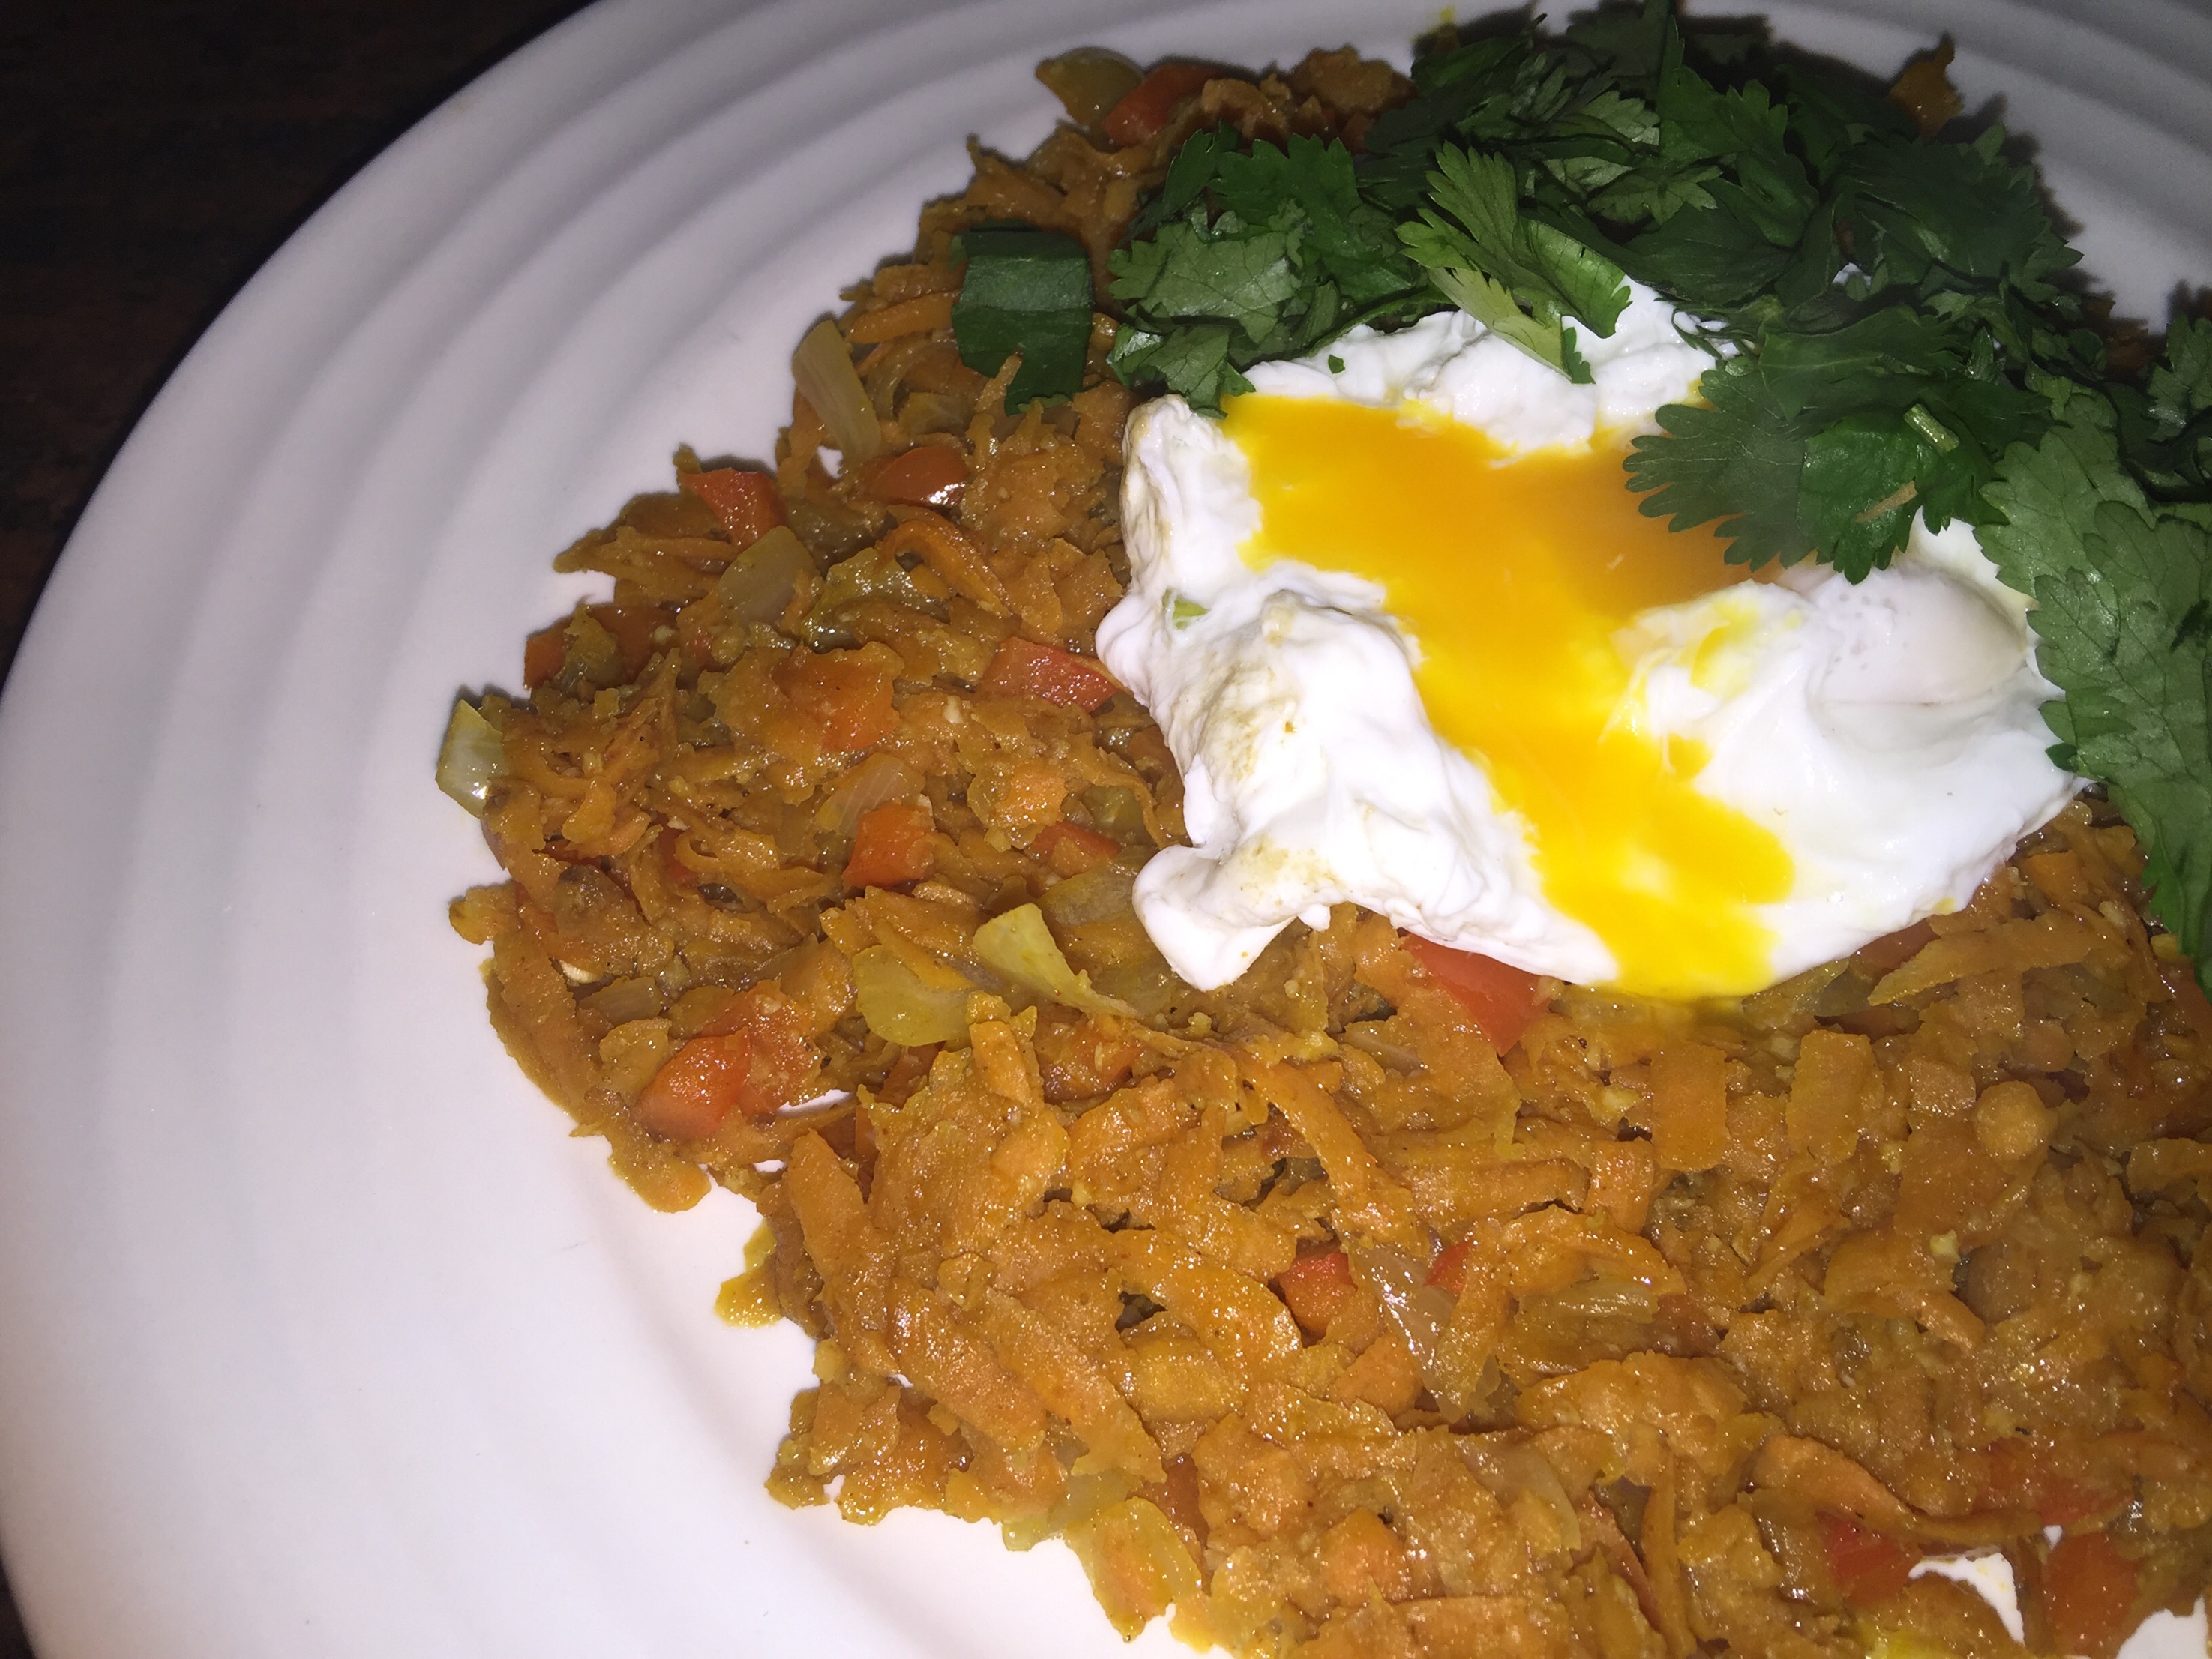
Sweet Potato Chilli Hash


Sweet Potato Chilli Hash

Serves: 1


Ingredients:

  • 1 small sweet potato, approximately 150g, peeled and grated
  • 1/2 small onion, finely diced
  • 1/2 small red capsicum, finely diced
  • 1/2 small long red chilli, finely diced
  • 1 teaspoon minced garlic
  • 1/2 teaspoon ground ginger
  • 1/2 teaspoon ground cumin
  • 1/2 teaspoon ground coriander
  • 2 teaspoon rice bran oil
  • 1 tablespoon fresh coriander
  • 1 C4K Kitchen’s Perfect Poached Egg

Method:

  • Heat the oil in a heavy based frying pan and add in the onion, capsicum and chilli and stir fry for 2 minutes until the onion softens
  • Add in the grated sweet potato and the spices and stir fry for another 2 minutes or until aromatic
  • Add in 2 tablespoons of water and reduce the heat to cook through while you poach your egg in accordance with the C4K Kitchen’s Perfect Poached Egg recipe
  • Plate the hash up, top with your poached egg and fresh coriander


Recipe Notes:

  • Store covered in the fridge for the maximum of 2 days
  • This recipe is not freezer friendly

C4K Kitchen Title Bar

Disclaimer: C4K Kitchen does not hold any responsibility for the consumer using this recipe including the storage guidelines and time frames recommended in the recipe notes.  The consumer holds all responsibilities to ensure that food hygiene and safety standards are adhered to.


Healthy Mumma: Day 8 – Cleanse Day

So today is day 9, yesterday was a big day as I tackle my next big hurdle of my first cleanse day.

What is a cleanse day?

It’s a day when you let your body fully detox from all the crap we put in it and have 4 of these delicious Cleanse for Life drinks for the day with no food for the day.


While I always struggle through the first one I tell you what I am already feeling better for it this morning and I’m already looking forward to next weeks cleanse day!

IMG_5448
Also I’m ramping up on my diet and will be focusing on eating lots of delicious fresh and healthy dinners. Keep your eyes on the Healthy Mumma Recipe section if you’re interested in some ideas.

Bring on Saturday morning…..measurements day. Can’t wait to see if I’ve had any results. Even if I haven’t I’m already feeling fresher and sleeping better so I’m already a winner 🙂


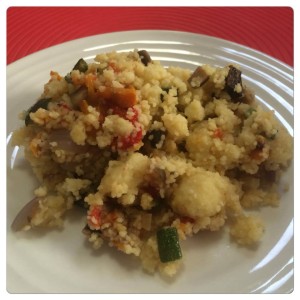
Roast Vegetable Couscous Salad


Roast Vegetable Couscous Salad

Serves: 6-8

Roast Vegetable Couscous Salad

Ingredients:

  • 150g butternut pumpkin
  • 1 red onion
  • 1 zucchini
  • 6 button mushrooms
  • 150g sweet potato
  • 1 carrot
  • 1 red capsicum
  • 1 yellow capsicum
  • 1 tablespoon minced garlic
  • 2 cups couscous
  • 50g butter, cubed
  • 1/4 cup extra virgin olive oil
  • 2 lemons


Method:

  • Preheat an oven to 180 degree Celsius
  • Dice all the pumpkin, zucchini, sweet potato and carrot into small cubes about ¾ cm in size and lay them out onto a roasting tray, drizzle the vegetables with olive oil and sprinkle with salt to taste. Roast this tray of vegetables for approximately 35-45 minutes until they are cooked and become golden and sticky.
  • At the same time as you put this tray of vegetables in spray the outside of each capsicum generous with cooking spray and place the whole capsicum(s) on the oven rack.
  • Dice the onion and the mushroom the same size and put in a smaller roasting tray. Drizzle with olive oil and sprinkle with salt to taste, add the garlic and stir well through the mushrooms and onion. Add this into the oven with 20 minutes remaining on the other vegetables. When adding in the second tray of vegetables also turn the capsicum.
  • When removing all vegetables from the oven set the two tray aside to cool and immediately place the capsicums in separate zip lock bags, remove all air and seal. Leave to sit for 10 minutes.
  • After leaving the vegetables to sit, remove the capsicums one at a time from the bags. The skin should quiet easily peel off skin, remove the core and the seed the dice the roasted capsicum flesh and add to the other roasted vegetables, repeat with the second capsicum.
  • Bring 2 ¼ cups of salted water to the boil on the stove. Once it is boiling remove from the stove and add in the couscous. Cover and leave for 4-5 minutes. Use a fork to loosen and fluff up the couscous while stirring through the diced butter
  • Add the vegetables to the couscous along with the olive oil and the juice of 2 lemons. Mix the vegetables and dressing through well and serve
  • The salad can be served warm or cold.


Recipe Notes:

  • Store covered in the fridge for a maximum of 3 days
  • This recipe is not suitable for the freezer

C4K Kitchen Title Bar

Disclaimer: C4K Kitchen does not hold any responsibility for the consumer using this recipe including the storage guidelines and time frames recommended in the recipe notes.  The consumer holds all responsibilities to ensure that food hygiene and safety standards are adhered to.


Healthy Mumma: Day Three

Much to my surprise my detox is no where near as severe as last time I went though it! Headache has eased up and I’m a bit cranky and tired but sooooooo much more bearable than last time.

I do now remember my ongoing battle 🙂


Beef Pho


Beef Pho

Serves: 4

Beef Pho

Ingredients:

  • 2 litres C4K Kitchen’s Beef Stock or store bought stock
  • 5cm piece of ginger, thickly sliced
  • 4 cloves garlic, thickly sliced
  • 1 large onion, thickly sliced
  • 1 cinnamon quill
  • 3 star anise
  • 1/3 cup fish sauce
  • 2 tablespoons caster sugar
  • 375g flat rice noodles
  • 400g beef eye fillet, very thinly sliced
  • 1 cup bean sprouts
  • 2 springs onions, sliced
  • 1 red long chilli sliced
  • 1/3 cup shredded fresh coriander


Method:

  • Place the stock, ginger, garlic, onion, cinnamon, star anise, fish sauce and caster sugar into a soup pot and bring to the boil. Cover and reduce to a low heat and simmer for 20 minutes
  • Prepare the rice noodles in accordance with the instructions on the packet
  • Strain and discard all the solids, return the liquid to the soup pot and bring to the boil
  • Divide the noodles between the 4 serving bowls, top equally with the bean sprouts and the finely sliced beef
  • Pour the boiling soup over the top of the beef across all bowl
  • Finally top with the spring onion, chilli and coriander
  • Serve immediately.


Recipe Notes:

  • Store covered in the fridge for the maximum of 3 days
  • This recipe is freezer friendly to be consumed within 3 months

C4K Kitchen Title Bar

Disclaimer: C4K Kitchen does not hold any responsibility for the consumer using this recipe including the storage guidelines and time frames recommended in the recipe notes.  The consumer holds all responsibilities to ensure that food hygiene and safety standards are adhered to.


Turkey Meatloaf


Turkey Meatloaf

Serves: 4-6

Turkey Meatloaf

Ingredients:

  • 500g turkey mince
  • 1 onion, peeled and quartered
  • 1 zucchini, roughly chopped
  • 1 red capsicum, roughly chopped
  • 1 tablespoon minced garlic
  • 1 teaspoon chicken stock powder
  • 2 eggs
  • 1 cup panko breadcrumbs or C4K Kitchen’s Fresh Breadcrumbs


Method:

  • Preheat your oven to 180 degrees Celsius and line a loaf tin with baking paper
  • Place the onion, zucchini and capsicum in a food processor and blend until rice like texture, remove and place in a mixing bowl
  • Add in the remaining ingredients and use your hands to mix the ingredients together.
  • Place the meatloaf mixture into the prepared tin compacting well
  • Cover the top loosely with alfoil and bake for 30 minutes in the oven
  • Remove the alfoil and bake for another 30 minutes
  • All to sit for 10 minutes before removing from the tin and slicing.


Thermo-Cooking Method:

  • Preheat your oven to 180 degrees Celsius and line a loaf tin with baking paper
  • Place the onion, zucchini and red capsicum in the jug, Speed 5, 5 second
  • Place all remaining ingredients into the jug, Speed 2, 30 second
  • Place the meatloaf mixture into the prepared tin compacting well
  • Cover the top loosely with alfoil and bake for 30 minutes in the oven
  • Remove the alfoil and bake for another 30 minutes
  • All to sit for 10 minutes before removing from the tin and slicing.


Recipe Notes:

  • Store covered in the fridge for a maximum of 2 days
  • This recipe is freezer friendly

C4K Kitchen Title Bar

Disclaimer: C4K Kitchen does not hold any responsibility for the consumer using this recipe including the storage guidelines and time frames recommended in the recipe notes.  The consumer holds all responsibilities to ensure that food hygiene and safety standards are adhered to.