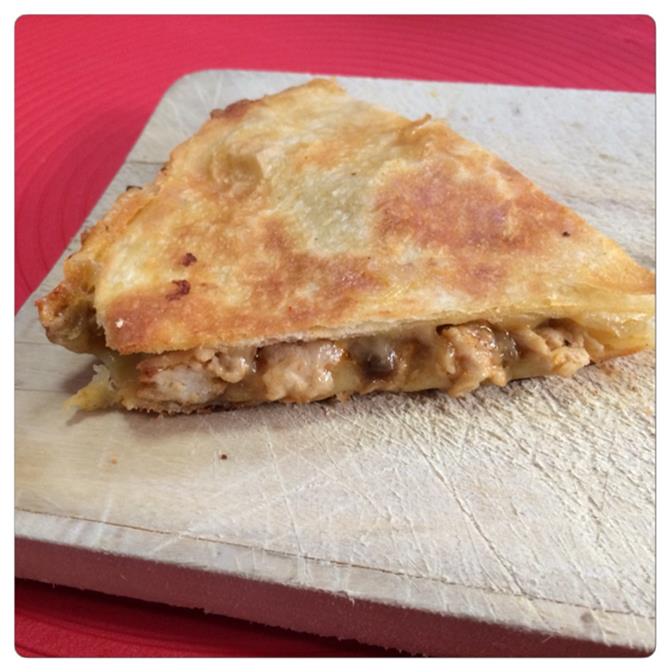
Chicken & Mushroom Quesadilla
Chicken & Mushroom Quesadilla
Serves: 2-4
Ingredients:
- 2 large plain tortillas
- 250g chicken mince
- 1 1/2 cups sliced mushrooms
- 1 small onion, diced
- 1 teaspoon minced garlic
- 1/2 portion of C4K Mexican Spice Mix
- 1 tablespoon butter
- 1/2 cup grated cheese
- 1/4 cup grated parmesan cheese
- Salt and pepper to taste
Method:
- Heat a small amount of oil in a heavy based frying pan over medium heat and add the onions, garlic, chicken mince and spices, brown off the mince breaking down as you stir
- Once the mince is browned off add the mushrooms and the butter and cooked down until the chicken is cooked, the moisture has all evaporated and the mushrooms are softened
- In a small bowl mix together the two cheeses
- Heat a clean large non-stick frying pan over medium heat. Give a generous spray with cooking spray then lay 1 tortilla in the pan and evenly spread ½ of the mixed cheeses over the tortilla. Evenly spoon the mushroom mixture completely over the tortilla. Use the last of the cheese to top the mushroom mixture and add salt & pepper to taste and finally place the second tortilla on top to complete the construction of your quesadilla
- Cook for 3 minutes
- Using a large spatula(s) gentle flip the quesadilla and cook for an additional 3 minute on the other side until golden brown and the cheese is melted through
- Cut into the quarters to serve, or to the appropriate serving size for your little person.
Recipe Notes:
- Store covered in the fridge for a maximum of 2 days
- This recipe is not suitable for the freezer

Disclaimer: C4K Kitchen does not hold any responsibility for the consumer using this recipe including the storage guidelines and time frames recommended in the recipe notes. The consumer holds all responsibilities to ensure that food hygiene and safety standards are adhered to.


