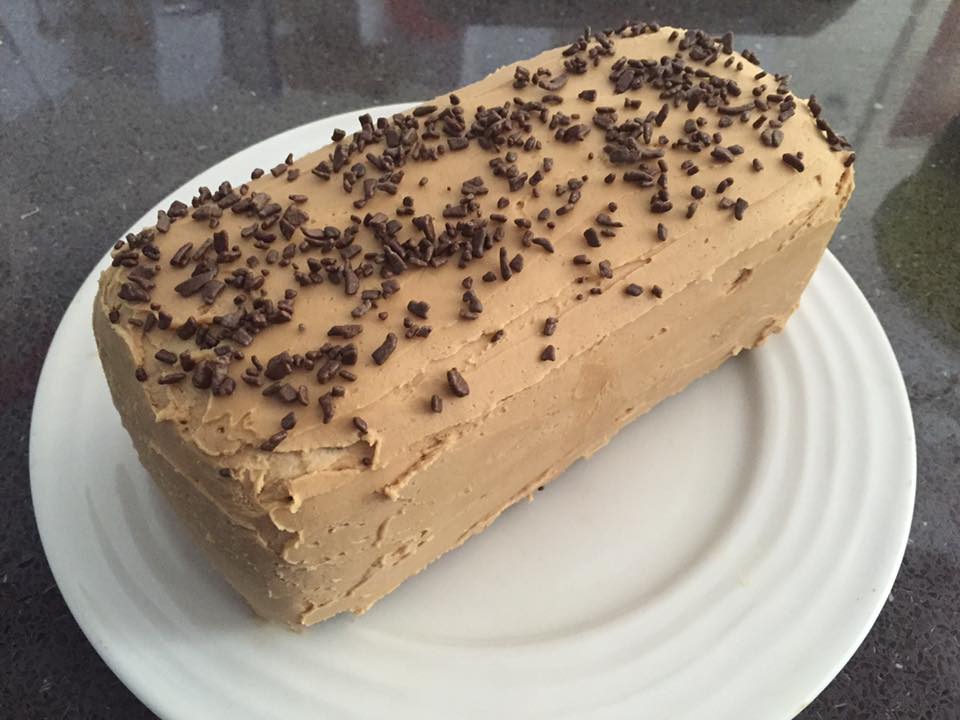
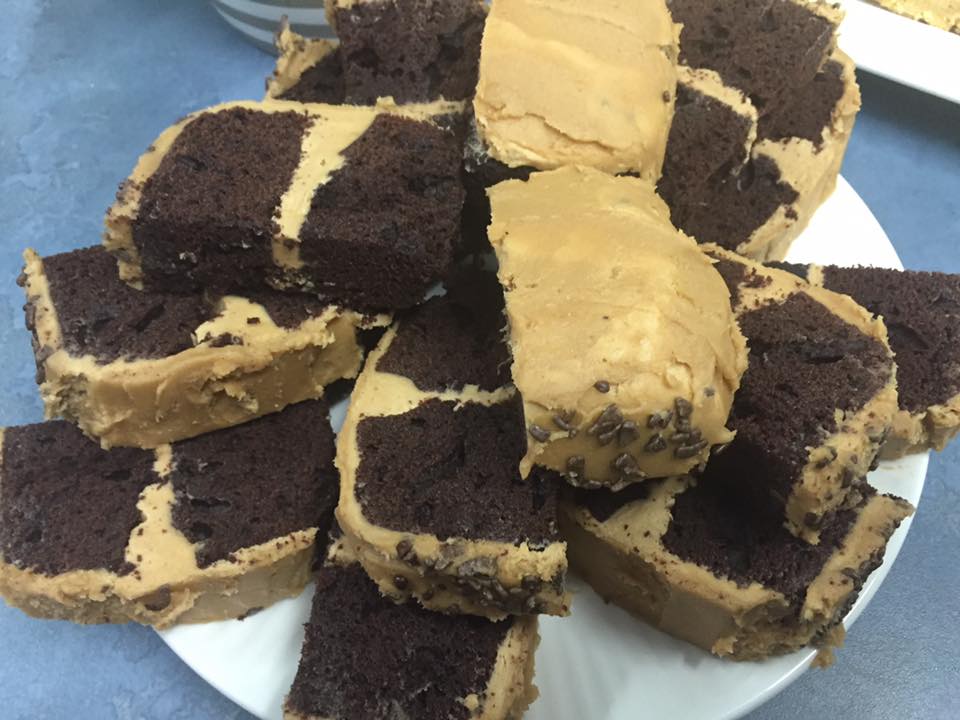
Chocolate Cake with Espresso Buttercream
Chocolate Cake with Espresso Buttercream
Makes: 1 two tier loaf style cake
Ingredients:
- 3/4 cup brown sugar
- 3/4 cup milk
- 125g butter, cubed
- 1/2 cup unsweetened cocoa
- 1/2 teaspoon baking soda
- 1 1/2 cups SR flour
- 3 eggs, lightly beaten
Icing Ingredients:
- 250g butter, room temperature cubed
- 1 tablespoon espresso shot
- 1 tablespoon unsweetened cocoa powder
- 1 teaspoon vanilla extract
- Up to 2 1/2 cups icing sugar
Method:
- Preheat your oven to 160 degrees Celsius and prepare two loaf tins by greasing and lining with baking paper
- In a medium saucepan place the sugar, milk and the butter, whisking over a medium heat until it comes together. Do not allow to boil
- Add in the cocoa powder and baking soda and whisk through until well combined
- Remove from the heat and allow to cool for 5 minutes
- Use a wooden spoon to stir through the sifted flour until you have a thick smooth batter
- Stir through the eggs into the batter, one egg at a time until you have a beautiful smooth batter
- Pour the batter evenly between the two prepared loaf tins and bake in the preheated oven for approximately 30 minutes or until a cake skewer comes out clean
- Allow the cakes to cool on cake rack
- To make the buttercream place the cubed butter into a mixer and whip until the colour becomes pale, approximately 5 minutes
- Add in the espresso, cocoa and vanilla to the butter and beat until well combined
- Add in the icing sugar 1/2 cup at time beating well between additions until you get your desired consistency
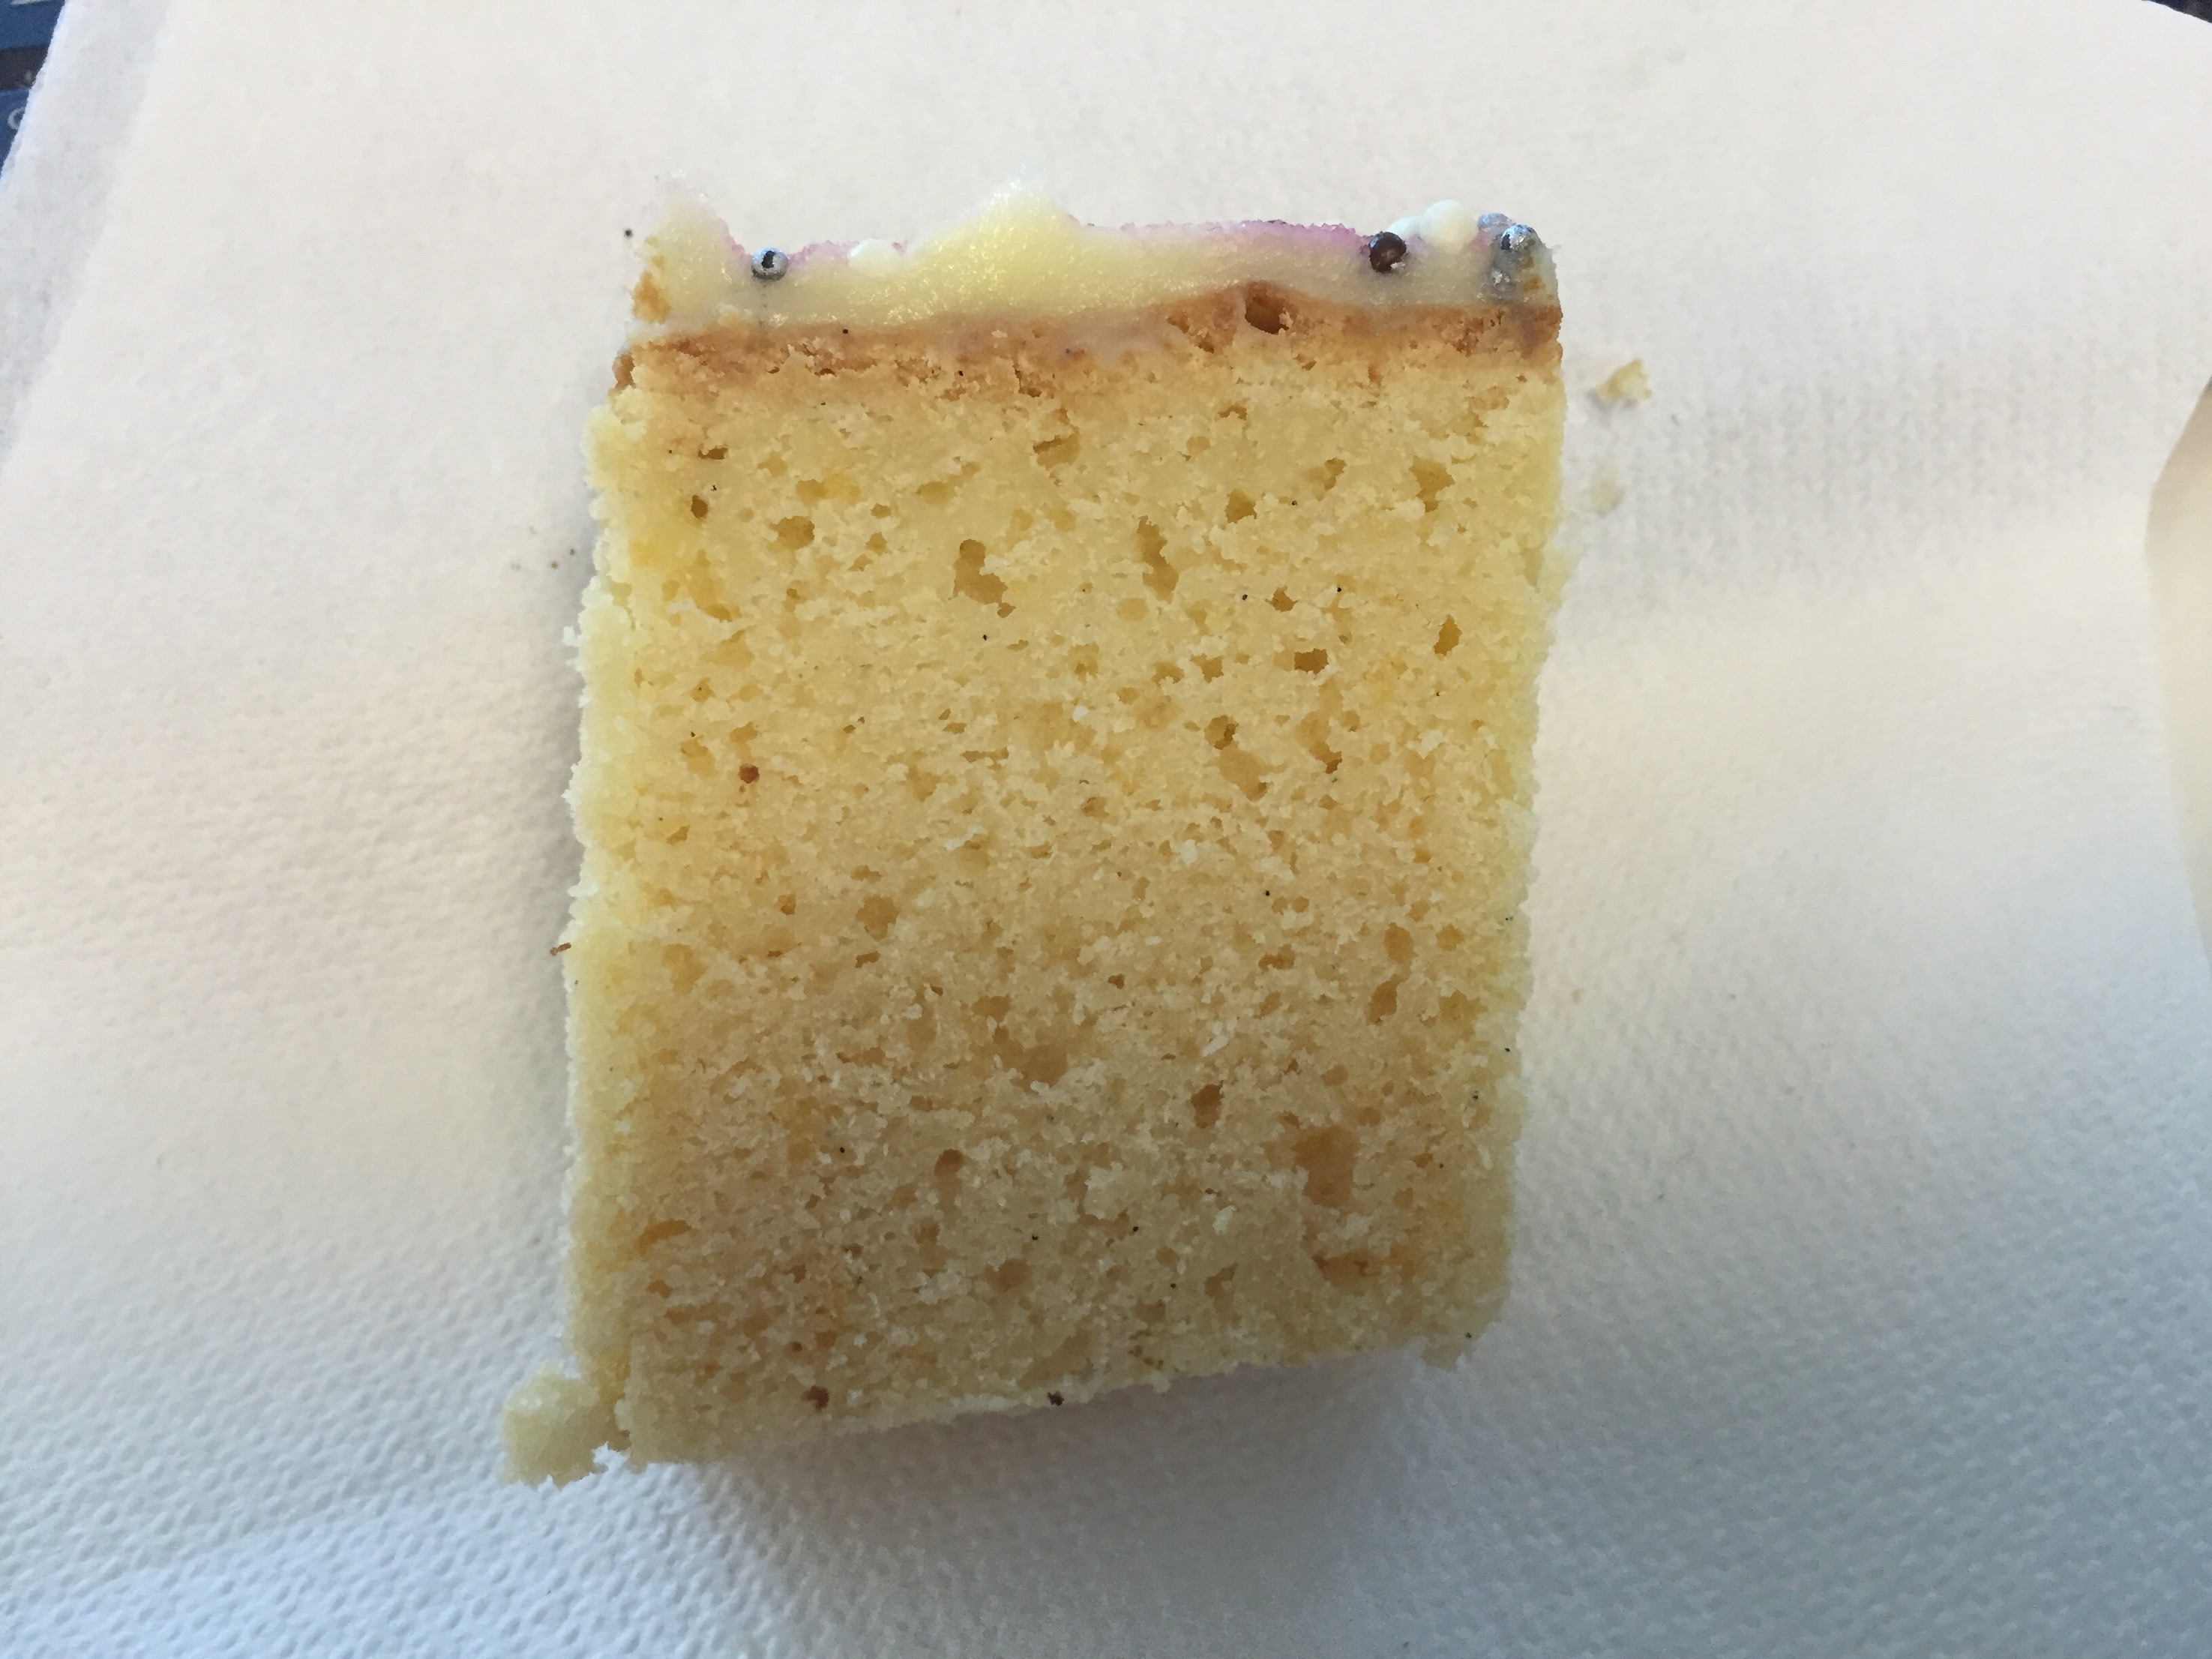
- To construct the cake cut the risen tops off the loaf cakes to make as flat as possible
- Place the first loaf a serving plate, cut side up and spread the top with buttercream approximately 1/2 cm thick
- Then place the second loaf cake on top of the butter cream, cut side down. This will mean that you will have the base of the loaf upside and there is a smooth top to work with.
- Use a smoothing knife to do a thin layer of buttercream across all surfaces, including to fill any gaps between the two cake layers
- Place the cake in the fridge for 30 minutes to chill the foundation layer of icing
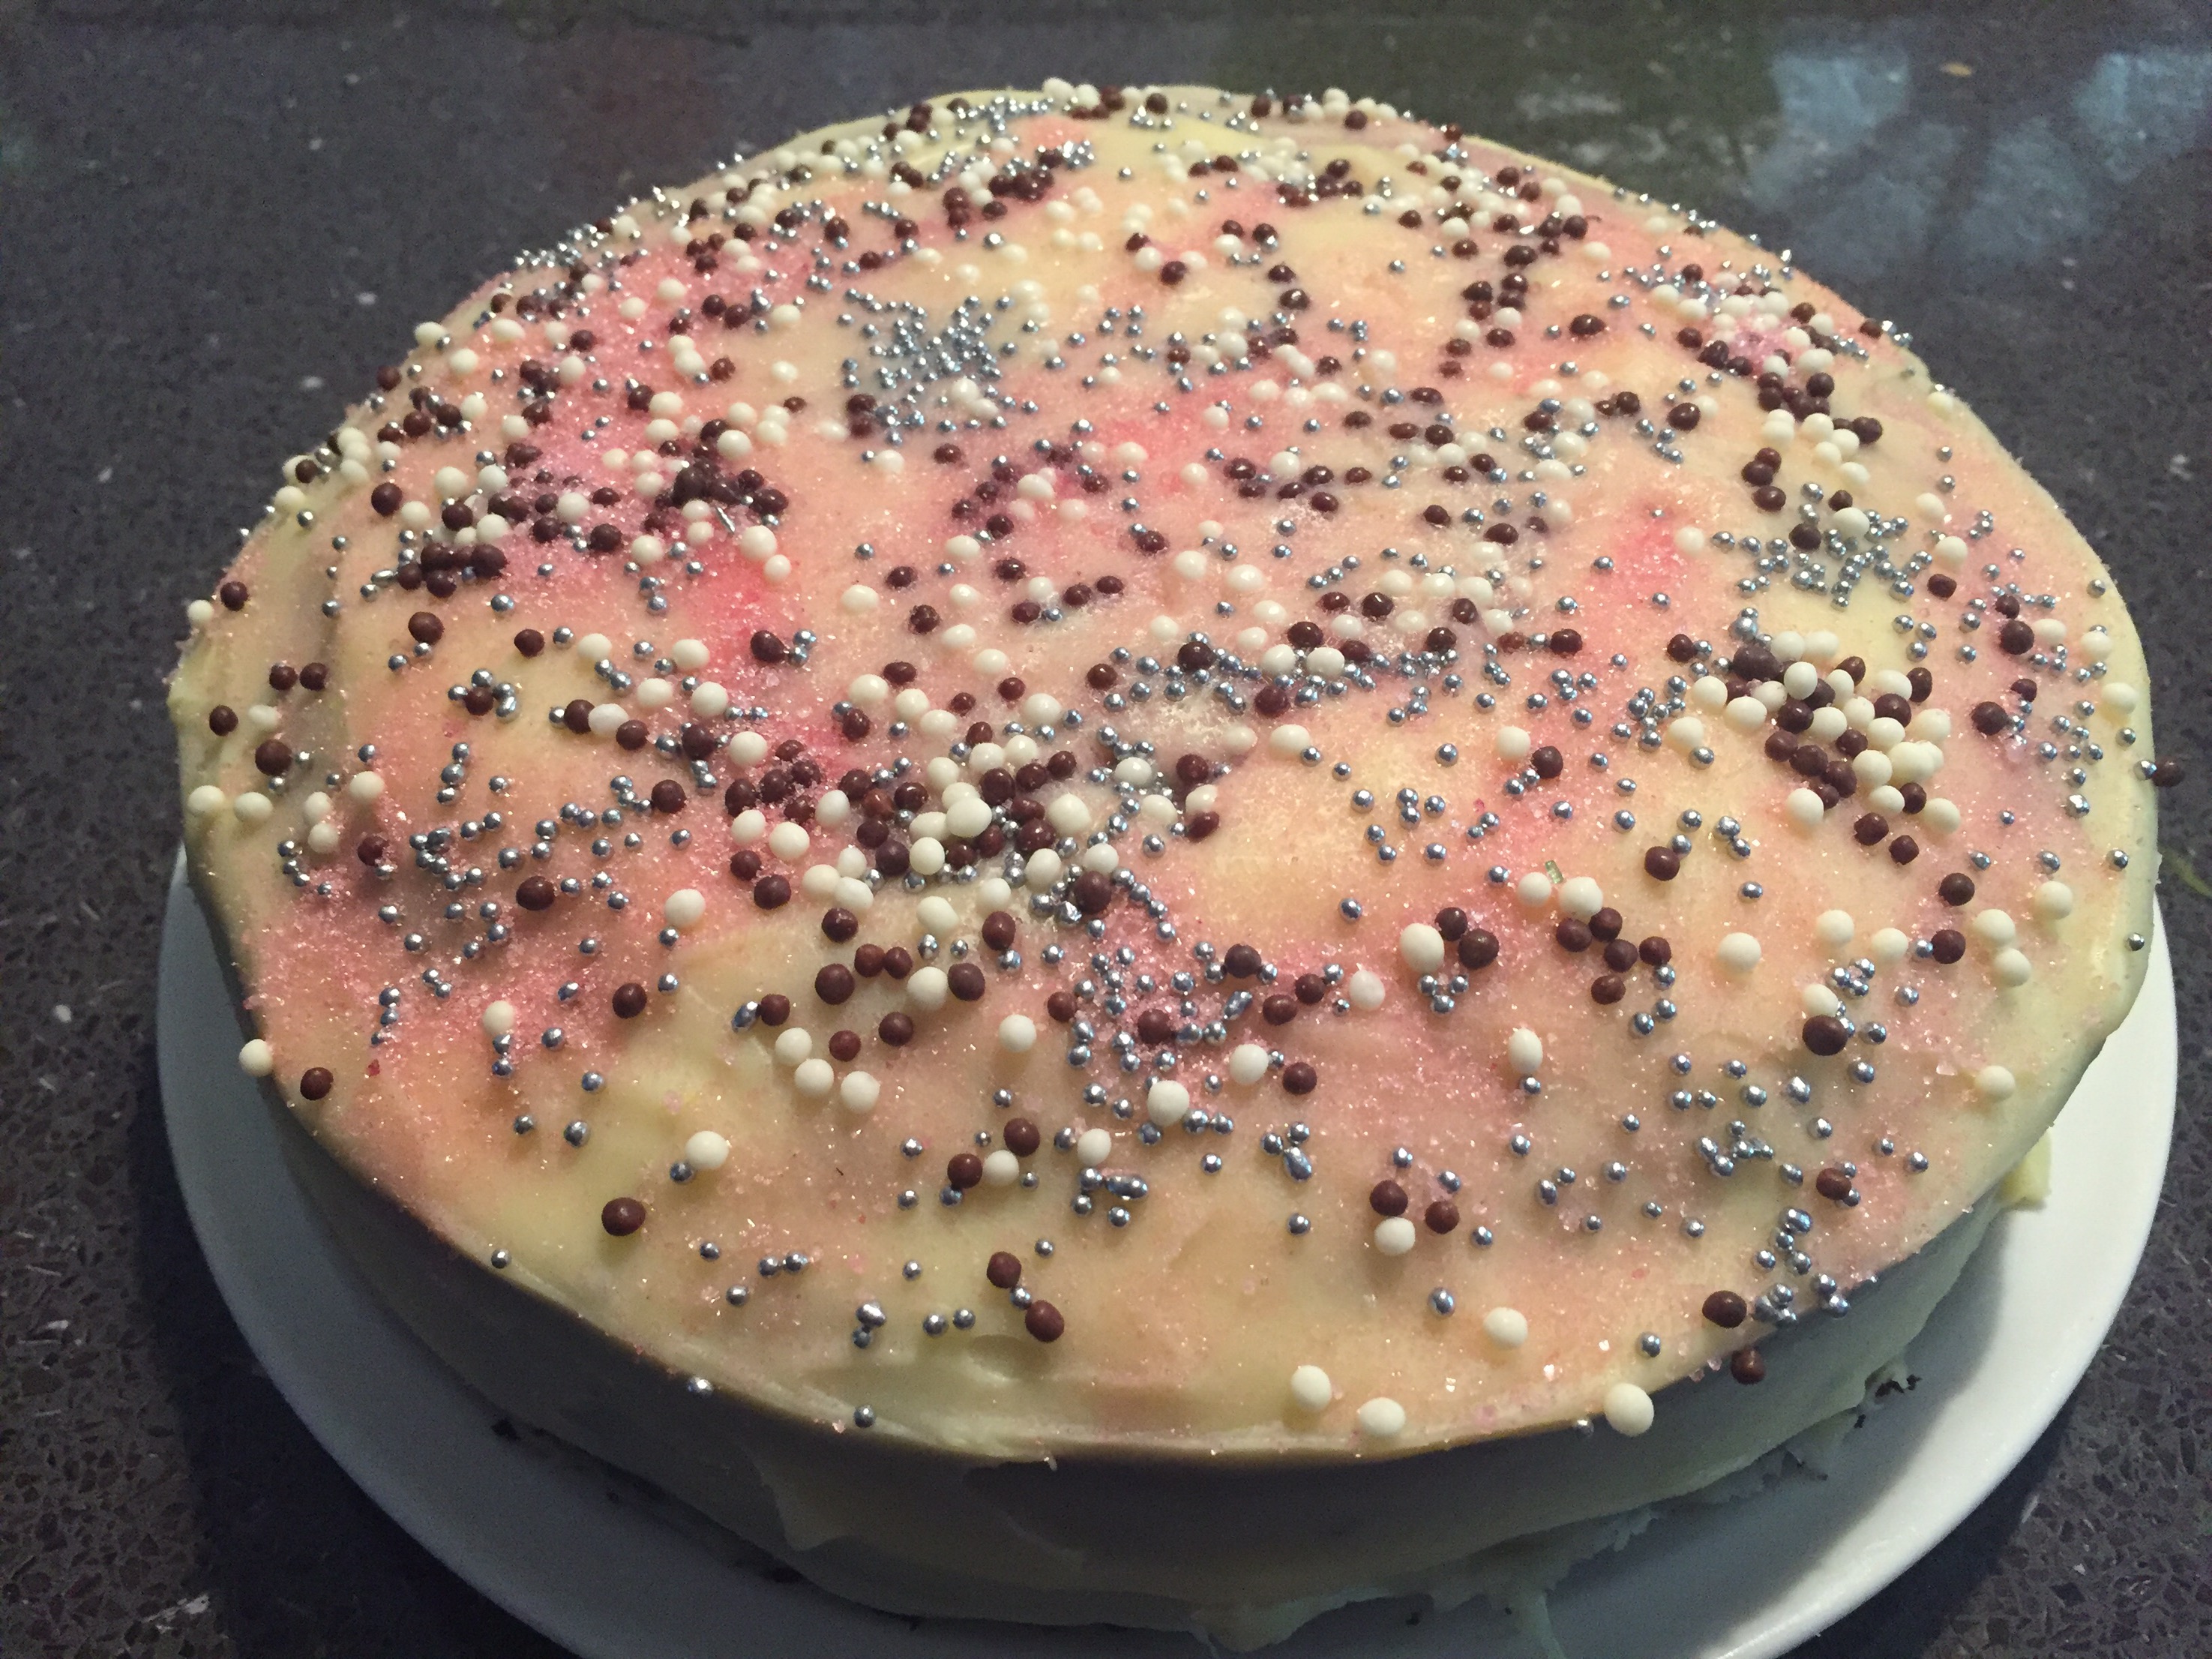
- Remove the cake from the fridge and then continue to frost the cake applying an even amount of buttercream to all surfaces to your desired thickness
- Optional, sprinkle the top which some chocolate sprinkles.
Recipe Notes:
- Store in an airtight container below 20 degrees for a maximum of 5 days
- If you store in the fridge, allow to come to room temperature before serving
- To make one 20cm round or square cake instead of 2 loaf cakes pour the batter into the prepared tin and bake for 45-50 minutes
- This cake recipe is freezer friendly, for best results buttercream is best serves freshly made

Disclaimer: C4K Kitchen does not hold any responsibility for the consumer using this recipe including the storage guidelines and time frames recommended in the recipe notes. The consumer holds all responsibilities to ensure that food hygiene and safety standards are adhered to.