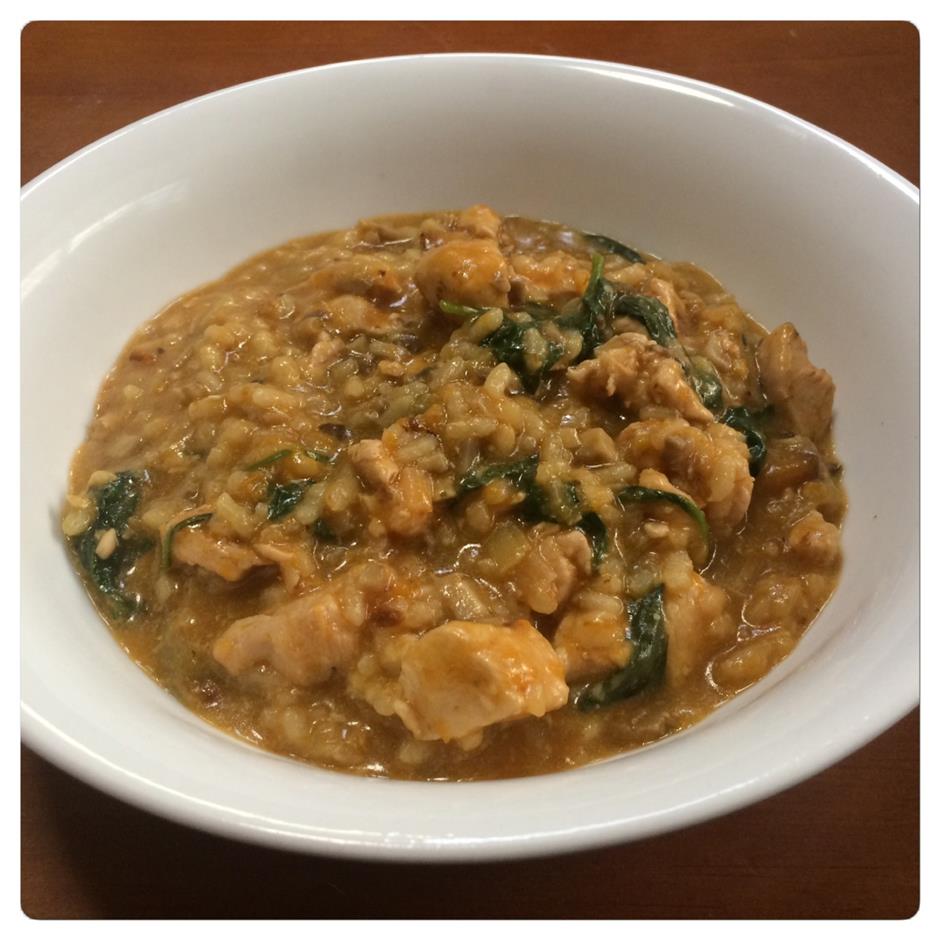
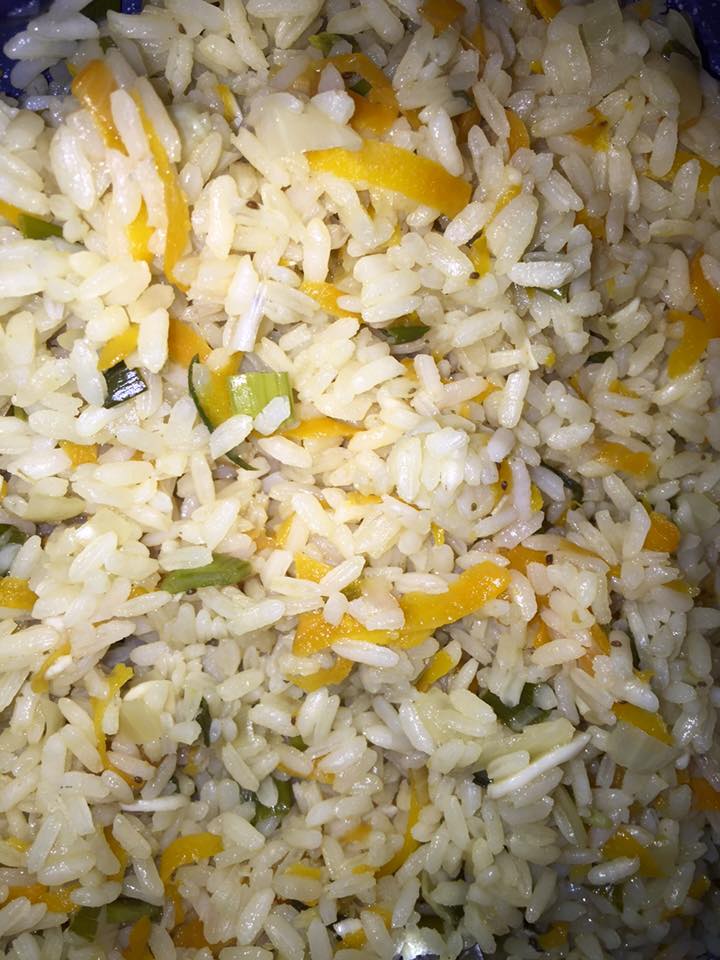
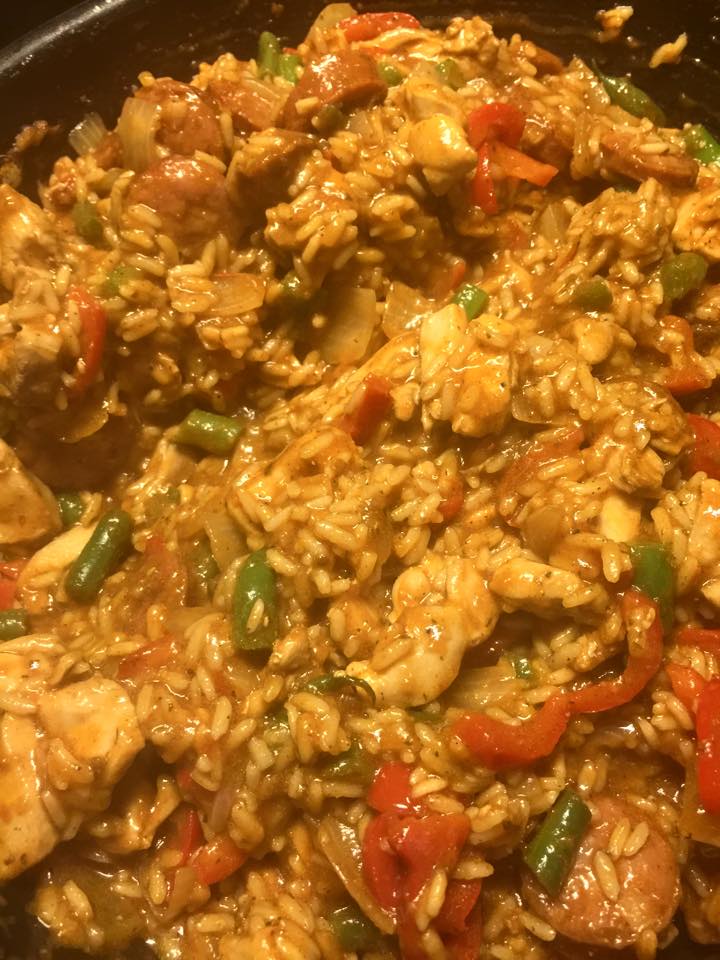
Spanish Chicken Paella
Spanish Chicken Paella
Spanish Chicken Paella
Serves: 4-6
Ingredients:
- 2 chorizo sausages, sliced
- 600g skinless chicken thigh fillets, sliced
- 1 large red onion, roughly diced
- 1/2 large or 1 small red capsicum, sliced
- 1 teaspoon paprika
- 1/2 teaspoon ground chilli (optional)
- 1 portion of C4K Kitchen’s Mumma’s Magic Sauce (approximately 700-800ml)
- 1 cup white rice
- Up to 3 cups chicken stock (store bought or C4K Kitchen’s Chicken Stock)
- 1 cup frozen beans
Method:
- Heat 1 tablespoon rice bran oil in a heavy based large frying pan or a paella pan and cooked the sliced chorizos for 2-3 minutes until brown and set aside leaving the juices in the frying pan
- Brown the chicken off in a 2 batches, cooking for about 3 minutes to seal the chicken and set aside the chicken and all the pan juices
- Heat 1 tablespoon of oil in the same pan and add in the onion and capsicum sautéing for about 5 minutes, then add in the paprika stirring for about 1 minute until aromatic, then stir in the MMS and heat through
- Sprinkle the rice evenly over the top and then add in 1 cup of chicken stock stirring through constantly
- Add in more stock 1/2 cup at a time as the moisture absorbs, after 10 minutes add in the sliced beans
- Continue to stir and add in stock for another 10-15 minutes until the rice is tender
Recipe Notes:
- Store covered in the fridge, to be consumed within 2 days
- Freezer friendly
- When reheating from fridge or freezer you may require to add some additional stock or water to help rehydrate the meal.

Disclaimer: C4K Kitchen does not hold any responsibility for the consumer using this recipe including the storage guidelines and time frames recommended in the recipe notes. The consumer holds all responsibilities to ensure that food hygiene and safety standards are adhered to.