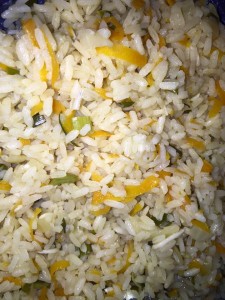
Lemon Rice Pilaf


Lemon Rice Pilaf

Serves: 4-6

Lemon Rice Pilaf

Ingredients:

  • 3 1/2 cups chicken stock
  • 1 small onion, finely diced
  • 1 large carrot, grated
  • 1 bunch spring onion (including stems), chopped
  • 1 1/2 cups white jasmine or basmati rice, rinsed
  • 1 small lemon


Method:

  • Place the stock in a saucepan that has a lid that firmly seals and bring to the boil
  • Once boiling reduce the heat to a simmer and add in the vegetables, simmering for about 2-3 minutes to allow them to slightly soften
  • Add in the rinsed rice and stir well, place the lid on the saucepan and simmer for 10 minutes
  • After 10 minutes, remove the lid and stir through the juice and lemon rind from one small lemon, stir quickly and replace the lid and remove from the heat
  • Allow the rice to sit for 10-15 minutes and then use a fork to fluff up the rice and serve immediately.


Recipe Notes:

  • Store covered in the fridge for a maximum of 2 days
  • This recipe is freezer friendly to be consume within 3 months

C4K Kitchen Title Bar

Disclaimer: C4K Kitchen does not hold any responsibility for the consumer using this recipe including the storage guidelines and time frames recommended in the recipe notes.  The consumer holds all responsibilities to ensure that food hygiene and safety standards are adhered to.

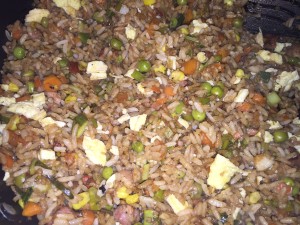

C4K Fried Rice


C4K Fried Rice

Serves: 4-6

Fried Rice

Ingredients:

  • 2 eggs, lightly beaten
  • 1 tablespoon milk
  • 2 cups cooked, 1 day old rice
  • 3/4 cup bacon pieces or left over roast meat
  • 1/2 cup chopped onion
  • 1/2 cup diced carrots
  • 1/2 cup corn kernels
  • 1/2 cup frozen peas
  • 1 tablespoon minced garlic
  • 2 tablespoons soy sauce
  • 1 teaspoon rice wine vinegar

Method:

  • Lightly beat the egg and milk together and season with salt and pepper
  • Heat a heavy based frying pan over a medium heat and spray liberally with rice bran oil spray, evenly spread the egg mixture over the bottom off the pan
  • Cook for approximately 2-4 minutes or until the edges are starting to curl inward, gently flip the egg over as a whole and cook for another 1 minute
  • Starting one side roll the egg until completely rolled into a cigar shape and remove from the frying pan and set aside
  • Heat 1 tablespoon of rice bran oil or sesame oil in the same frying pan and add in the garlic and onion sautéing for about 2 minutes until the onion starts to soften
  • Add in the bacon and the remaining vegetables and sauté for about 5 minutes until they slightly soften
  • Add in the rice mixing well to ensure the vegetables are evenly spread throughout the rice
  • Roughly slice the egg roll in all directions, add the chopped egg with the soy sauce and the rice vinegar and mix until well combined
  • Allow the rice, sauces and egg to come to temperature before serving.


Recipe Notes:

  • Store covered in the fridge for a maximum of 3 days
  • This recipe is freezer friendly

C4K Kitchen Title Bar

Disclaimer: C4K Kitchen does not hold any responsibility for the consumer using this recipe including the storage guidelines and time frames recommended in the recipe notes.  The consumer holds all responsibilities to ensure that food hygiene and safety standards are adhered to.


Mini Impossible Pies


Mini Impossible Pies

Makes: 18

Mini Impossible Pies

Ingredients:

  • 1 zucchini, grated
  • 2 carrots, grated
  • 1 onion, finely diced
  • 4 mushrooms, finely diced
  • 1/2 cup bacon pieces (leave out for a vegetarian alternative)
  • 1/2 cup grated parmesan cheese
  • 1 cup grated cheese
  • 1 cup SR flour
  • 6 eggs
  • 1 1/2 cups milk
  • 2 teaspoons minced garlic
  • Salt and pepper, to taste


Method:

  • Preheat oven to 180 degrees Celsius, pre-grease a silicon muffin trays very well or line with classic metal muffin tray with paper liners.
  • Mix all vegetables, bacon, garlic and cheeses into a large mixing bowl, mix until well combined
  • Add in the flour and stir through until all ingredients are well coated in flour.
  • In a mixing jug lightly whisk together the eggs and milk, add salt and pepper to taste
  • Pour egg mixture over the dry ingredients and mix very well
  • Use the well-greased muffin tin and spoon in the mixture until about ¾ full
  • Cook in for 30-35 minutes until golden or the egg mixture has set.


Recipe Notes:

  • Store in an airtight container in the fridge for up to 3 days
  • This recipe is freezer friendly
  • Great option to individually wrap in glad wrap to grab for a quick snack or to put in a lunchbox

C4K Kitchen Title Bar

Disclaimer: C4K Kitchen does not hold any responsibility for the consumer using this recipe including the storage guidelines and time frames recommended in the recipe notes. The consumer holds all responsibilities to ensure that food hygiene and safety standards are adhered to.


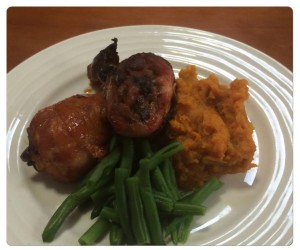
Honey Soy Drumsticks with Roast Sweet Potato Mash


Honey Soy Drumsticks with Roast Sweet Potato Mash

Serves: 4

Honey Soy Drumsticks with Roast Sweet Potato Mash

Marinade Ingredients:

  • 1/2 cup soy sauce
  • 1/3 cup honey
  • Juice of 1 lemon
  • 2 tablespoon minced garlic
  • 2 tablespoons olive oil


Ingredients:

  • 12 chicken drumsticks
  • 500-600g sweet potato
  • 2 tablespoons butter
  • 100ml milk
  • Salt and pepper, to taste


Method:

  • The night before you want to cook this dish, or a minimum of 4 hours before mix all of the ingredients together in a jug and whisk until well combined
  • Place the chicken in a dish and pour the mixture over the chicken drumsticks, turning all of the drumsticks to make sure they are full coating in the mixture. Cover with a lid or with glad wrap and refrigerate until you are ready to cook
  • Preheat your oven to 180 degrees Celsius
  • Place the drumsticks in a roasting tray pouring the extra marinade mixture over the top of the drumsticks
  • While putting the chicken into the oven also place the sweet potatoes in the oven, unpeeled directly only the oven rack.
  • Roast the chicken for 45-60 minutes, basting with the marinade and turning the drumsticks every 15 minutes, the chicken is cooked when the juices are clear when piercing the thickest part of the drumstick
  • Remove the sweet potatoes after about 40 minutes or when they are cooked through. Set aside to cool for a few minutes.
  • Once the sweet potatoes are cool enough to handle remove the skin and put the roasted flesh into a flat bottomed bowl
  • Mash the sweet potato using a potato masher or a fork, add in the butter and milk as well as salt and pepper to taste.
  • Serves with fresh steamed beans


Recipe Notes:

  • Store covered in the fridge for the maximum of 2 days
  • The drumsticks are freezer friendly to be consumed within 3 months

C4K Kitchen Title Bar

Disclaimer: C4K Kitchen does not hold any responsibility for the consumer using this recipe including the storage guidelines and time frames recommended in the recipe notes.  The consumer holds all responsibilities to ensure that food hygiene and safety standards are adhered to.


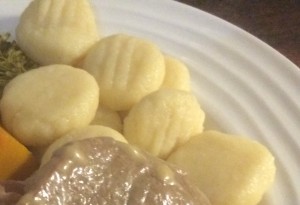
Gnocchi


Gnocchi

Serves: 4-6

Gnocchi

Ingredients:

  • 800g potatoes (waxy potatoes are the best)
  • 1 egg, lightly beaten
  • 1/2 teaspoon garlic salt
  • 2 cups plain flour


Method:

  • Peel and chop the potatoes into roughly 3cm sized chunks and stem them for about 15 minutes until tender. It is best to steam them rather than boil as they can be come waterlogged when boiling affecting the end outcome
  • Once the potatoes are tender, use your potato masher to mash until silky smooth, do not use a stick blender to do this or it will over mash and provide the wrong consistency.
  • Stir in the egg and mix well, add in 1 cup o the flour and use a wooden spoon to mix well, add the last cup of flour in at 1/2 cup intervals to allow the dough the flour to be well mixed through
  • Turn the dough out onto a lightly floured clean surface very gently kneading until the dough is smooth and not sticky, if it is sticky add more flour but do not add too much or it will be combe dense
  • Divide the dough into 4 portions, roll the first portion into a 2cm log and then chop the dough at 1cm intervals
  • Roll each piece of dough in your lightly floured hands to form a egg shape and press down with the tip of a lightly floured fork to create each gnocchi piece, repeat with all pieces in the first portion
  • Repeat with the remaining 3 portions
  • To cook bring a large pot of salted water to the boil and place approximately 20 gnocchi pieces in at time and simmer for approximately 3 minutes or until the gnocchi rises to the surface, remove and repeat cooking process with the remaining gnocchi
  • Serve with your choice of pasta sauce.

Recipe Notes:

  • Store covered in the fridge for a maximum of 3 days
  • This recipe is freezer friendly, but for best result freezer before cooking the gnocchi

C4K Kitchen Title Bar

Disclaimer: C4K Kitchen does not hold any responsibility for the consumer using this recipe including the storage guidelines and time frames recommended in the recipe notes. The consumer holds all responsibilities to ensure that food hygiene and safety standards are adhered to.


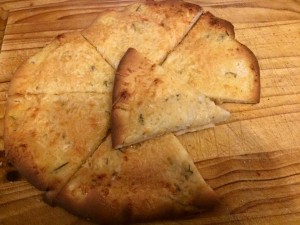
Cheesy Garlic Pizza


Cheesy Garlic Pizza
Serves: 4-8

Cheesy Garlic Pizza

Ingredients:

  • 1/4 cup Greek or Natural Yoghurt
  • 3/4 cup SR flour
  • 1 teaspoon baking powder
  • 30g butter, softened
  • 1 tablespoon minced garlic
  • 1 teaspoon fresh rosemary, finely chopped
  • 1/2 cup grated parmesan cheese


Method:

  • Preheat an oven to 180 degrees Celsius and line a tray with baking paper or lightly grease a pizza tray
  • Mix the yoghurt, flour and baking powder in the bowl to make a basic dough, turn this out onto a lightly floured clean bench and knead very quickly until you have brought the mixture together – add more flour is the dough is still sticky. Roll the dough into a round pizza shape
  • Mix the butter, garlic and rosemary together and spread evenly over the pizza dough then top with the grated parmesan evenly spread
  • Bake for 15-20 minutes until the cheese is bubbly and the base is golden.


Recipe Notes:

  • Store covered in the fridge for the maximum of 3 days
  • This recipe is freezer friendly to be consumed within 3 months

C4K Kitchen Title Bar

Disclaimer: C4K Kitchen does not hold any responsibility for the consumer using this recipe including the storage guidelines and time frames recommended in the recipe notes.  The consumer holds all responsibilities to ensure that food hygiene and safety standards are adhered to.


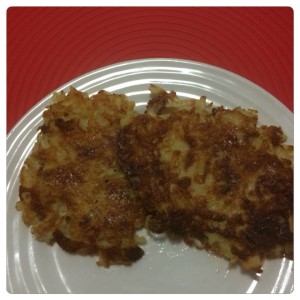
Cheesy Hash Browns


Cheesy Hash Browns
Makes: approximately 20

Cheesy Hash Browns

Ingredients:

  • 4 medium potatoes
  • 1 small onion
  • 1 large egg
  • 1/2 cup grated cheese
  • 1/4 cup grated parmesan cheese
  • 1/4 cup SR flour
  • Salt & pepper to taste


Method:

  • Peel and grate the potatoes into a large mixing bowl
  • Grab handfuls of the grated potatoes and squeeze firmly to remove all excess moisture from the potatoes discarding the extracted liquid. Complete until all potatoes have been squeezed to remove extra moisture
  • Return the potatoes to the mixing bowl once completed
  • Peel and grate the small onion and add to the mixing bowl
  • Add all other ingredients and combine very well
  • Heat a small amount of rice bran oil in a heavy based frying pan over medium heat and when oil is heated drop ¼ cup of the mixture into the frying pan and slightly flatten
  • Cook the Hash Brown for about 4-5 minutes each side or until golden brown and the potato and onion is cooked through. You will need to adjust the heat if they are browning too quickly by not cooking through
  • Place the cooked hash brown on a piece of paper towel before serving to ensure any excess oil is removed.

Recipe Notes:

  • Store in an airtight container in the fridge for the maximum of 3 days
  • This recipe is freezer friendly to be consumed within 3 months

C4K Kitchen Title Bar

Disclaimer: C4K Kitchen does not hold any responsibility for the consumer using this recipe including the storage guidelines and time frames recommended in the recipe notes.  The consumer holds all responsibilities to ensure that food hygiene and safety standards are adhered to.



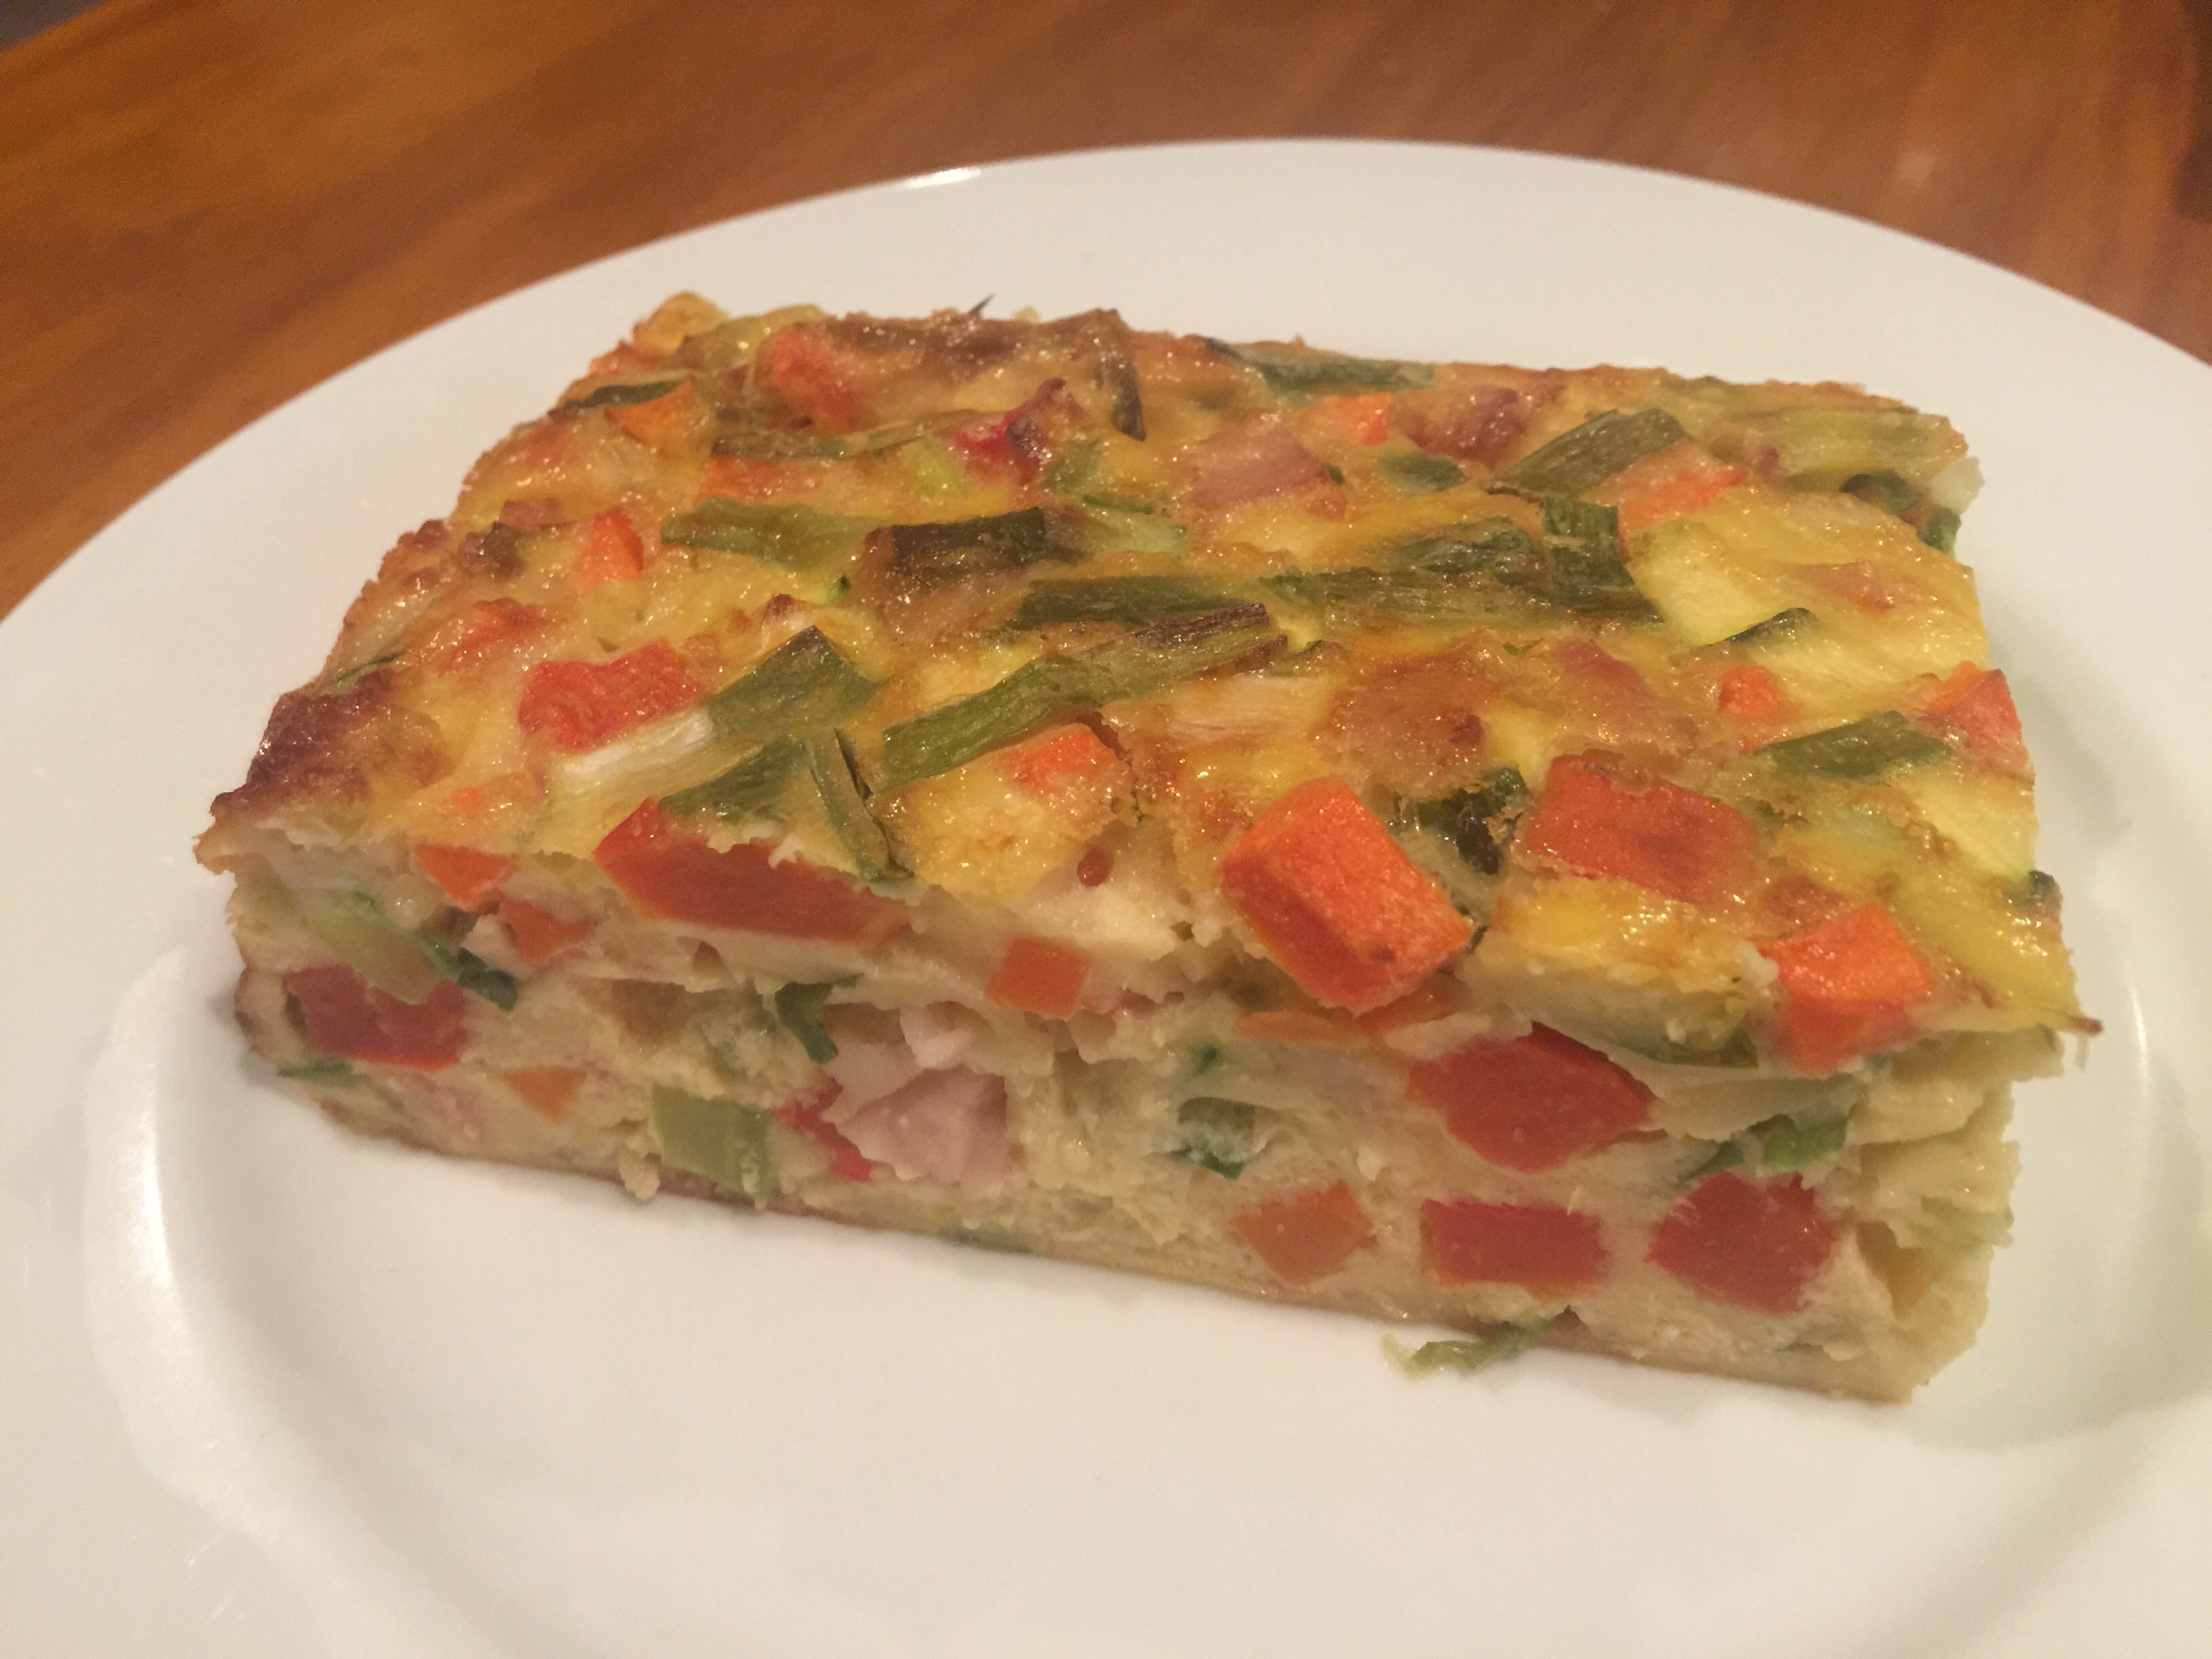
Vegetable Slice


Vegetable Slice
Serves: 6


Ingredients:

  • 2 carrots
  • 1/2 leek
  • 1 zucchini
  • 1 small sweet potato
  • 1 small onion
  • 1 red capsicum
  • 3 spring onions, including green portion
  • 3 rashers bacon, rind removed (optional)
  • 1 cup ground rice
  • 2 teaspoons baking powder
  • 1 tablespoon minced garlic
  • 12 eggs
  • 3/4 cup rice milk

Method:

  • Preheat your oven to 180 degrees Celsius and grease and line a 20-22cm square baking tray/tin.
  • Peel vegetables that require peeling then finely dice all vegetables to about 3/4cm cubes.
  • Dice the bacon and place in a large mixing bowl with the diced vegetables.
  • Stir through the ground rice and baking powder until all the vegetables are well coated.
  • In a mixing jug whisk together the eggs, milk, garlic and salt & pepper to taste until well combined then pour over the coated vegetables until well combined and all vegetables are coated in the egg mixture.
  • Pour into the prepared tray and then bake for 45 minutes or until golden and set.

Recipe Notes:

  • Ground rice can be replaced with plain flour
  • Rice milk can be replaced with any type of milk and 1 cup of grated cheese can a also be added if preferred.
  • To be stored covered in the fridge for the maximum of 2 days
  • This recipe is freezer friendly to be consumed within 3 months

C4K Kitchen Title Bar

Disclaimer: C4K Kitchen does not hold any responsibility for the consumer using this recipe including the storage guidelines and time frames recommended in the recipe notes.  The consumer holds all responsibilities to ensure that food hygiene and safety standards are adhered to.


Cheesy Broccoli & Cauliflower Bread Pie


Cheesy Broccoli & Cauliflower Bread Pies
Makes: 9

Cheesy Broccoli & Cauliflower Bread Pies


Ingredients:

  • 9 slices of bread, crusts removed
  • 50g unsalted butter
  • 3 heaped tablespoons plain flour
  • 1 teaspoon minced garlic
  • 300ml milk
  • 1/2 cup grated cheese
  • 1/2 cup broccoli florets, fresh or frozen
  • 1/2 cup cauliflower florets, fresh or frozen


Method:

  • Preheat the oven to 180 degrees Celsius
  • Add the butter and garlic into a small saucepan and melt over medium—high heat until the butter is melted and then whisk in the flour to form a rue (with a “pastey” type texture) and cook for about 3 minutes to cook out the flour continuing to whisk
  • Gradually add in the milk continually whisking to ensure no lumps form once you have a nice thick cheese sauce add in the grated cheese and the broccoli and cauliflower that has either been grated, finely diced or blitzed in a food processor/thermo cooking device (Speed 6 for 8 seconds) until it has a rice like texture
  • Grease a 9 holes in a 12 hole muffin tin
  • Remove the crusts from the bread and use a rolling pin both directions on the bread to flatten slightly, fit the bread into one of the muffin tray holes and fill with the cheesy mixture, repeat with the remaining slices of bread and the mixture
  • Bake for 15 minutes or until golden on top and allow to cook as the filling will be very hot.


Recipe Notes:

  • Store in an airtight container in the fridge for a maximum of 3 days
  • This recipe is freezer friendly.


C4K Kitchen Title Bar 

Disclaimer: C4K Kitchen does not hold any responsibility for the consumer using this recipe including the storage guidelines and time frames recommended in the recipe notes.  The consumer holds all responsibilities to ensure that food hygiene and safety standards are adhered to.


Cheeky Mac & Cheese


Cheeky Mac & Cheese
Serves: 4-6

Cheeky Mac & Cheese

Ingredients:

  • 2 cups uncooked macaroni or small elbow pasta
  • 30g butter
  • 2 tablespoons plain flour
  • 2 cups milk, approximately
  • 1 cup tasty grated cheese
  • 1/2 cup grated parmesan cheese
  • 1 cup cauliflower puree
  • Pinch nutmeg
  • Salt & Pepper to taste


Method:

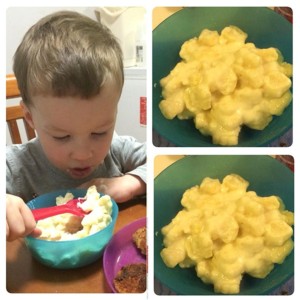
  • Boil 2 cups of macaroni pasta, elbow pasta or pasta of course (picture shows stegosaurus pasta) until al dente, drain well and let sit while you prepare the sauce.
  • To make the bechamel sauce, create a rue with the butter and flour and stir continually for a couple minutes to cook out the flour
  • Gradually add in the milk and continued whisking to ensure a silky smooth consistency. Add milk until you get the desired consistency. You will want it runnier than normal due to additions thickening the sauce further
  • Add in all the cheeses, cauliflower puree, salt & pepper and nutmeg, continuing to stir to ensure all the cheese has melted and you have a smooth creamy sauce.
  • Stir through the drained pasta and serve.


Recipe Notes:

  • Store covered in the fridge for a maximum of 3 days
  • This recipe is freezer friendly
  • If reheating this from frozen you will need to add more milk as you reheat on the stove as the dish will loose some hydration and moisture during the freezing/reheating process

C4K Kitchen Title Bar


Disclaimer: C4K Kitchen does not hold any responsibility for the consumer using this recipe including the storage guidelines and time frames recommended in the recipe notes.  The consumer holds all responsibilities to ensure that food hygiene and safety standards are adhered to.