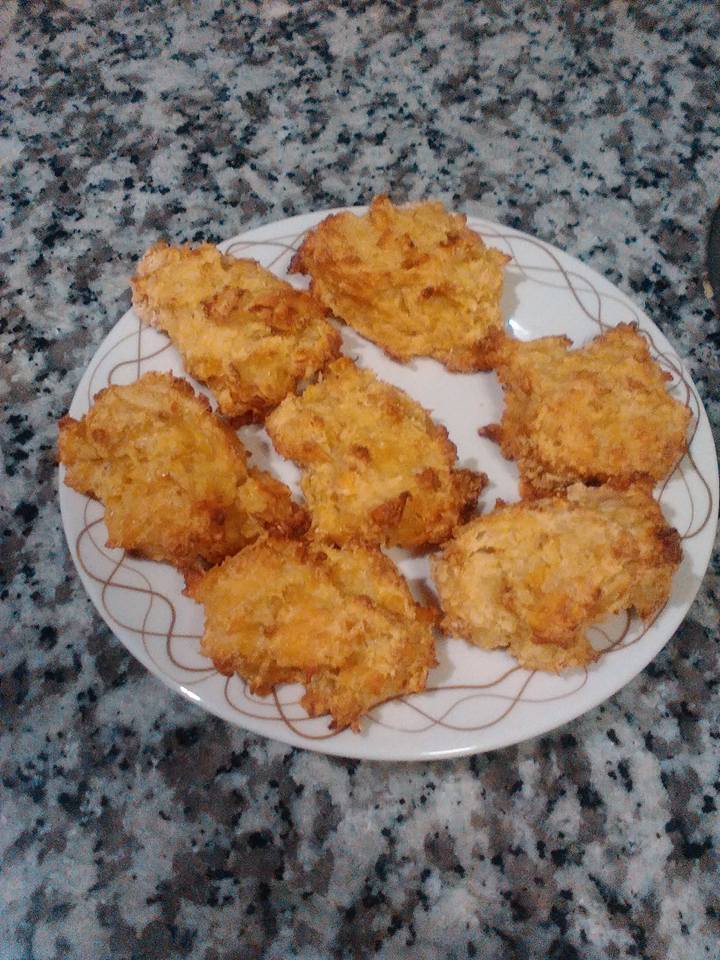
Corn Uglies


Corn Uglies

Makes: 15 – 18

Corn Uglies 2

Ingredients:

  • 1 x 400g can creamed corn
  • 1 can SR flour
  • 1 can grated cheese
  • 1 teaspoon garlic salt or sea salt


Method:

  • Preheat the oven to 180 degrees Celsius and line 2 baking trays with baking paper
  • Empty to can of creamed corn into a large mixing bowl, then use the empty can to measure the SR flour and add to the mixing bowl and finally use the can again to measure the grated cheese and add to the mixing bowl.
  • Add the salt and use a wooden spoon to mix all the ingredients together until well combined
  • Place 15-18 (depending on how big you want them) spoonful’s on mixture onto lined trays
  • Place in the oven for 15-20 minutes until golden brown and cooked through. Allow to cool on a cooling rack.


Recipe Notes:

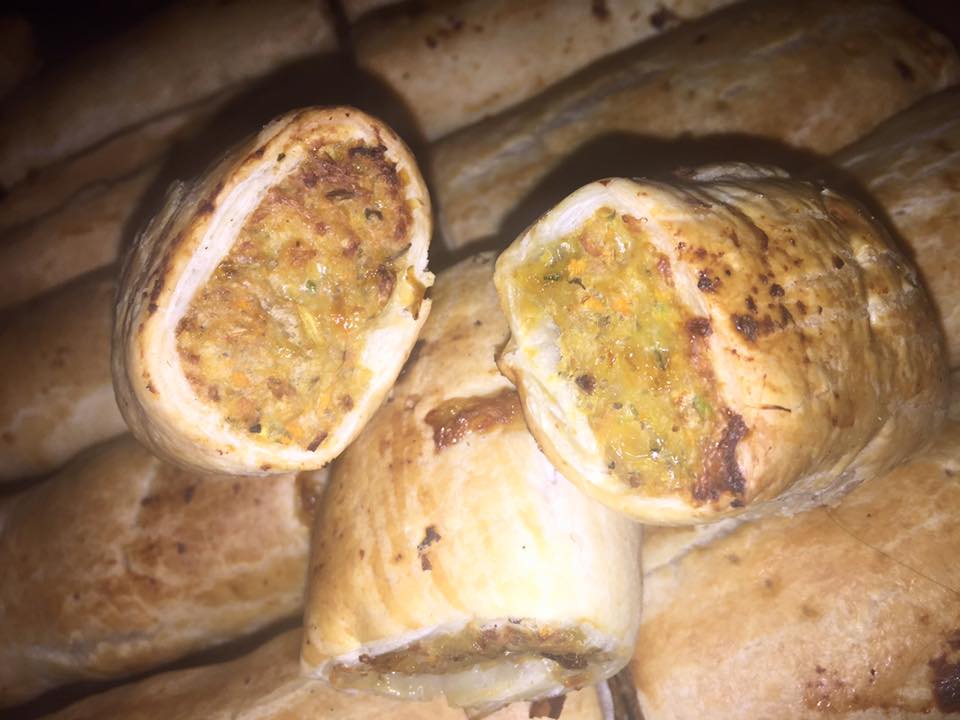
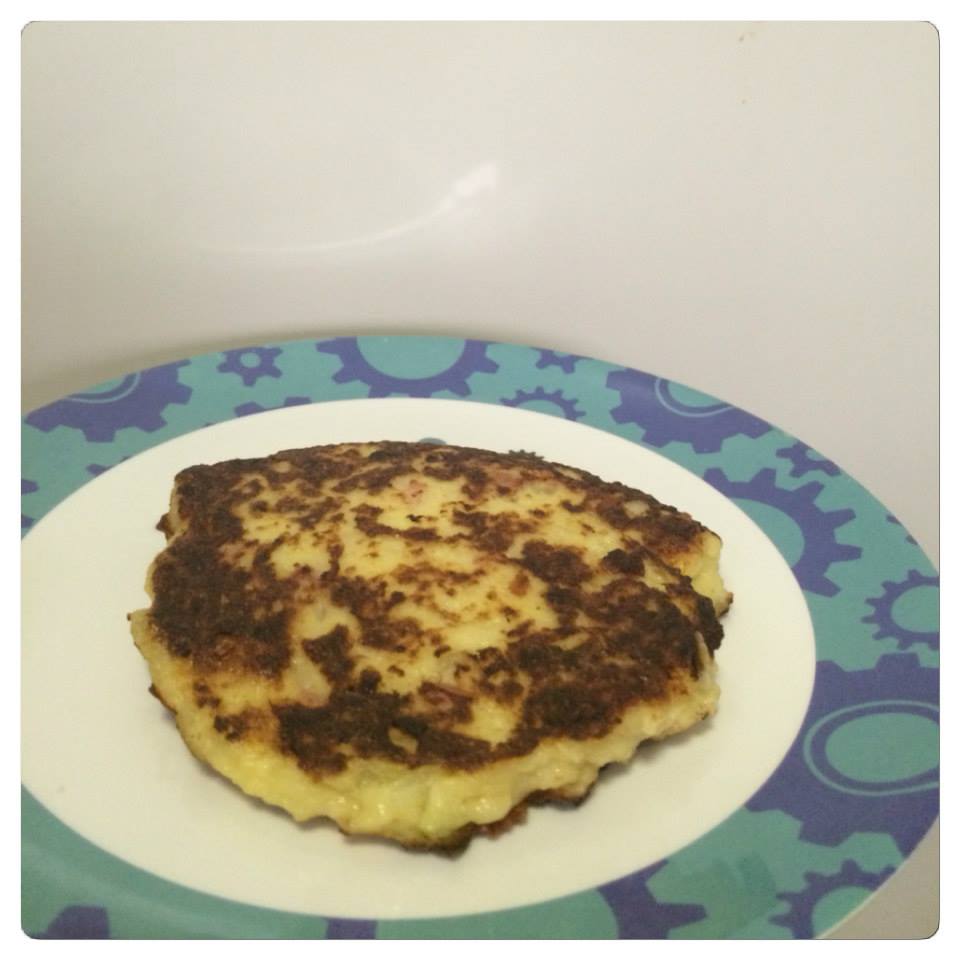
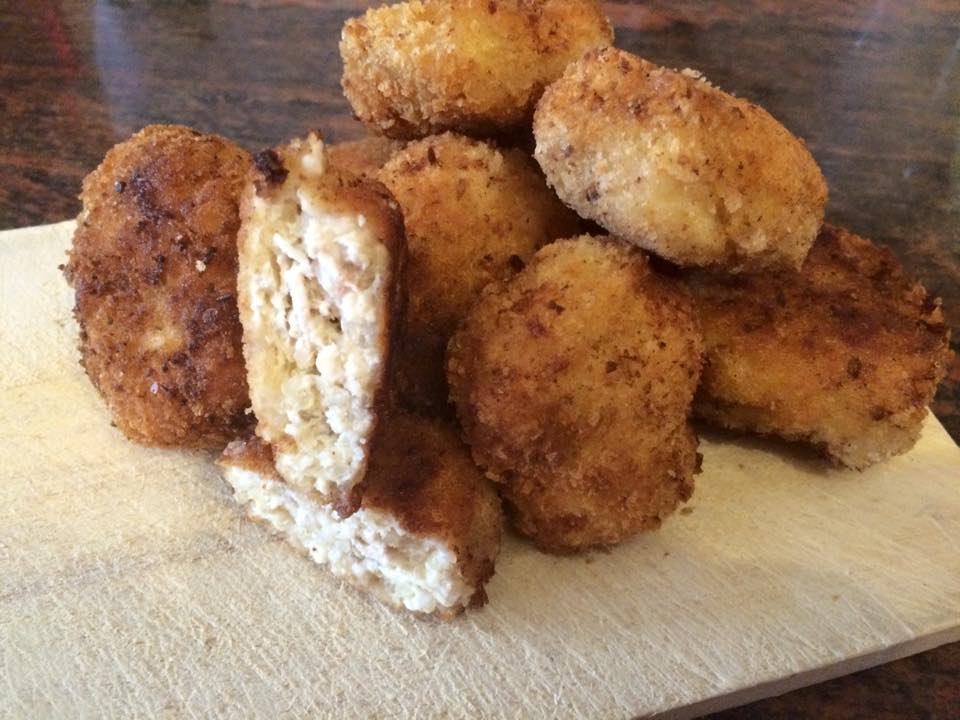
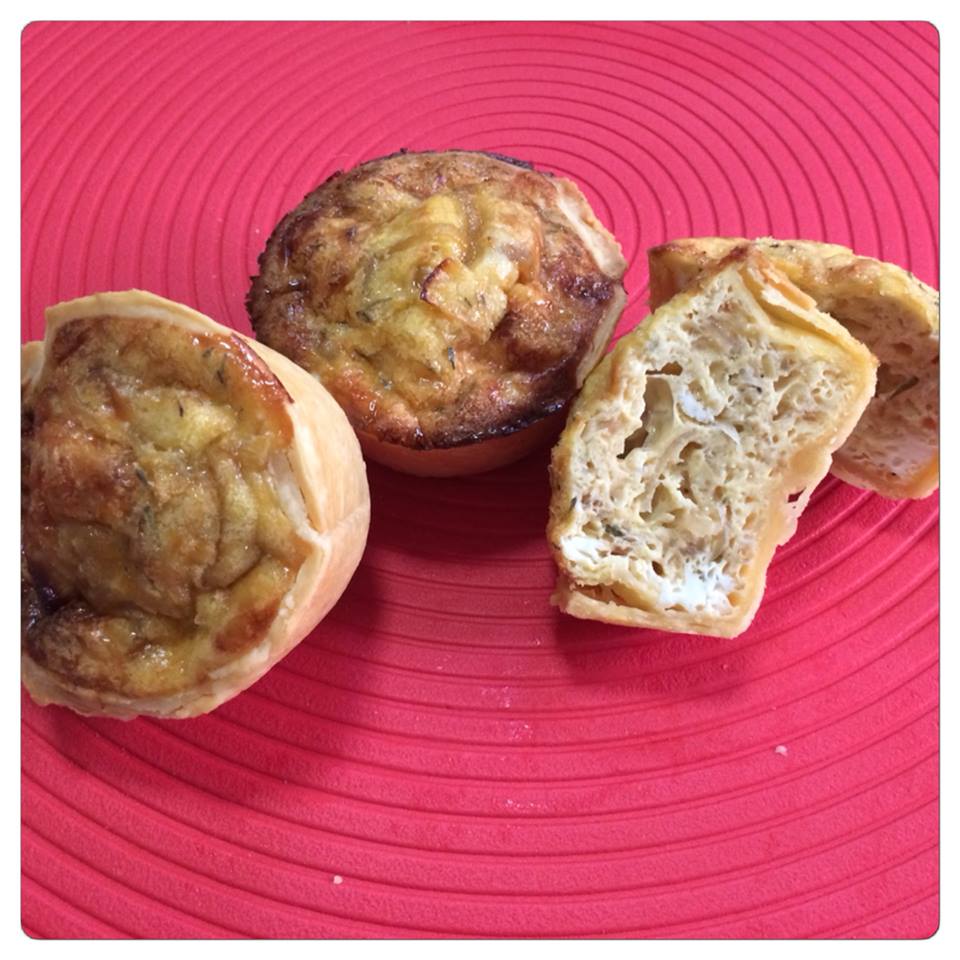
  • This recipe is a base recipe, you can also have delicious results when adding in other vegetables and/or meats like bacon, ham or even tuna—however do not exceed using 1 can total of additions to the recipe or it can effect the way in which the uglies bind together.
  • The photo from this recipe is credited to Cooking for Kids Facebook member Kiara Mason, thanks Kiara


C4K Kitchen Title Bar

Disclaimer: C4K Kitchen does not hold any responsibility for the consumer using this recipe including the storage guidelines and time frames recommended in the recipe notes.  The consumer holds all responsibilities to ensure that food hygiene and safety standards are adhered to.


Cheesy Muffins


Cheesy Muffins

Makes: 24 mini muffins or 12 standard muffins

Cheesy Muffins

Ingredients:

  • 2 cups grated cheese
  • 1 1/2 cups SR flour
  • 1 tablespoon sugar (optional)
  • 1 egg
  • 1 cup milk
  • Pinch garlic or sea salt


Method:

  • Preheat the oven to 200 degree Celsius
  • Mix together all the dry ingredients in a bowl, including the grated cheese
  • Beat egg and milk in a separate container then gently fold through the dry mix until well combined to form a lumpy batter is formed
  • Spoon batter into a well-greased muffin tin of your chosen size
  • Bake for 8-12 minutes for mini muffins and 10-15 minutes for standard muffins.


Recipe Notes:

  • You are able to add up to 1 full cup of additions. Theses can include but are not exclusive to; grated vegetables (with excess juices squeezed out), shredded ham, creamed corn, tuna, bacon pieces, shredded herbs, shredded baby spinach etc.
  • Store in an airtight container under 27 degrees for a maximum of 3 days
  • This recipe is freezer friendly to be consumed within 3 months

C4K Kitchen Title Bar

Disclaimer: C4K Kitchen does not hold any responsibility for the consumer using this recipe including the storage guidelines and time frames recommended in the recipe notes.  The consumer holds all responsibilities to ensure that food hygiene and safety standards are adhered to.


Cheesy Hash Browns


Cheesy Hash Browns
Makes: approximately 20

Cheesy Hash Browns

Ingredients:

  • 4 medium potatoes
  • 1 small onion
  • 1 large egg
  • 1/2 cup grated cheese
  • 1/4 cup grated parmesan cheese
  • 1/4 cup SR flour
  • Salt & pepper to taste


Method:

  • Peel and grate the potatoes into a large mixing bowl
  • Grab handfuls of the grated potatoes and squeeze firmly to remove all excess moisture from the potatoes discarding the extracted liquid. Complete until all potatoes have been squeezed to remove extra moisture
  • Return the potatoes to the mixing bowl once completed
  • Peel and grate the small onion and add to the mixing bowl
  • Add all other ingredients and combine very well
  • Heat a small amount of rice bran oil in a heavy based frying pan over medium heat and when oil is heated drop ¼ cup of the mixture into the frying pan and slightly flatten
  • Cook the Hash Brown for about 4-5 minutes each side or until golden brown and the potato and onion is cooked through. You will need to adjust the heat if they are browning too quickly by not cooking through
  • Place the cooked hash brown on a piece of paper towel before serving to ensure any excess oil is removed.

Recipe Notes:

  • Store in an airtight container in the fridge for the maximum of 3 days
  • This recipe is freezer friendly to be consumed within 3 months

C4K Kitchen Title Bar

Disclaimer: C4K Kitchen does not hold any responsibility for the consumer using this recipe including the storage guidelines and time frames recommended in the recipe notes.  The consumer holds all responsibilities to ensure that food hygiene and safety standards are adhered to.


Cheesy Cauliflower Slice


Cheesy Cauliflower Slice
Makes: approximately 24 squares

Cheesy Cauliflower Slice

Ingredients:

  • 1 medium cauliflower, cut into florets
  • 1 cup grated cheese
  • 1/2 cup grated parmesan cheese
  • 1 large eggs
  • 1 teaspoon mixed herbs
  • 1 teaspoon minced garlic


Method:

  • Preheat oven to 220 degree Celsius, grease and line a baking tray with baking paper
  • Place the cauliflower florets into a food processor or thermo cooking unit (Speed 6 for 8 seconds) and blend to a bread crumb like texture, once complete transfer the cauliflower meal into a sieve lined with a fresh linen/muslin cloth
  • Place the sieve on top of a saucepan with some water, bring the water to a boil then cover to steam the cauliflower for 5 minutes
  • Press cauliflower with a large spoon to push out liquid then pick up the cloth and ring out the ends to remove as much excess liquid as possible
  • Combine the cauliflower, half of both the cheeses, the egg and herbs into a bowl and mix well
  • Spread onto baking tray and use your hand to shape into an even-thickness rectangle. Sprinkle remaining half of both cheeses on top
  • Put in the oven for 20-30 minutes or until the cheese is melted and the sliced cooked through
  • Use a pizza cutter to slice while it is still hot as once the cheese sets it’s more difficult to cut
  • Allow to cool lightly on the baking tray for 10 minute before transferring to the separate squares to a cooling rack.


Recipe Notes:

  • Soak the muslin cloth immediately otherwise can be quite pungent when it dries.
  • Store in an airtight container in the fridge for a maximum of 3 days
  • This recipe is freezer friendly

 C4K Kitchen Title Bar

Disclaimer: C4K Kitchen does not hold any responsibility for the consumer using this recipe including the storage guidelines and time frames recommended in the recipe notes.  The consumer holds all responsibilities to ensure that food hygiene and safety standards are adhered to.


Cheesy Broccoli & Cauliflower Bread Pie


Cheesy Broccoli & Cauliflower Bread Pies
Makes: 9

Cheesy Broccoli & Cauliflower Bread Pies


Ingredients:

  • 9 slices of bread, crusts removed
  • 50g unsalted butter
  • 3 heaped tablespoons plain flour
  • 1 teaspoon minced garlic
  • 300ml milk
  • 1/2 cup grated cheese
  • 1/2 cup broccoli florets, fresh or frozen
  • 1/2 cup cauliflower florets, fresh or frozen


Method:

  • Preheat the oven to 180 degrees Celsius
  • Add the butter and garlic into a small saucepan and melt over medium—high heat until the butter is melted and then whisk in the flour to form a rue (with a “pastey” type texture) and cook for about 3 minutes to cook out the flour continuing to whisk
  • Gradually add in the milk continually whisking to ensure no lumps form once you have a nice thick cheese sauce add in the grated cheese and the broccoli and cauliflower that has either been grated, finely diced or blitzed in a food processor/thermo cooking device (Speed 6 for 8 seconds) until it has a rice like texture
  • Grease a 9 holes in a 12 hole muffin tin
  • Remove the crusts from the bread and use a rolling pin both directions on the bread to flatten slightly, fit the bread into one of the muffin tray holes and fill with the cheesy mixture, repeat with the remaining slices of bread and the mixture
  • Bake for 15 minutes or until golden on top and allow to cook as the filling will be very hot.


Recipe Notes:

  • Store in an airtight container in the fridge for a maximum of 3 days
  • This recipe is freezer friendly.


C4K Kitchen Title Bar 

Disclaimer: C4K Kitchen does not hold any responsibility for the consumer using this recipe including the storage guidelines and time frames recommended in the recipe notes.  The consumer holds all responsibilities to ensure that food hygiene and safety standards are adhered to.


Chicken & Corn Sausage Rolls


Chicken & Corn Sausage Rolls
Makes: 10 large, 20 small or 40 party size sausage rolls

Chicken Corn Sausage Rolls

Ingredients:

  • 5 sheets frozen puff pastry, defrosted
  • 500g chicken mince
  • 1 zucchini
  • 1/2 leek
  • 1 carrot
  • 1 portion sweet potato (equal to carrot size)
  • 2 eggs
  • 420g can creamed corn
  • 200g stuffing mix
  • 1/2 teaspoon celery salt
  • 1/2 teaspoon onion powder
  • 1 teaspoon garlic powder


Method:

  • Preheat oven to 180 degrees Celsius and line 2 baking trays with baking paper
  • Grate the zucchini, carrot and sweet potato and place in a large mixing bowl with the finely diced leek and all other ingredients, except pastry.
  • Use damp hands to mix the ingredients well until the chicken mince is well combined and the stuffing mix it evenly through the meaty mixture.
  • Divide the meat mixture into 10 even portions
  • Slice one sheet of puff pastry evenly down the middle vertically evenly place 1 portion of the meat mixture in a sausage shape down the middle of the pastry half, fold the pastry over to encase the mixture and use the tip of a fork to pierce along the entire join to interlock the two section of pastry together
  • Either bake as 1 large sausage roll of cut into halves or eights depending on what size you want the sausage roll to be.
  • Complete with the remaining pastry and portions of meat mixture until all prepared.
  • Brush the sausage rolls lightly with some milk and bake in the preheated oven for approximately 30 minutes until golden and flaky.


Recipe Notes:

  • Store in an airtight container for a maximum of 2 days
  • This recipe is freezer friendly to be used within 3 months


 C4K Kitchen Title Bar

Disclaimer: C4K Kitchen does not hold any responsibility for the consumer using this recipe including the storage guidelines and time frames recommended in the recipe notes.  The consumer holds all responsibilities to ensure that food hygiene and safety standards are adhered to.


Cauliflower & Bacon Fritters


Cauliflower & Bacon Fritters
Makes: approximately 20

Cauliflower & Bacon Fritters

Ingredients:

  • 1 medium head of cauliflower
  • 1/2 medium onion, finely chopped
  • 3/4 cup diced bacon or shredded ham
  • 3/4 cup SR flour
  • 1/2 cup grated parmesan cheese
  • 2 eggs, lightly beaten
  • 1/2 teaspoon garlic salt
  • Salt & Pepper, to taste


Method:

  • Cut the cauliflower up into florets and cover with boiling water, then simmer until the cauliflower is completely cooked.
  • Drain the water and then use a fork to mash the cauliflower.
  • Add in the rest of the ingredients, except the egg and vigorously mix to ensure well combined, finally fold in the egg until well combined.
  • Heat 2 tablespoons of oil in a heavy based frying pan, spoon in the mixture and shaped like fritters to the size that you desire.
  • Cook for about 4-6 minutes, or until golden brown before flipping and cook on the other side until golden brown.


Recipe Notes:

  • Bacon/Ham can be removed from the recipe for a vegetarian alternative
  • Store in an airtight container for a maximum of 3 days
  • This recipe is freezer friendly to be consumed within 3 months

 C4K Kitchen Title Bar

Disclaimer: C4K Kitchen does not hold any responsibility for the consumer using this recipe including the storage guidelines and time frames recommended in the recipe notes.  The consumer holds all responsibilities to ensure that food hygiene and safety standards are adhered to.


Cauli-Quinoa Chicken Nuggets


Cauli-Quinoa Chicken Nuggets
Makes: 36-48

Cauli Quinoa Chicken Nuggets

Ingredients:

  • 1/2 small head of cauliflower or 1/4 of large head of cauliflower
  • 1/2 cup uncooked quinoa
  • 2 chicken breasts
  • 1/2 teaspoon onion salt
  • 2 teaspoons minced garlic
  • 1 large egg
  • Salt & Pepper to taste
  • 3/4 cup plain flour
  • 2 eggs, lightly beaten
  • 1/2 cup milk
  • 3/4 cup panko breadcrumbs
  • 3/4 cup normal breadcrumbs


Method:

  • Cut up the cauliflower including the stem into about 3cm portions and either steam or boil until about 1/2 cooked and is softened, drain and place in the food processor and process until it has a breadcrumb like texture and place in a large mixing bowl
  • Simmer the quinoa in 1 cup of water for 10 minutes and remove from the heat and allow to sit in the saucepan while you are preparing the remainder of the nuggets mixture
  • Cut the chicken breast up into about 2cm cubes and place into the food processor or thermo cooking device and process until it had a mince like texture and place in the mixing bowl with the cauliflower
  • Add the onion salt, mince garlic and 1 large egg into the mixing bowl and last add in the entire contents of the saucepan containing the quinoa
  • Combine the nugget mixture very well with your hands until you have a well combined meaty batter, shape spoonful of the mixture into nugget shapes and place on some greaseproof paper while you repeat until all the chicken mixture is used
  • Get 3 small mixing bowls in the first one place the flour and season with the salt & pepper to your liking, in the second bowl crack the two eggs and add in the milk whisking gently until you have a smooth egg wash and in the last bowl combine the two types of breadcrumbs and mix well
  • Gently take your prepared nuggets shaped mix and roll in the seasoned flour, then dip in the egg wash until fully coated and lastly roll in the breadcrumbs until well coated, repeat this process with all of the prepared nuggets
  • Heat a small amount of rice bran oil in the bottom of a heavy based frying pan and in small batches cook the nuggets, do not overcrowd the frying pan or they will not cook evenly, cook for approximately 4-5 minutes on each side until golden brown and cooked through
  • Remove the cooked nuggets and place on some paper towel to drain any excess oil while you continue to cook the remaining nuggets.

Recipe Notes:

  • Store covered in the fridge for a maximum of 2 days
  • This recipe us freezer friendly to be consumer in 3 months


 C4K Kitchen Title Bar

Disclaimer: C4K Kitchen does not hold any responsibility for the consumer using this recipe including the storage guidelines and time frames recommended in the recipe notes.  The consumer holds all responsibilities to ensure that food hygiene and safety standards are adhered to.


Caramelised Onion Tartlets


Caramelised Onion Tartlets
Makes: 9

Caramelised Onion Tartlets

Ingredients:

  • 2 sheets frozen shortcrust pastry, defrosted
  • 30g butter
  • 1 large onion, thinly sliced
  • 2 shallots, thinly sliced
  • 1/2 leek, thinly sliced
  • 2 teaspoons brown sugar
  • 1/2 teaspoon dried thyme
  • 1/4 cup grated parmesan cheese
  • 6 eggs, lightly beaten
  • 1/2 cup thickened cream
  • Salt & pepper to taste


Method:

  • Grease very well 9 muffin cups and cut the shortcrust pastry to line 9 muffin cups Note: If you cut each sheet of shortcrust into quarters and cut off the excess so it is level with the muffin tray, knead the excess and roll out for the 9th cup
  • Heat the butter in a large non-stick frying pan over medium heat, add the onion, leek and shallots and cook for 10 minutes
  • Add the brown sugar and cook for a further 5-10 minutes until the mixture is caramelised, then stir in the thyme, salt and pepper and set aside to cool slightly
  • Preheat oven to 180 degrees Celsius
  • Place parmesan, egg and cream in a bowl and whisk to combine, then add the onion mixture into the egg mixture and combine very well
  • Pour the mixture evenly between the pastry cups ensuring they all get an equal amount of the onion filling
  • Bake for 20 minutes or until set and golden on top. Serve warm or at room temperature.


Recipe Notes:

  • Store in an airtight container in the fridge for the maximum of 3 days
  • This recipe is freezer friendly to be consumed within 3 months


C4K Kitchen Title Bar 

Disclaimer: C4K Kitchen does not hold any responsibility for the consumer using this recipe including the storage guidelines and time frames recommended in the recipe notes.  The consumer holds all responsibilities to ensure that food hygiene and safety standards are adhered to.


C4K Sausage Rolls


C4K Sausage Rolls
Makes: 16 large OR 32 halves OR 80 party sized sausage rolls

C4K Sausage Rolls

Ingredients:

  • 500g beef mince
  • 500g sausage mince
  • 2 eggs
  • 1 x 200g box stuffing mix (or breadcrumbs)
  • 3/4 cup C4K Kitchen’s Mumma’s Magic Sauce
  • 1 cup grated cheese
  • 1 large onion, finely diced
  • 1 large carrot, grated
  • 1 large zucchini, grated and squeezed to remove excess moisture
  • 1 heaped tablespoon minced garlic
  • 1 tablespoon mixed herbs
  • 8 sheets frozen puff pastry, defrosted

Method:

  • Preheat oven to 180 degrees Celsius.
  • Place all ingredients (except puff pastry sheets) into a large mixing bowl.
  • Use your hands to mix the ingredients squeezing through your finger tips until all ingredients are very well combined and have formed a nice smooth meaty dough like consistency.
  • Take your first sheet of puff pastry and cut down the middle to have 2 equal sized rectangles.
  • One the first side place a sausage shape of the mix mixture down the middle of the pastry rectangle. You want the thickness of the mixture to be about 1/4 of the rectangle with and about 1-1 1/2cm high. Roll the two sides of the pastry up ensuring that there is about 1cm over an overlap, if it overlaps more you can add some more filling, if it over laps less remove a bit of filling .
  • Along the join use the point of a fork to press down the whole way along the join to intertwine the two layers of pastry, place join side down onto a baking paper lined tray. Repeat with the remaining mixture and pastry sheets.
  • Brush the tops of the sausage roll with some milk, you can either cut now to preferred serving and/or storing size for a cleaner finish or you can cut after cooked.
  • Bake in the preheated oven for approximately 30 minutes or until flaky and golden brown.


Recipe Notes:

  • Store in an airtight container in the fridge for a maximum of 3 days
  • This recipe is freezer friendly and should be consumed within 3 months


C4K Kitchen Title Bar 

Disclaimer: C4K Kitchen does not hold any responsibility for the consumer using this recipe including the storage guidelines and time frames recommended in the recipe notes.  The consumer holds all responsibilities to ensure that food hygiene and safety standards are adhered to.