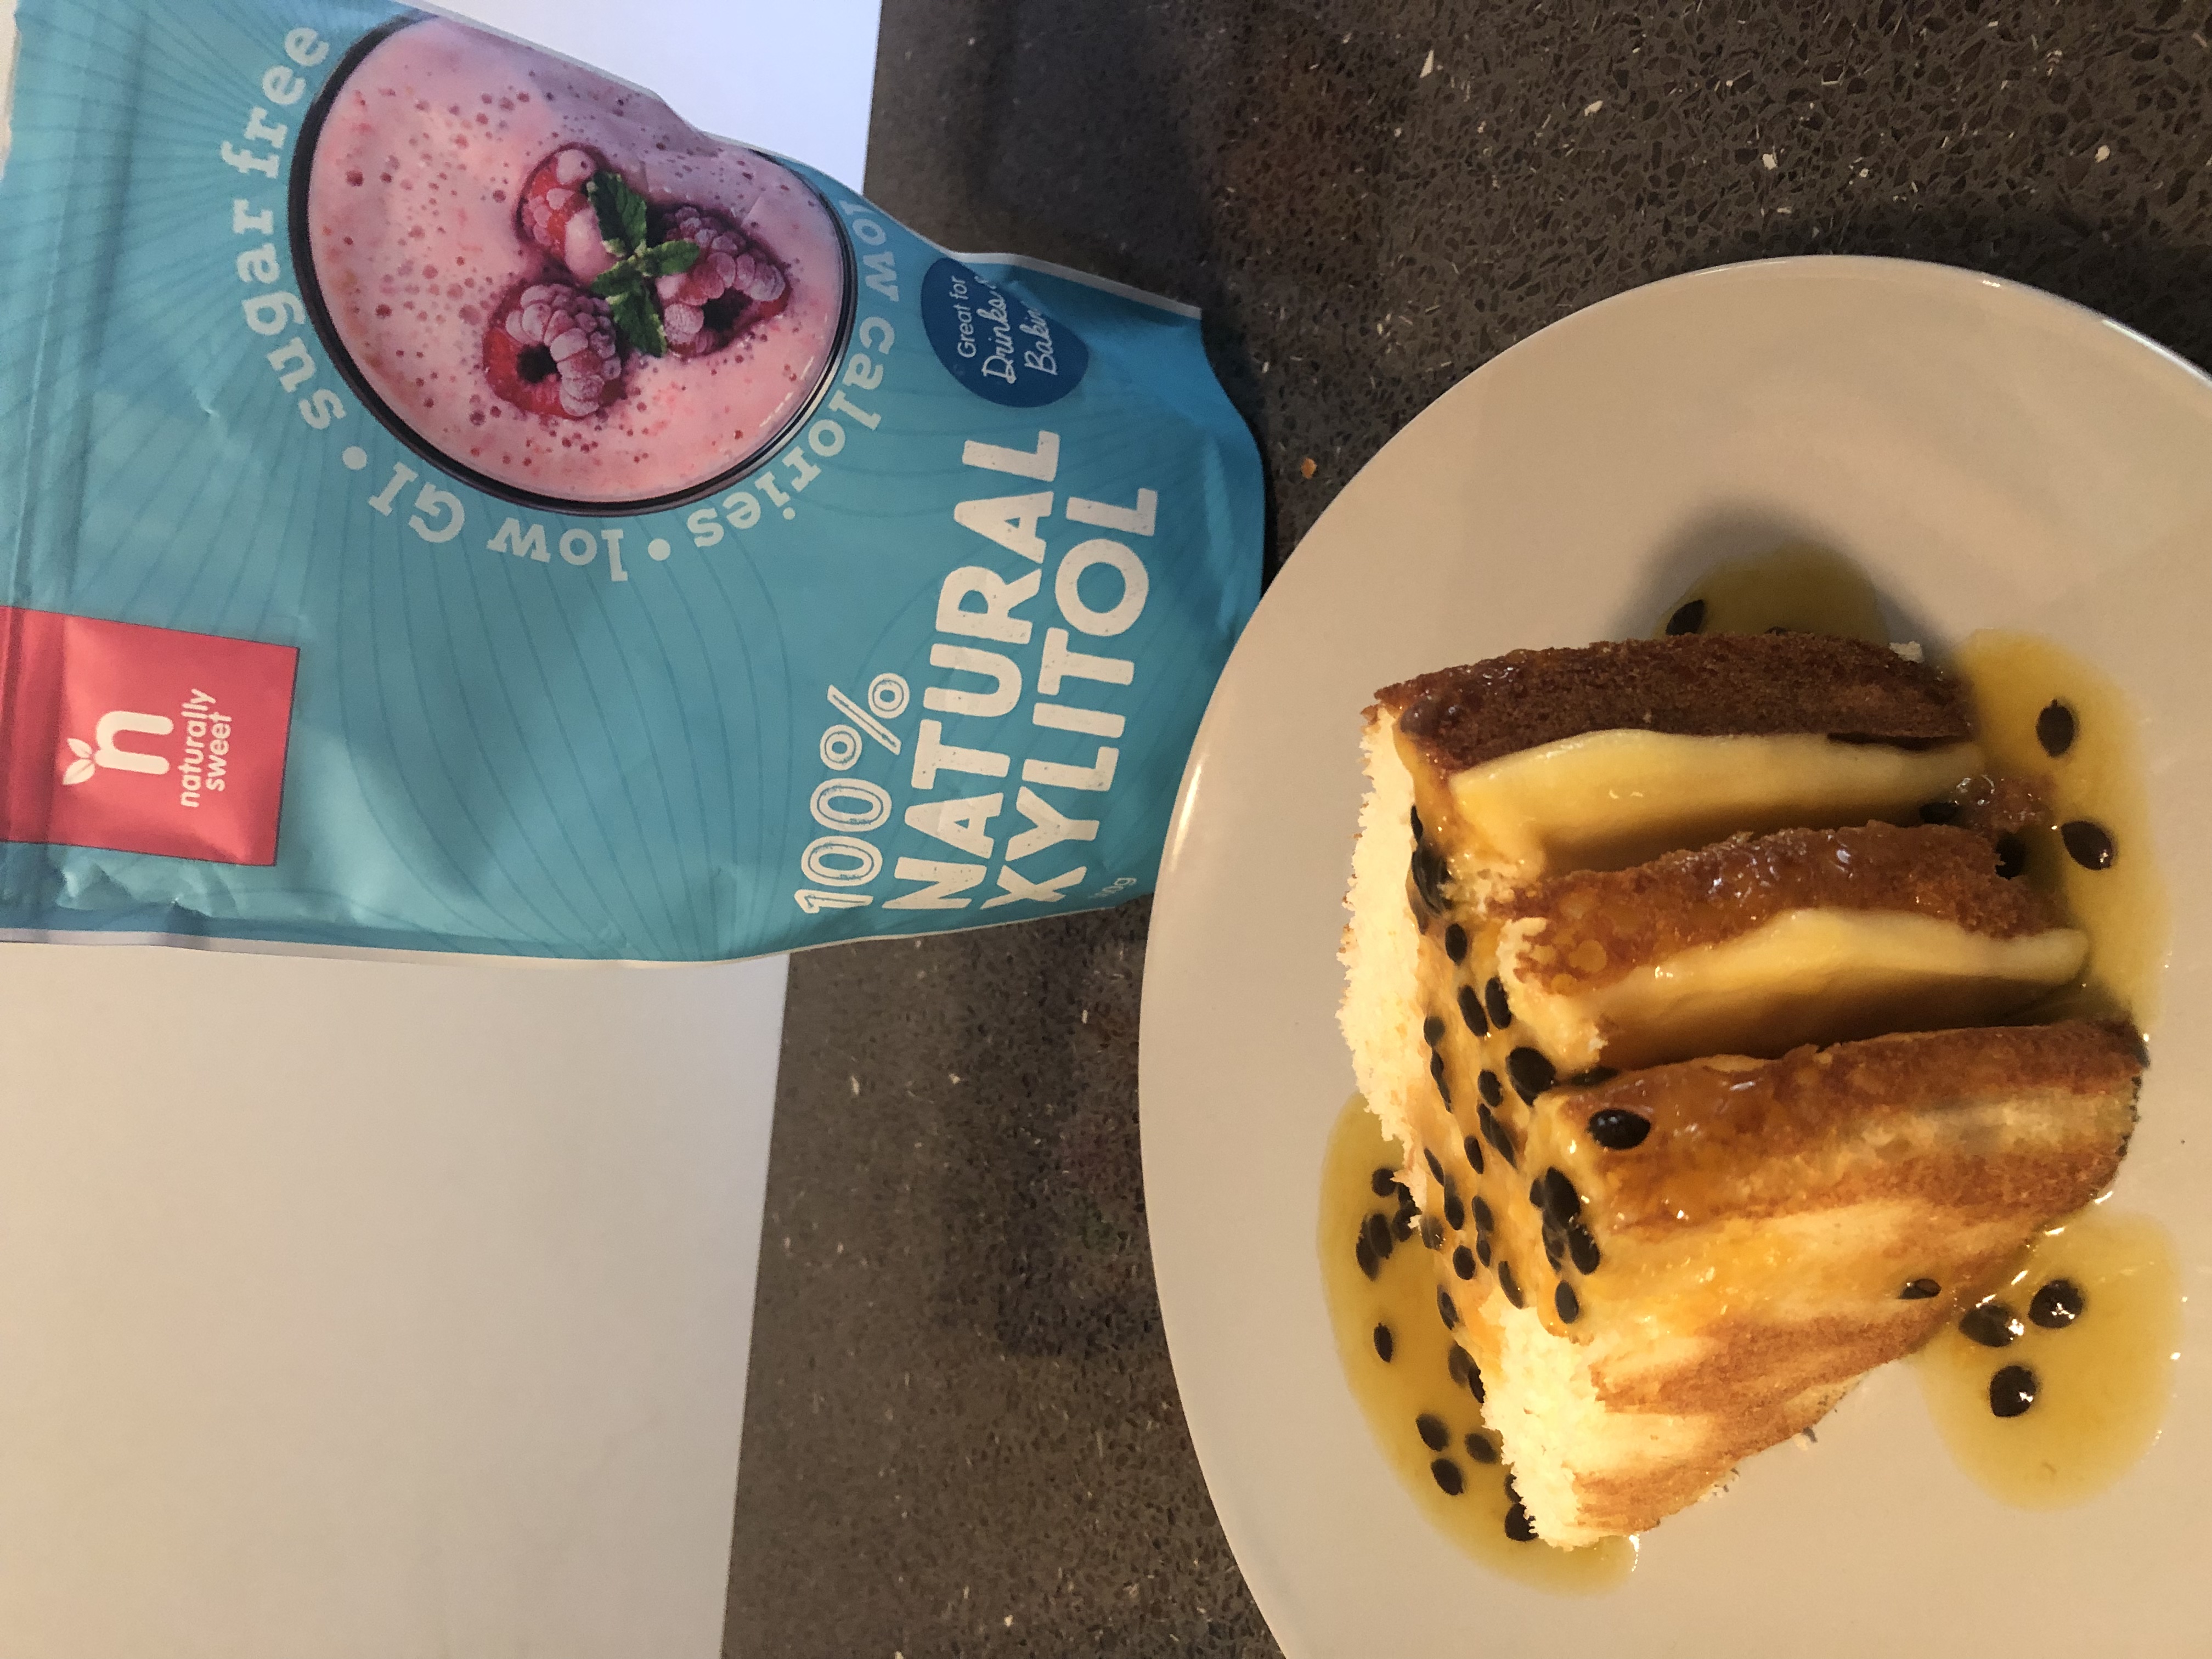
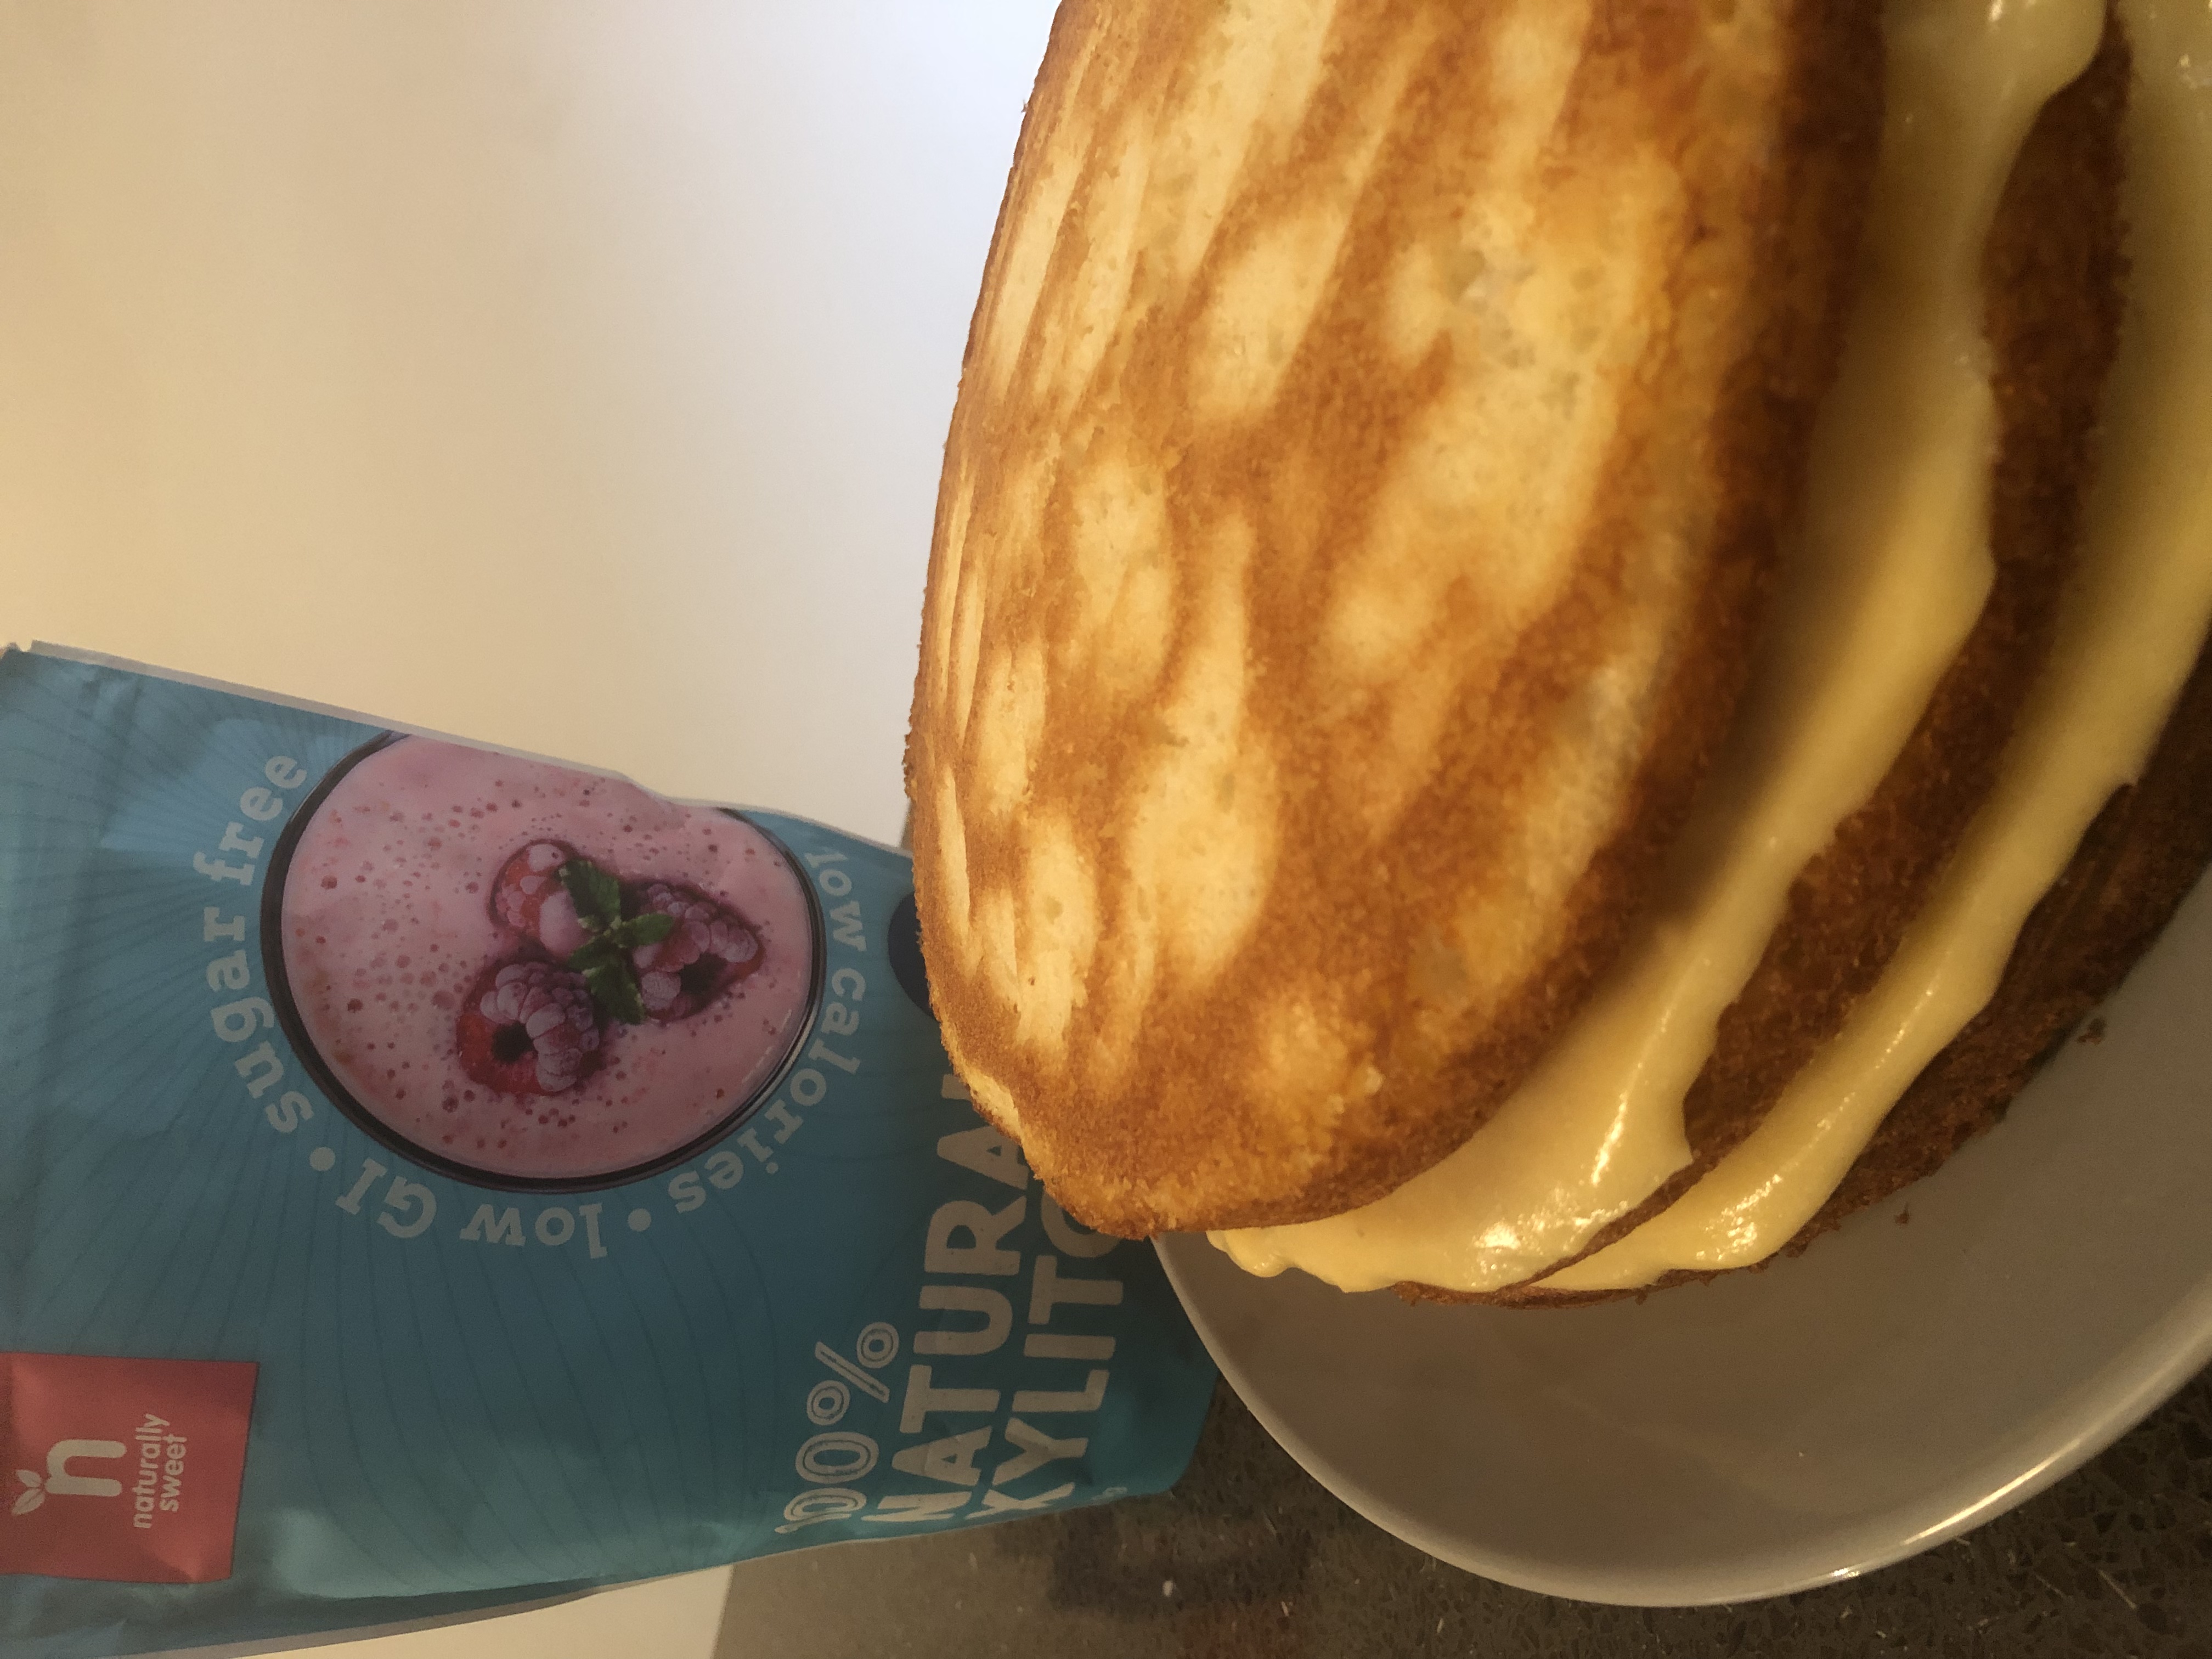
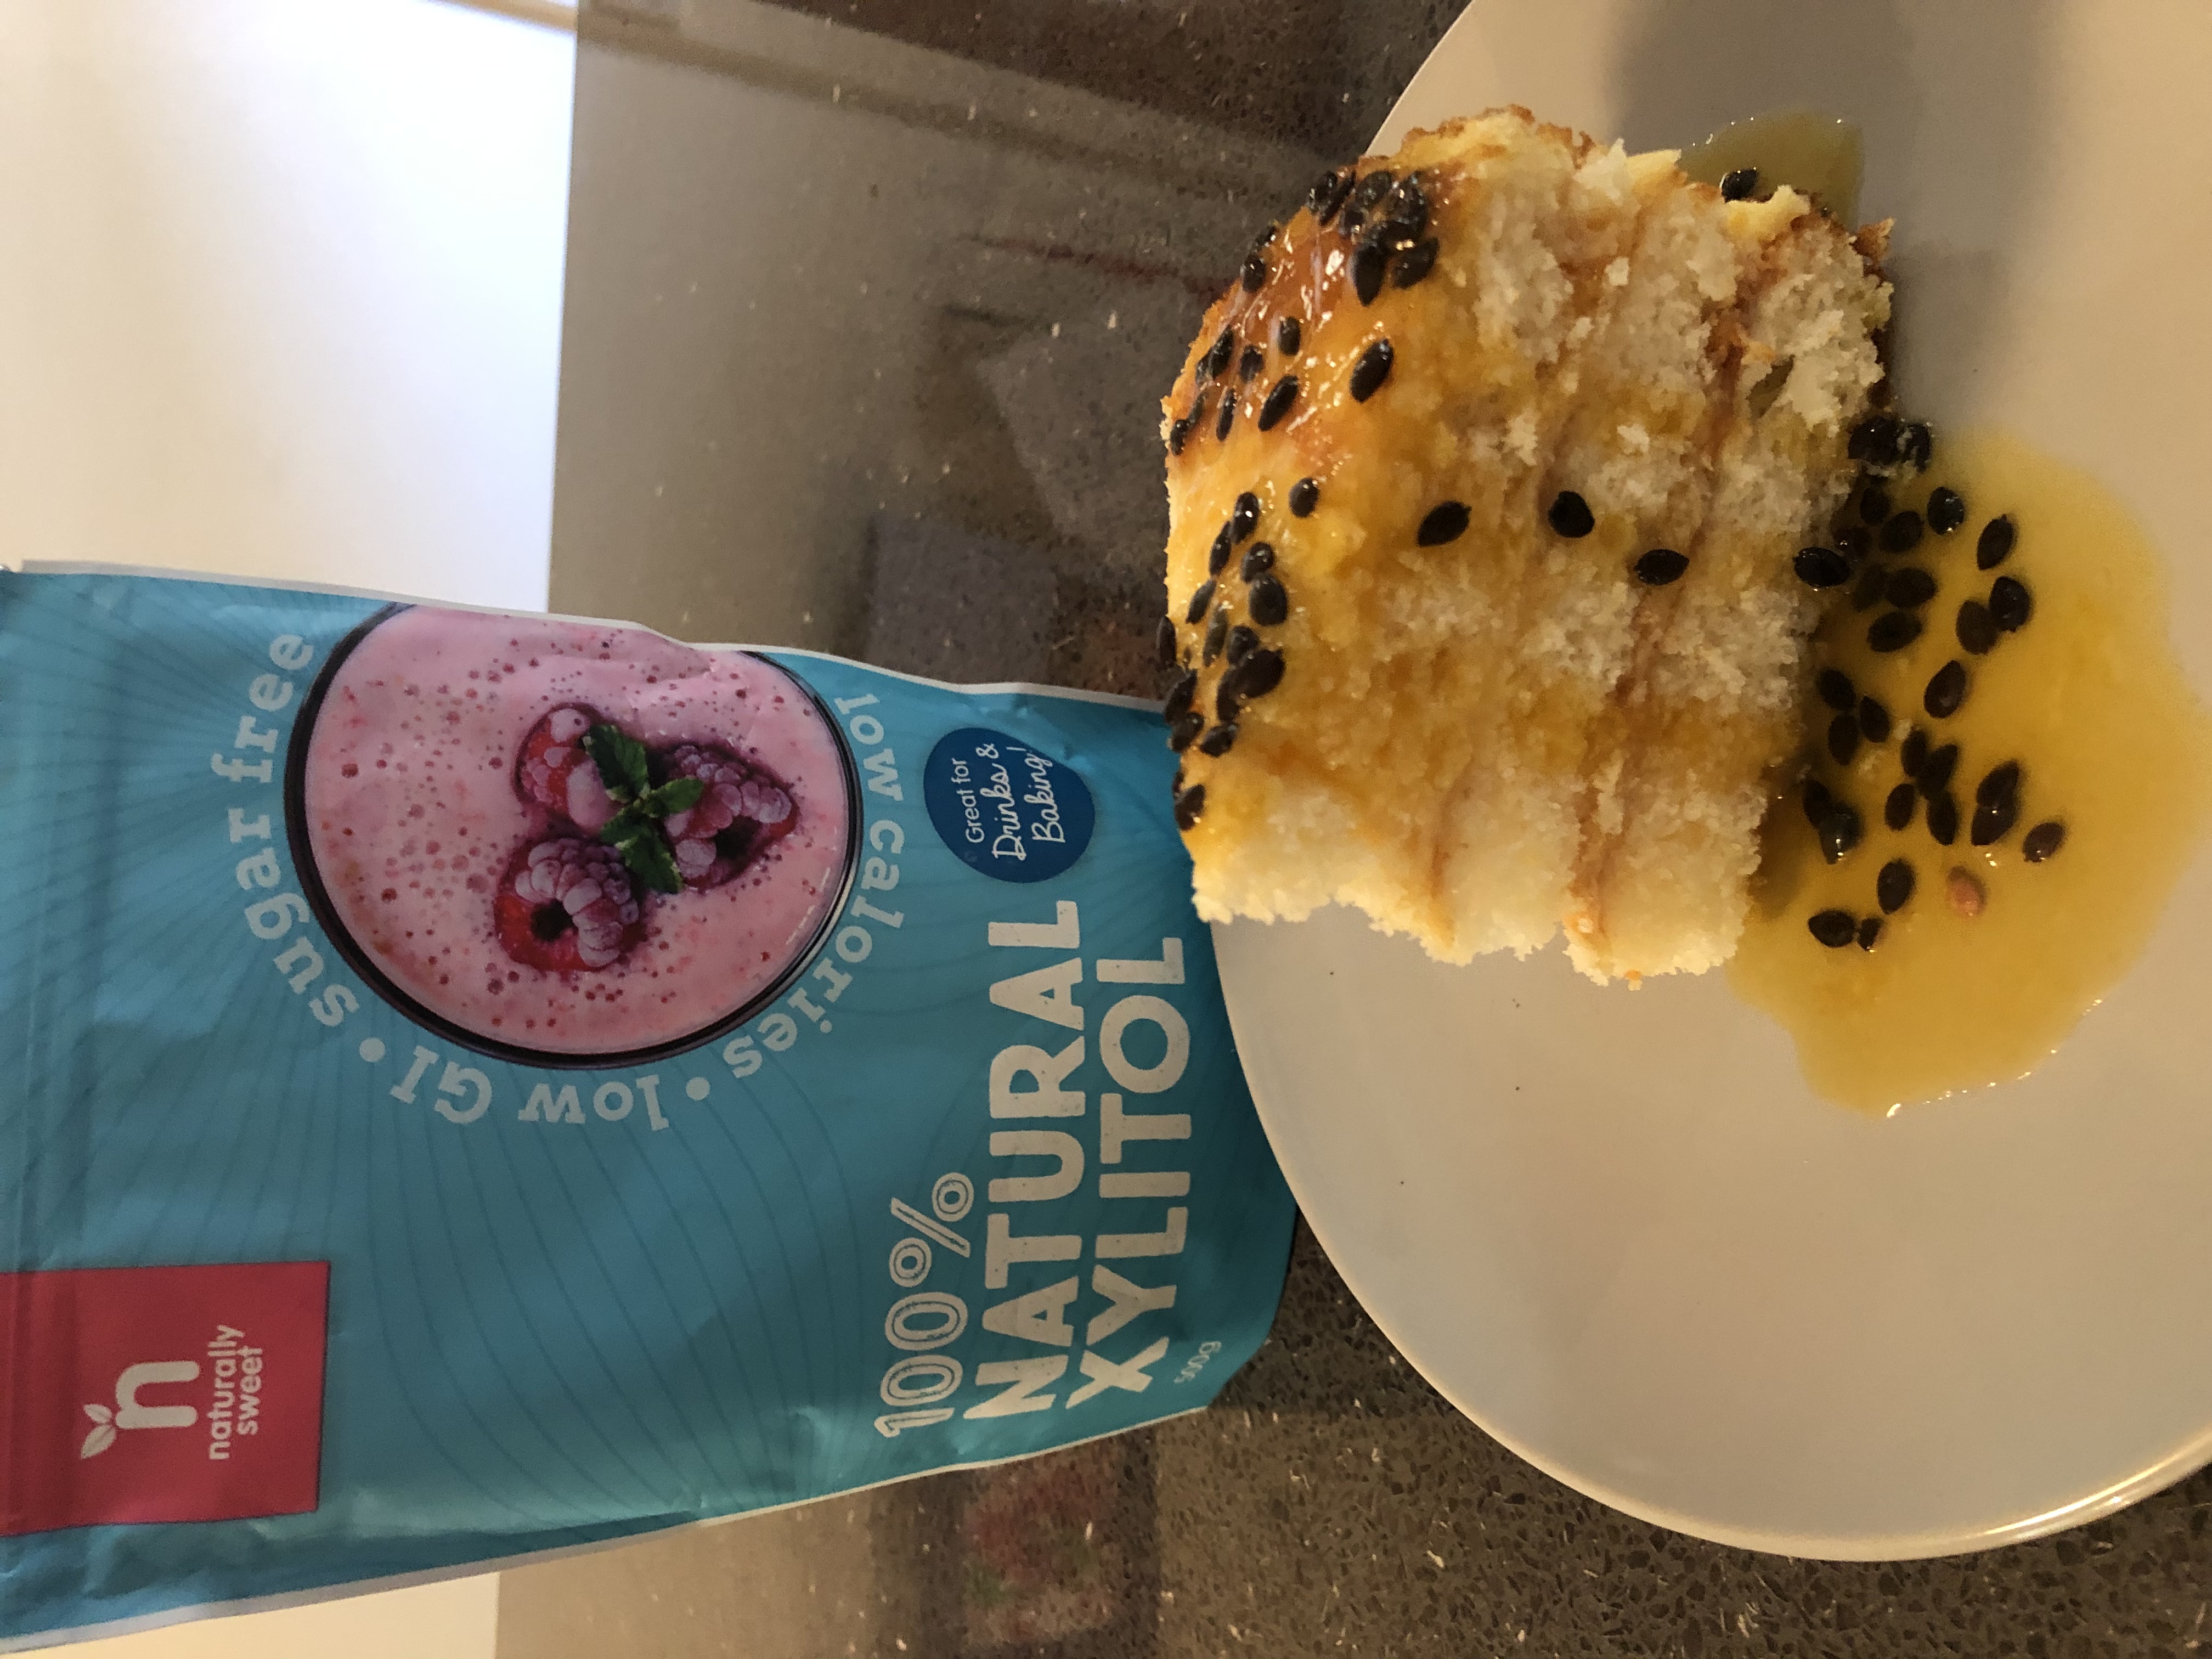
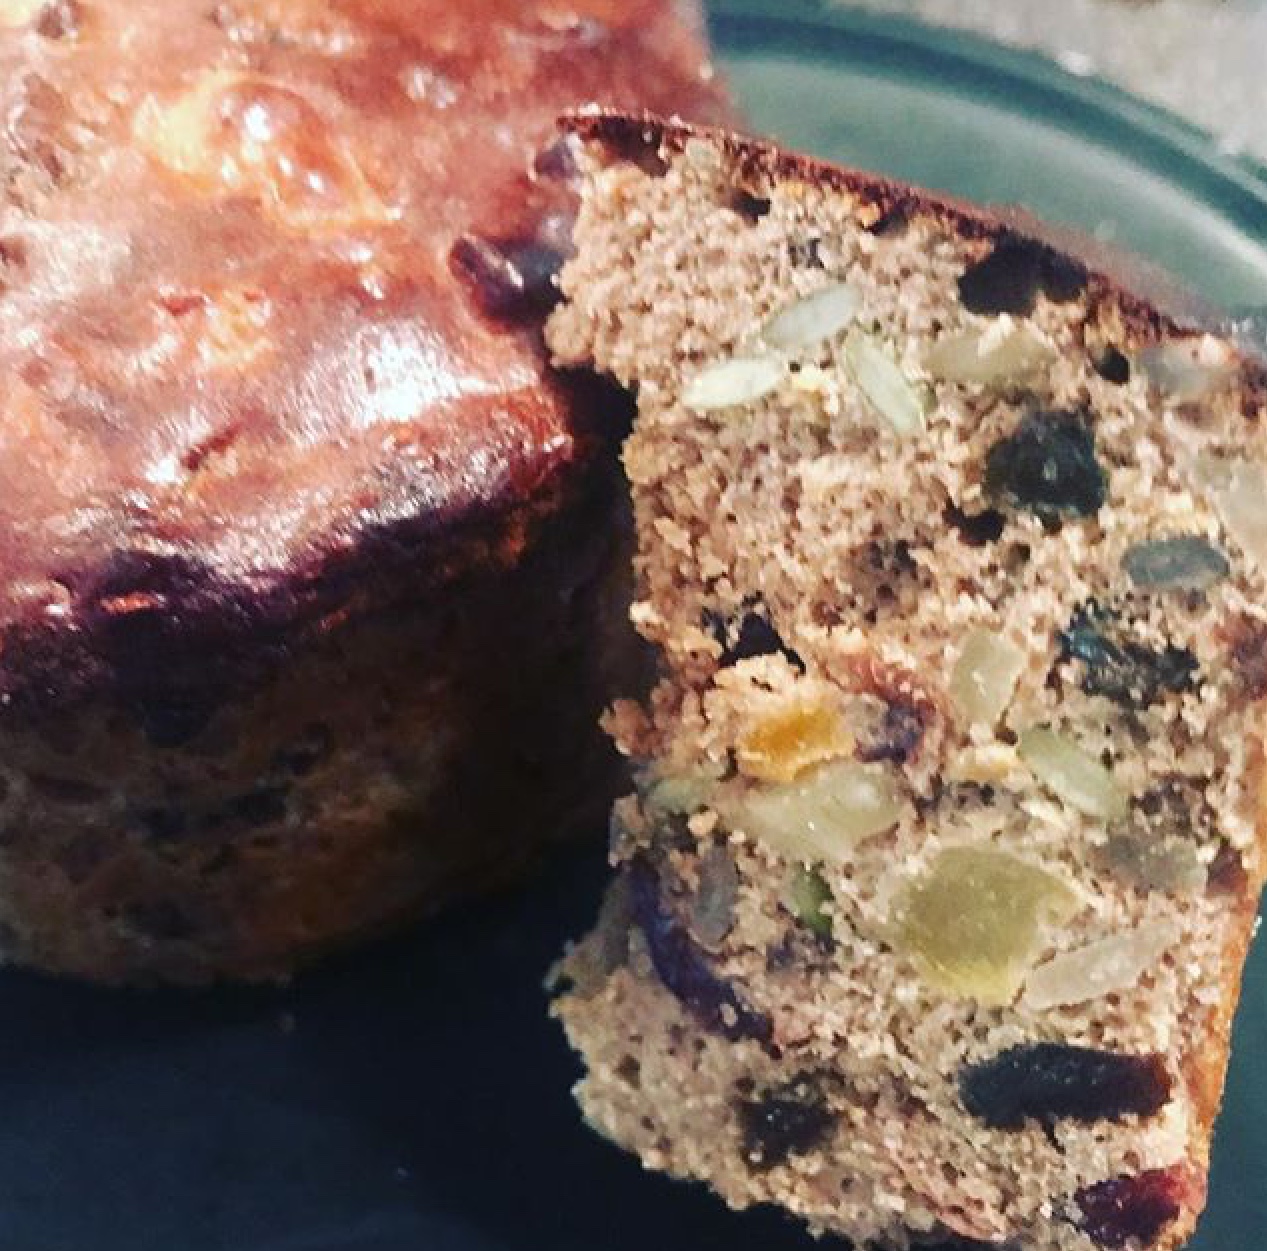
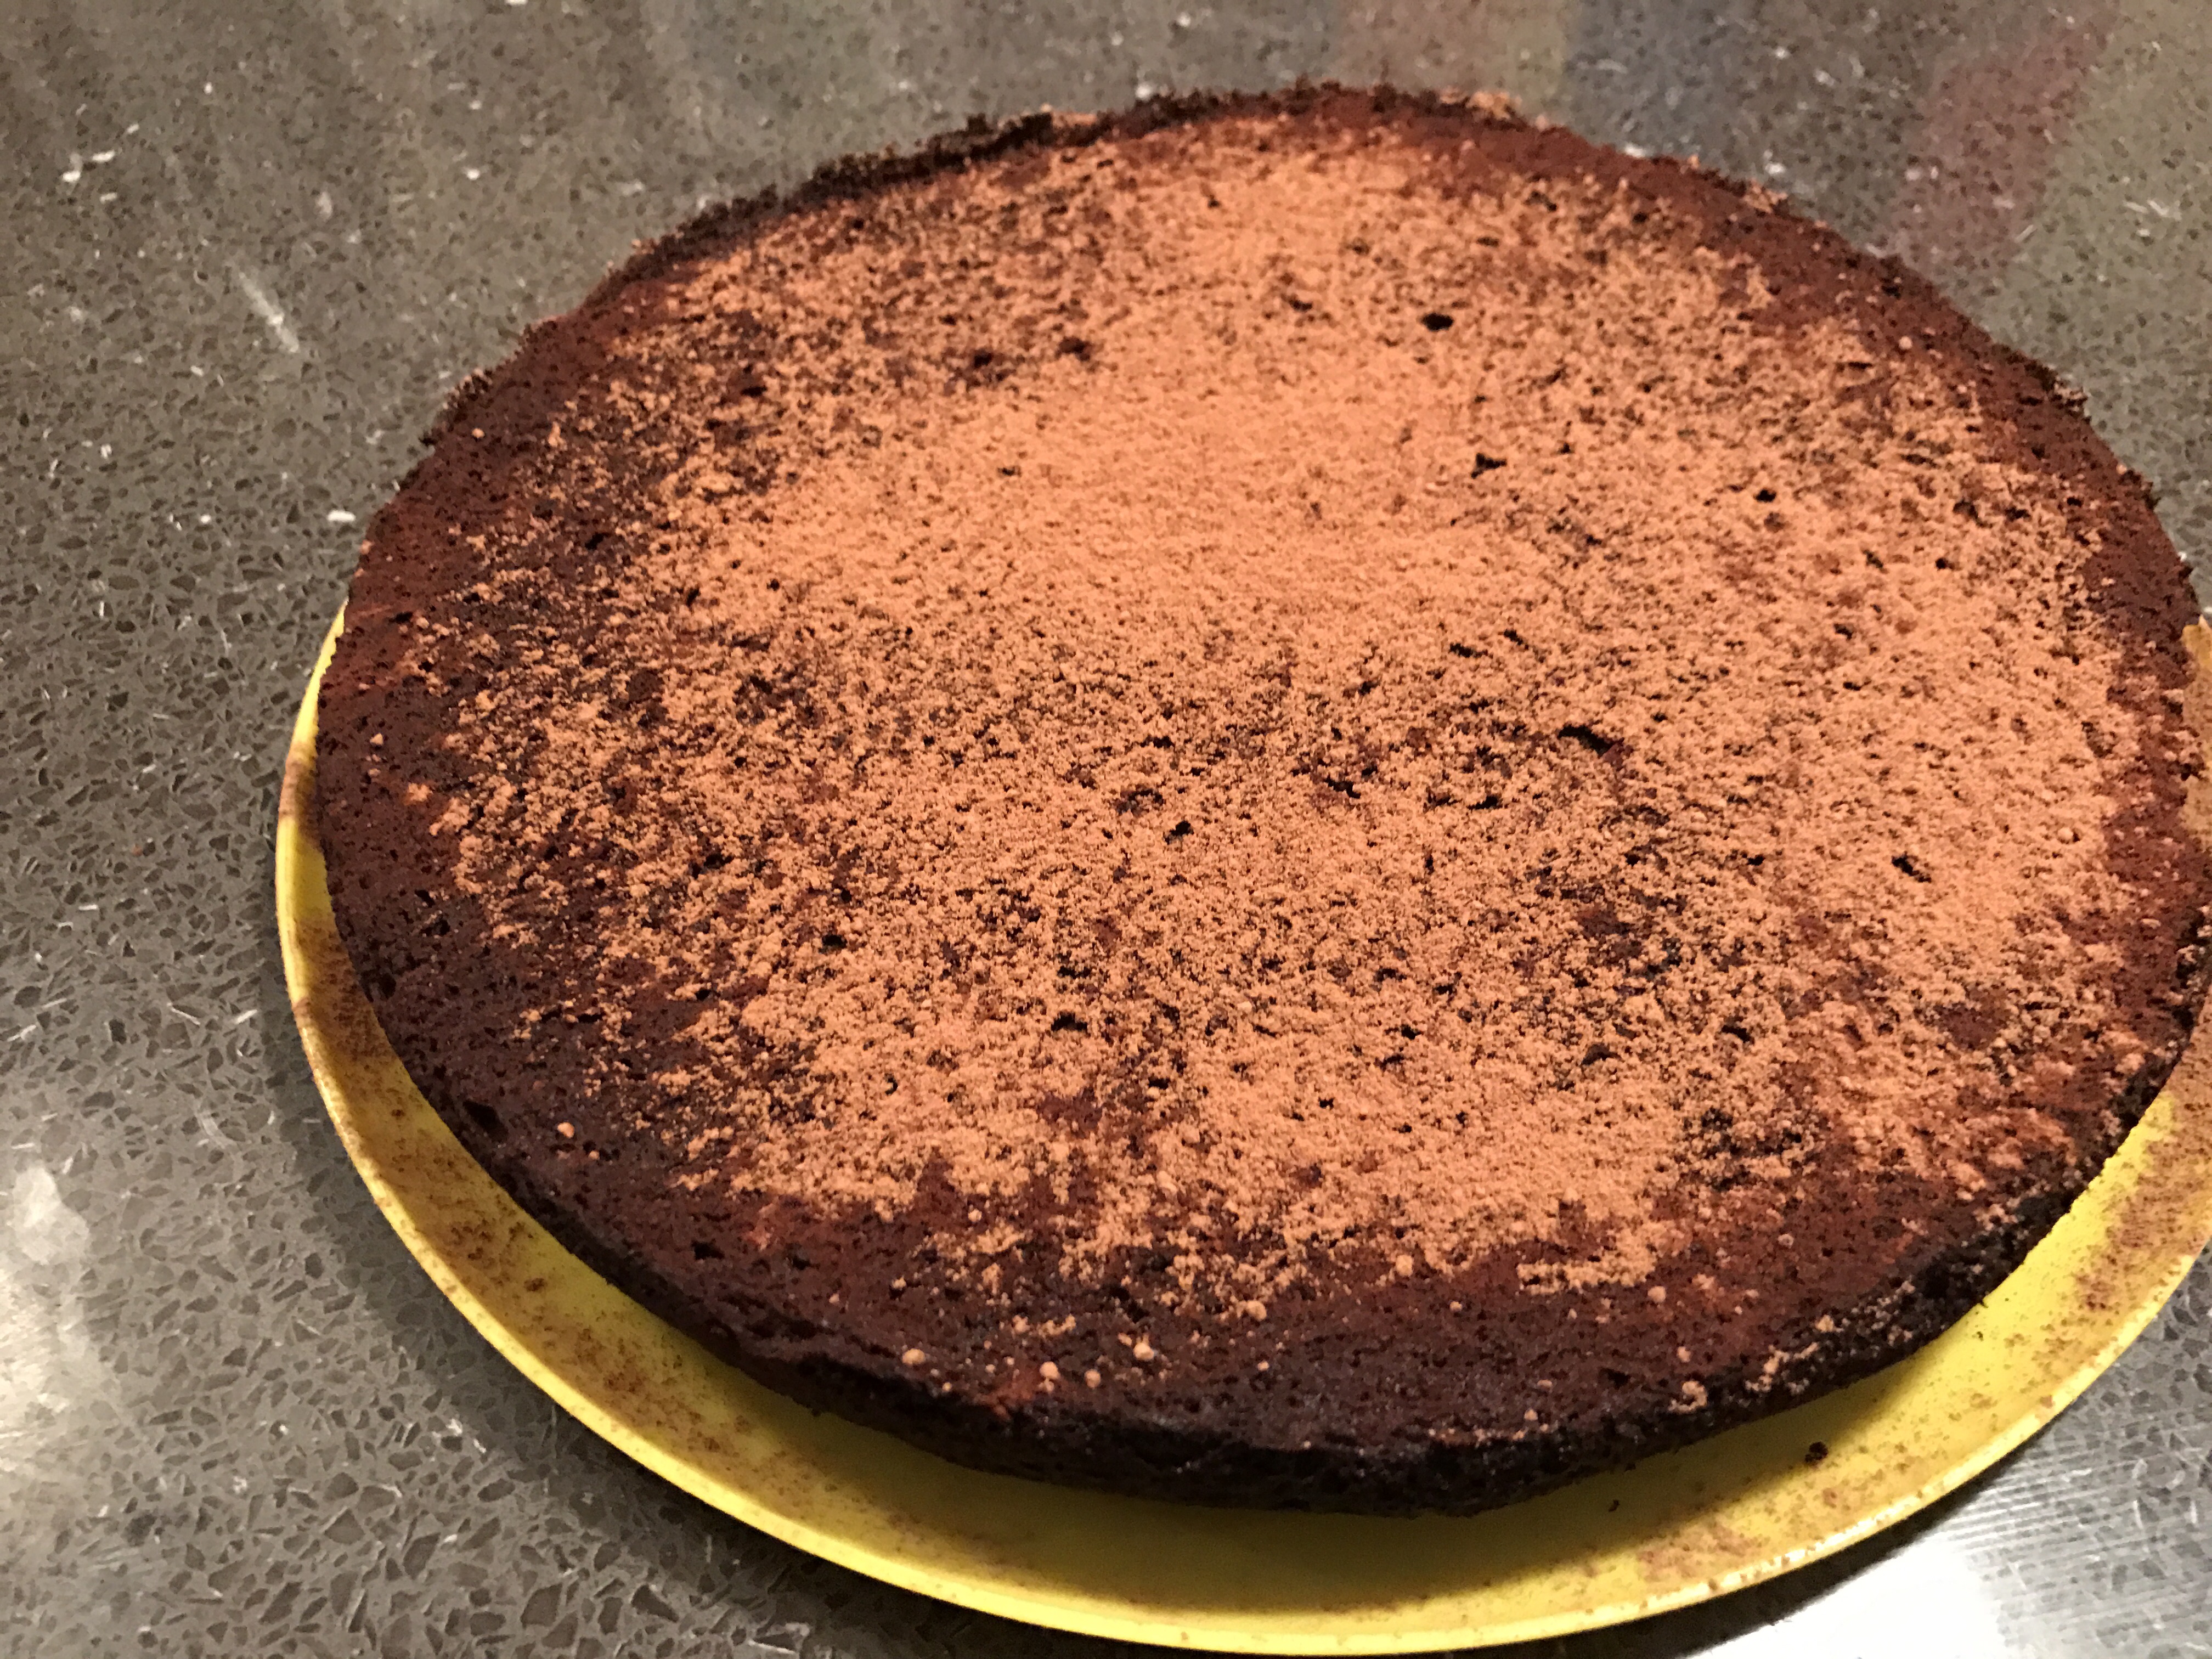
Sticky Walnut & Orange Spice Cake
Sticky Walnut & Orange Spice Cake
Makes: 20 portions

Ingredients:
- 1 cup almond meal
- 1 & 1/2 cups gluten free plain flour
- 1/2 cup low calorie sweetener of your choice (or sugar)
- 2 teaspoons baking powder
- 1 teaspoon baking sofa
- 2 teaspoons cinnamon
- 3/4 teaspoon nutmeg
- 1/2 teaspoon ground cloves
- 1/2 teaspoon ground ginger
- 1/2 teaspoon salt
- 3/4 cup vanilla soy yoghurt
- 3/4 cup soy milk
- 2 tablespoons ground flaxseed
- 1/2 cup unsweetened orange juice
- 1/4 cup extra virgin olive oil
- 1 teaspoon vanilla extract
- Finely grated rind from 1 orange
- 1 1/4 cup roughly chopped walnuts
Glaze ingredients
- 2/3 cups orange juice
- 1/3 cup water
- 1/4 cup low calorie sweetener of your choice (or sugar)
- 1 cinnamon stick
- 4 whole cloves
Method:
- Preheat the oven to 170 degrees Celsius and prepare a springform pan by spraying liberally with olive oil cooking spray and lining the base with baking paper
- Mix the almond meal, flour, sweetener, baking powder, baking soda, spices and salt until well mixed.
- In a separate bowl whisk together the yoghurt, milk, flaxseed, orange juice, oil, vanilla and orange rind until well mixed
- Add the wet mixture into the dry mixture folding using a spatula until almost combined
- Add in 1 cup of the chopped walnuts folding through with the spatula until just combined
- Spoon the mixture into the prepare springform tin and sprinkle the top with the remaining walnuts
- Bake for 40-45 minutes or until the cake springs back when touched in the centre and a cake skewer comes out clean
- While the cake is cooking prepare the glaze.
- Add all of the glaze ingredients into a small non-stick saucepan and bring to the boil
- Once boiling reduce to a simmer and continue simmering for 15 minutes
- Remove the cinnamon stick and cloves and set aside until the cake has finished cooking
- Once removing the cake from the oven allow to sit for 5 minutes
- Use a cake skewer to evenly pierce the surface of the cake all over and then pour the glaze over the top of the cake
- Swirl the tin ensure the glaze is evenly distributed over the entire cake
- Allow to cool in the tin for at least 60 minutes before removing to a wire rack to cool completely.
Nutritional Value:
- Calories: 141
- Total fat: 9.2g
- Total carbs: 22.7g
- Total sugar: 2.2g
- Protein: 2.4g
Recipe Notes:
- Sweetener used in this recipe was “100% natural stevia blend” from Naturally Sweet. Use the promo code WHMP15 online to get a 15% discount https://www.naturallysweet.com.au/
- Store cake in an airtight container below 27 degrees for a maximum of 5 days (recommended to store in the fridge)
- This recipe is freezer friendly to be consumed within 6 months.
Disclaimer: C4K Kitchen does not hold any responsibility for the consumer using this recipe including the storage guidelines and time frames recommended in the recipe notes. The consumer holds all responsibilities to ensure that food hygiene and safety standards are adhered to