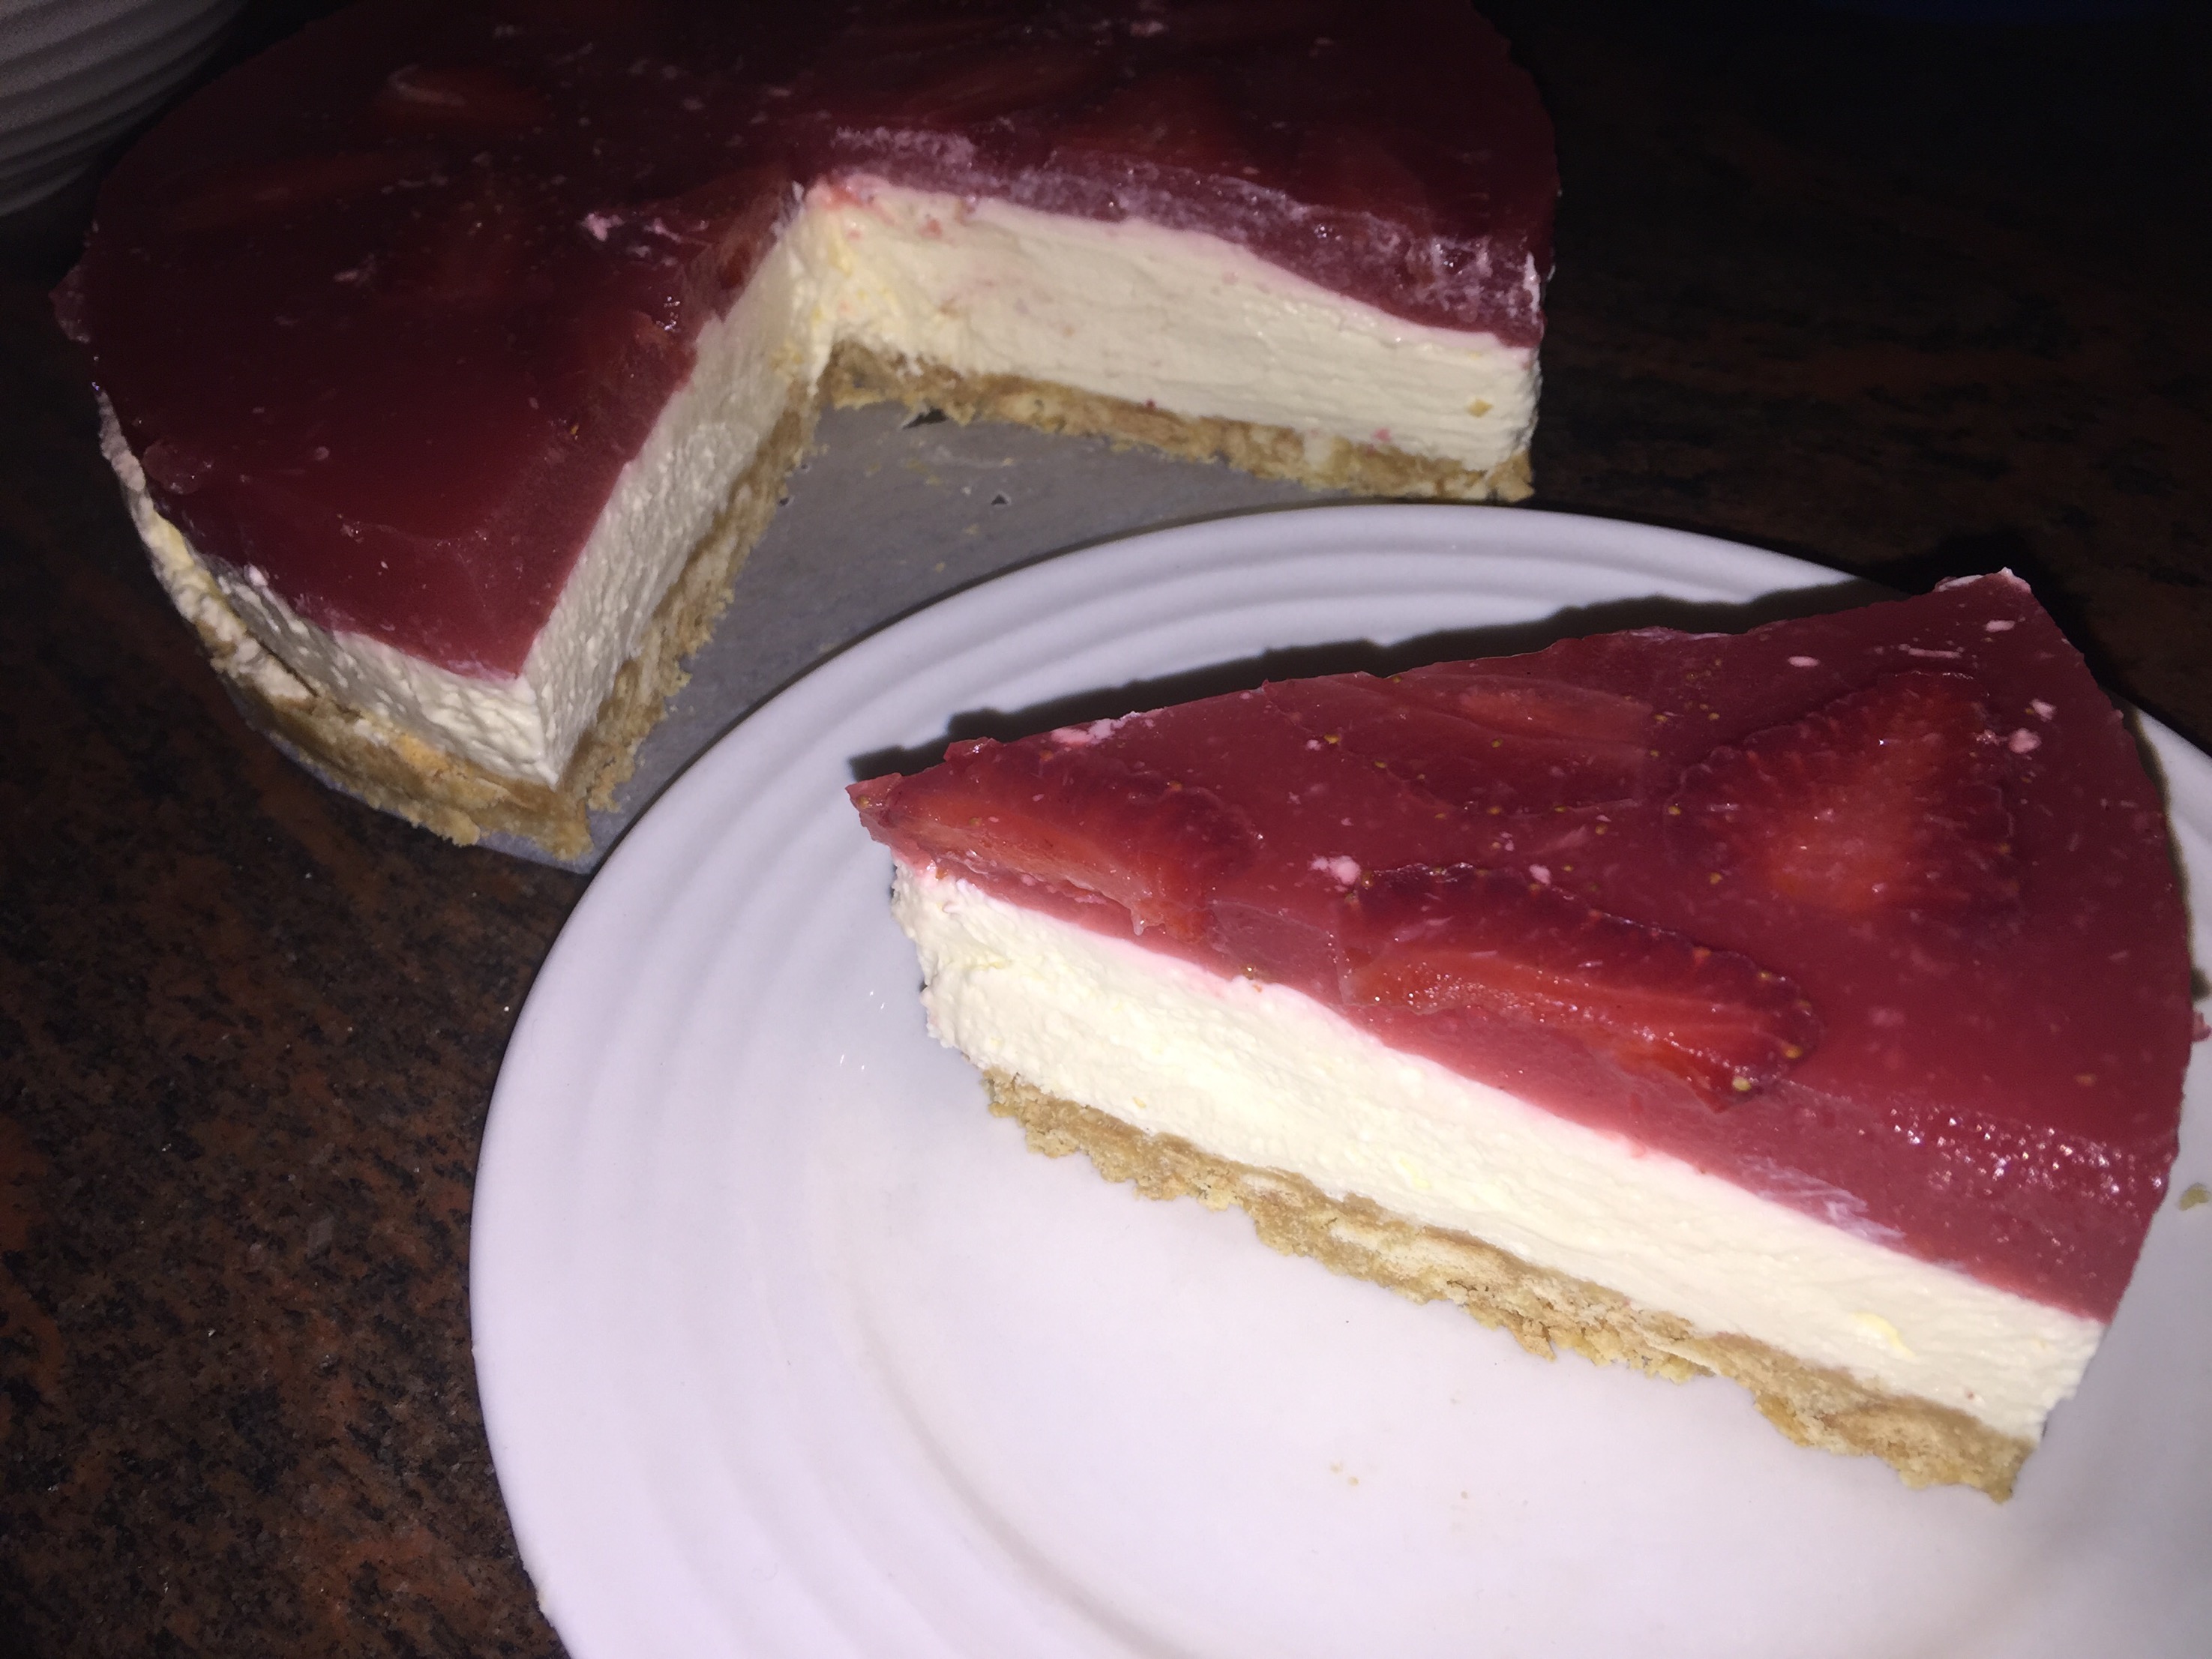
Strawberry Jelly Cheesecake
Strawberry Jelly Cheesecake
Makes: 1 x 20cm round Cheesecake
Base Ingredients:
- 250g milk arrowroot biscuits
- 80g butter, melted
- 1/2 teaspoon cinnamon sugar
Filling Ingredients:
- 2 x 250g blocks cream cheese, softened
- 1/2 cup caster sugar
- 300ml thickened cream
- 2 teaspoon vanilla essence
- 1 tablespoon gelatine
Jelly Ingredients:
- 1 x 250g punnet strawberries
- 1 tablespoon maple syrup
- 1 tablespoon gelatine powder
Method:
- To make the base, place the biscuits in a food processor and blend until it resembles breadcrumbs
- Stir through the melted butter and cinnamon sugar until the biscuits are well coated
- Spread the mixture evenly over the bottom of a lined 20cm springform pan and pack down firmly using the base of a drinking glass.
- Place in the fridge while you prepare the filling.
- To prepare the filling place the cream cheese, caster sugar and 1 teaspoon of boiling water in a mixing bowl and beat together until light and fluffy
- Add in the vanilla essence and beat very well then set aside
- In another mixing bowl using the beaters to whip the cream for 3-5 minutes or until light and airy and set aside
- Place 1/4 cup of room temperature water in a glass jar and sprinkle the gelatine on top, put the jar in a heatproof bowl and fill the bowl with boiling water and stir until the gelatine is dissolved.
- Use a spatula to gently fold through the gelatine mixture into the cream cheese mixture until well combine
- Finally fold through the whipped cream through the cream cheese mix until well combined and then spread the mixture evenly over the biscuit base and return to the fridge to set for at least 1 hour before you prepare your jelly topping.
- To make the strawberry jelly using half of the strawberries slice them into about 2mm slices and set aside
- Chop the remaining strawberries and place in a food processor with the maple syrup and blend until smooth
- Add in 1 1/4 cups boiling water and whisk together
- Place 1/4 cup of room temperature water in a glass jar and sprinkle the gelatine on top, put the jar in a heatproof bowl and fill the bowl with boiling water and stir until the gelatine is dissolved
- Whisk the gelatine water into the strawberry jelly until well combined
- Very gently pour 1/2 of the jelly mixture over the top of your cheesecake
- Lay the slice strawberries as you want them to set and then finally very gently pour in the remaining jelly mixture over the top
- Place in the fridge to set overnight before serving.
Recipe Notes:
- Store covered in the fridge for a maximum of 3 days
- This recipe is not freezer friendly

Disclaimer: C4K Kitchen does not hold any responsibility for the consumer using this recipe including the storage guidelines and time frames recommended in the recipe notes. The consumer holds all responsibilities to ensure that food hygiene and safety standards are adhered to.